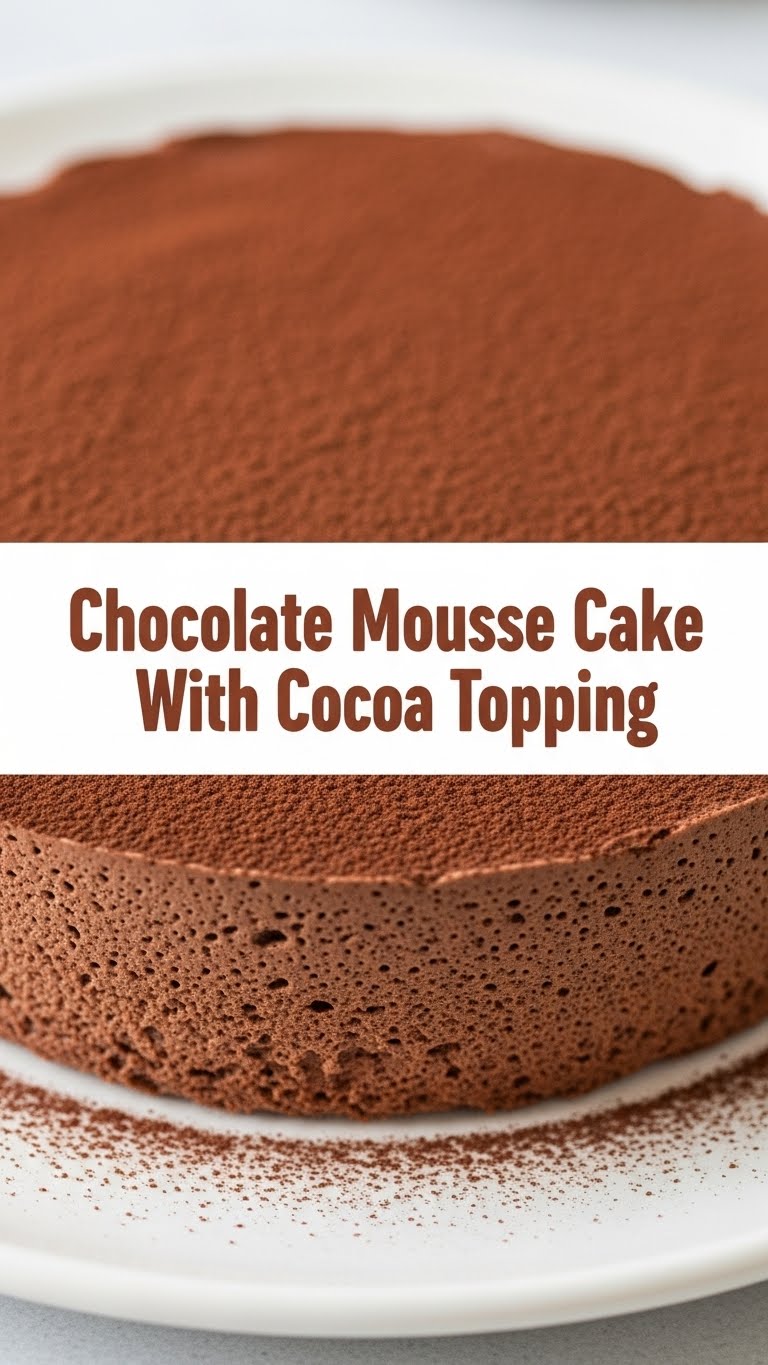
So, you’re looking at your empty fridge, scrolling through endless takeout menus, but deep down, your soul is screaming for something *decadent*? And maybe, just maybe, you’re not in the mood for a kitchen marathon? My friend, you’ve come to the right place. Let’s make some magic – chocolate magic, to be precise – with minimum fuss and maximum deliciousness. This Chocolate Mousse Cake with Cocoa Topping is about to become your new best friend.
Why This Recipe is Awesome
Why bother with this recipe, you ask? Because it’s basically the culinary equivalent of a warm hug from a chocolate bar. It’s rich, it’s fluffy, and it looks like you spent hours slaving away when, **spoiler alert, you totally didn’t.** Plus, it’s pretty much idiot-proof. Seriously, if I can do it without setting off the smoke detector, you’re golden. It’s that perfect balance of fancy-schmancy presentation with ‘I just threw this together’ effort. Winning!
Ingredients You’ll Need
Gather ’round, my fellow dessert enthusiasts. Here’s your shopping list for impending chocolate glory:
- For the Cake Base (The Humble Foundation):
- 1 ½ cups all-purpose flour (the usual suspect)
- 1 cup granulated sugar (for sweetness, duh)
- ½ cup unsweetened cocoa powder (the darker, the better for that deep chocolatey soul)
- 1 teaspoon baking soda (our little lifter)
- ½ teaspoon salt (balances everything out, like a good friend)
- ½ cup vegetable oil (or any neutral oil; no olive oil, please!)
- 1 cup warm water (or strong warm coffee, if you’re feeling feisty and want to amp up the chocolate flavor – **highly recommend!**)
- 1 teaspoon vanilla extract (because vanilla makes everything better)
- 1 tablespoon white vinegar (trust me on this, it’s for lift and tenderness!)
- For the Chocolate Mousse (The Star of the Show):
- 1 ½ cups heavy cream (the star, don’t skimp!)
- 8 ounces good quality semi-sweet chocolate, chopped (this ain’t the time for cheap chocolate chips, folks)
- ¼ cup granulated sugar (just a touch for sweetness)
- 1 teaspoon vanilla extract (more vanilla, yay!)
- For the Cocoa Topping (The Finishing Touch):
- 2 tablespoons unsweetened cocoa powder (for dusting, make it rain chocolate!)
Step-by-Step Instructions
Alright, apron on, game face on. Let’s get baking!
- For the Cake:
- First, set your oven to 350°F (175°C). Grease and flour an 8-inch round cake pan. Line the bottom with parchment paper for extra insurance – future you will thank you.
- In a large bowl, whisk together the flour, sugar, cocoa powder, baking soda, and salt. Make sure there are no lumps trying to hide.
- Add the oil, warm water (or coffee), vanilla extract, and vinegar to the dry ingredients. Mix until just combined. **Don’t overmix!** A few tiny lumps are totally okay.
- Pour the batter into your prepared cake pan. Bake for 30-35 minutes, or until a toothpick inserted into the center comes out clean.
- Let the cake cool in the pan for 10 minutes, then invert onto a wire rack to cool completely. **Patience, young grasshopper!** This is crucial.
- For the Mousse:
- Place your chopped chocolate in a heatproof bowl.
- In a small saucepan, heat ½ cup of the heavy cream until it’s just simmering (don’t let it boil!). Pour this hot cream over the chocolate. Let it sit for 2 minutes, then whisk until it’s smooth and glossy. Set it aside to cool to room temperature.
- In a separate, large bowl, whip the remaining 1 cup heavy cream with ¼ cup sugar and 1 teaspoon vanilla extract until **soft peaks form.** Be careful not to over-whip it; nobody wants butter mousse.
- Gently fold the cooled chocolate mixture into the whipped cream until no streaks remain. Try not to deflate all that lovely air!
- Assembly:
- Once the cake is completely cool, spread the chocolate mousse evenly over the top. You can make it fancy with a spatula or just dollop it on for a rustic, I-just-whipped-this-up vibe.
- Chill the cake for at least 2 hours, or until the mousse is nice and set. **Seriously, don’t skip this part.** This is where the magic happens.
- Just before serving, grab your small sieve and dust generously with cocoa powder. Make it look professional!
Common Mistakes to Avoid
Listen up, buttercup. Here’s where we learn from my past (and yours, if you’re not careful) mistakes:
- **Not preheating your oven:** Seriously, folks, it’s not a suggestion, it’s a command. Your cake will thank you with a proper rise.
- **Overmixing the cake batter:** You want a tender cake, not a rubbery hockey puck. Mix until *just* combined. A few tiny lumps are okay, I promise.
- **Over-whipping the cream for the mousse:** Unless you’re aiming for butter, stop at soft peaks. Stiff peaks will make your mousse dense and sad.
- **Not letting the chocolate ganache cool:** Adding warm ganache to whipped cream is a recipe for a melted, soupy mess. Patience, remember?
- **Serving before chilling:** The mousse needs time to set and firm up. Don’t be that person who serves a wobbly, un-set cake. It’s just sad.
Alternatives & Substitutions
Feeling a little rebellious? Here are some simple swaps and ideas:
- **Flour:** All-purpose works best, but a good quality gluten-free all-purpose blend *might* work in a pinch (though I haven’t personally tested it).
- **Oil:** Any neutral oil (canola, sunflower, grapeseed) is fine. Coconut oil is okay, but make sure it’s melted and cooled.
- **Water for Coffee:** **Use the coffee!** IMHO, it deepens the chocolate flavor without making it taste like coffee. It’s like a secret superpower for your cake.
- **Semi-sweet chocolate:** Dark chocolate (70%+) is fantastic if you like a more intense, less sweet mousse. Milk chocolate would be too sweet for the mousse, FYI.
- **Vegan version?** While not covered directly, you *could* try a flax egg for the cake and a coconut cream/silken tofu mousse. But that’s a whole other recipe!
FAQ (Frequently Asked Questions)
Got questions? I’ve got answers (mostly humorous ones):
- **Can I make this ahead of time?** Absolutely! It actually tastes better the next day, once all those delicious flavors have melded. Just keep it chilled.
- **What if I don’t have a round cake pan?** A square 8×8 inch pan will work too! Just adjust baking time slightly. Or, if you’re feeling really wild, make cupcakes. Get creative!
- **My mousse isn’t setting, what did I do wrong?** You likely didn’t chill it long enough, or your chocolate ganache wasn’t cool enough before folding into the cream. Back to the fridge with you!
- **Can I use pre-made whipped cream?** *Gasp!* No, my friend, please don’t. Freshly whipped cream is crucial for the mousse texture and taste. It’s super easy, promise!
- **How long does it last?** Covered and refrigerated, it’s good for 3-4 days. But let’s be real, it probably won’t last that long.
- **Can I add a different topping?** Sure, a few chocolate shavings, fresh berries, or even a drizzle of caramel sauce would be divine. But the simple cocoa dust is classic for a reason.
Final Thoughts
So there you have it, your very own masterpiece of chocolatey goodness! You’ve tamed the wild beast of dessert-making and emerged victorious, probably with a little chocolate on your nose (a sign of a job well done, FYI). Now go forth and impress someone—or, let’s be honest, just yourself—with your new culinary prowess. You’ve earned every single glorious bite. Enjoy, you magnificent baker, you!


