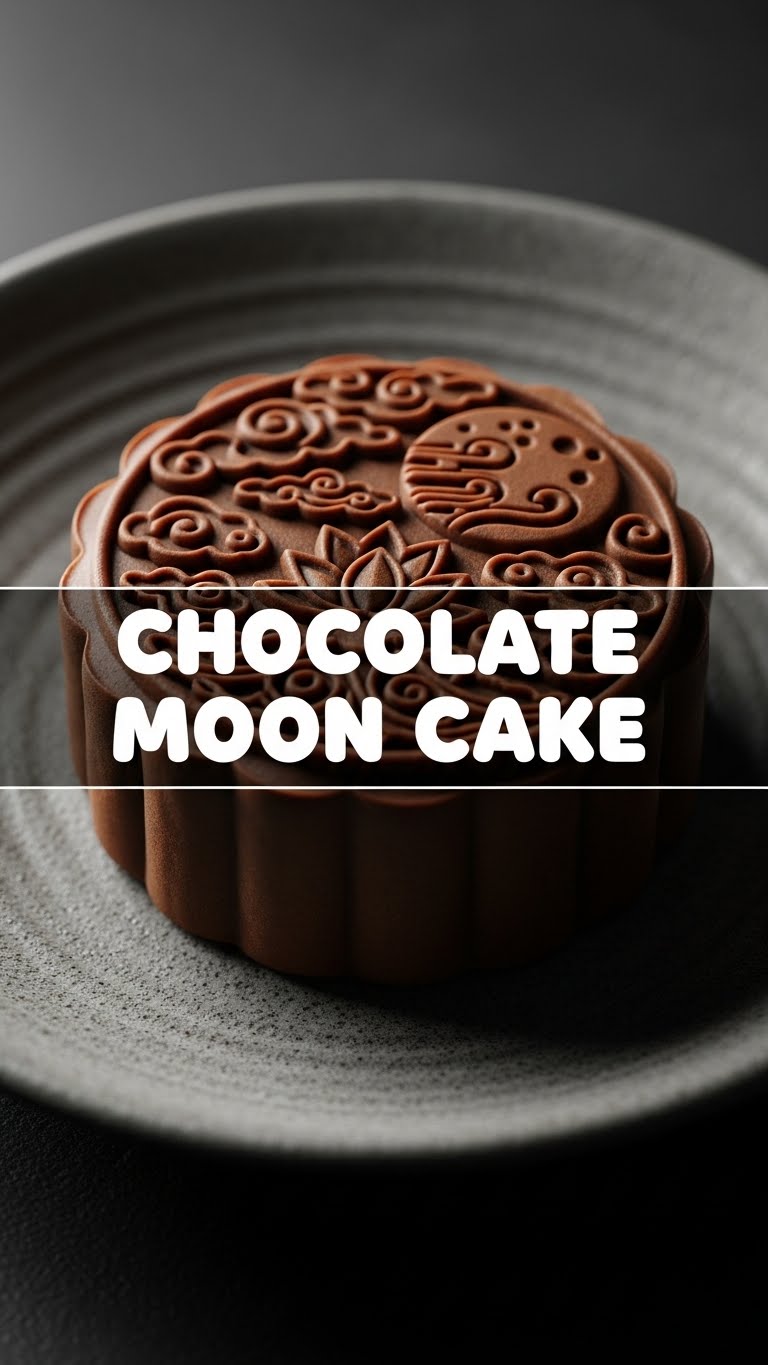
Feeling like you need a hug in dessert form, but also don’t want to become a pastry chef overnight? Been there, baked that. And today, we’re diving into something *magical* that looks impressive but secretly requires minimal effort. Shhh, don’t tell anyone! We’re making **Chocolate Mooncakes**, because why stick to tradition when you can make it cocoa-licious, right? Let’s get our bake on!
Why This Recipe is Awesome
Listen up, buttercup. This isn’t your grandma’s mooncake (unless your grandma was secretly a chocolate wizard, in which case, high five!). This recipe is awesome because it’s **ridiculously easy**, tastes like a dream, and will make everyone think you spent hours slaving away. Spoiler: you didn’t. It’s also **chocolate**, which, let’s be real, automatically makes everything 1000% better. You get to look fancy without the usual mooncake-making agony. Seriously, if I can do it without setting off the smoke detector, so can you. It’s practically idiot-proof!
Ingredients You’ll Need
Gather your troops! Here’s what’s on the menu:
- **1 ½ cups All-Purpose Flour:** The backbone of your delicious dreams.
- **½ cup Unsweetened Cocoa Powder:** Because we’re making *chocolate* mooncakes, duh. Go for a good quality one; it makes a difference!
- **½ cup Powdered Sugar (Confectioners’ Sugar):** For that melt-in-your-mouth sweetness, and no gritty bits.
- **½ cup (1 stick) Unsalted Butter:** Cold and cubed, please! We’re not making soup here.
- **1 Large Egg Yolk:** Just the yellow part, the white can go into your breakfast omelette, or a fancy face mask, whatever.
- **2-3 tablespoons Cold Water or Milk:** Just a splash, to bring it all together. Don’t drown it!
- **For the Filling:**
- **1 cup of your favorite chocolate spread:** Think Nutella, Biscoff, or even a thick ganache you whipped up earlier. This is the gooey heart of your mooncake. Don’t skimp here!
- (Optional) **¼ cup crushed nuts or mini chocolate chips:** For a little textural jazz.
- **Equipment:**
- **Mooncake Mould:** Essential! Unless you want blob-cakes, which, no judgment, but not quite the ‘moon’ vibe.
- Baking sheet, parchment paper, mixing bowls, whisk. The usual suspects.
Step-by-Step Instructions
- **Whisk the Dry Squad:** In a large bowl, whisk together the flour, cocoa powder, and powdered sugar. Make sure there are no lumpy bits.
- **Bring in the Butter:** Add the cold, cubed butter to the dry ingredients. Use your fingertips or a pastry blender to cut the butter into the flour mixture until it resembles coarse crumbs. We’re going for a sandy texture here.
- **The Liquid Love:** Add the egg yolk and 2 tablespoons of cold water (or milk) to the mixture. Mix gently until a dough starts to form. If it’s too dry, add the remaining tablespoon of water, half a teaspoon at a time, until it just comes together. **Do not overmix!**
- **Chill Out:** Form the dough into a disc, wrap it tightly in plastic, and pop it into the fridge for at least 30 minutes. This helps prevent sticking and makes it easier to work with.
- **Prep the Filling:** While the dough chills, roll your chocolate spread (or chosen filling) into small, roughly 1-inch balls. If it’s super sticky, chill it briefly too.
- **Portion and Conquer:** Once chilled, divide your dough into equal pieces. For a typical 50g mooncake mould, you’ll want about 30g of dough per mooncake, and 20g of filling.
- **Wrap ‘Em Up:** Take a piece of dough and flatten it into a disc (about 3 inches wide). Place a filling ball in the center. Carefully bring the edges of the dough up and around the filling, sealing it completely. Make sure there are no cracks, or your filling will try to make a great escape!
- **Mould Magic:** Lightly dust your mooncake mould with a little flour, tapping out any excess. Place the sealed dough ball into the mould. Press down firmly and evenly on your countertop to create that beautiful pattern. Gently push it out onto a parchment-lined baking sheet. Repeat until all your mooncakes are ready for their close-up.
- **Bake to Perfection:** Preheat your oven to 350°F (175°C). Bake the mooncakes for about **12-15 minutes**. Keep an eye on them! They should look set but still be soft to the touch. You don’t want them to get rock-hard.
- **Cool Down:** Let them cool completely on a wire rack. They firm up as they cool, so don’t fret if they feel a bit tender fresh out of the oven.
Common Mistakes to Avoid
Because nobody wants a baking disaster, especially when chocolate is involved!
- **Skipping the Chill Time:** Thinking you can skip chilling the dough? **Rookie mistake**, my friend. You’ll end up with a sticky, sad mess that’s impossible to work with. Don’t do it.
- **Overfilling Your Mooncake:** Less is more here. If you overfill, your delicious chocolate surprise will explode out the sides during moulding or baking. Sadness ensues.
- **Forgetting to Flour Your Mould:** Unless you enjoy scraping stuck dough off intricate patterns for an hour, flour that mould! A light dust, then tap out excess, is key.
- **Overmixing the Dough:** This isn’t bread dough. Overmixing will develop the gluten and make your mooncakes tough. We want tender, melt-in-your-mouth goodness. Mix just until combined.
- **Overbaking:** These aren’t crunchy cookies. They should be tender and soft. Keep an eye on the clock and trust your gut.
Alternatives & Substitutions
Feeling creative? Or just missing an ingredient? No stress, we got options!
- **Flour Power:** No all-purpose? A 1:1 gluten-free flour blend can work, though the texture might be a smidge different. Still delish, IMO.
- **Butter Swap:** No butter? A good quality plant-based butter will do the trick for a vegan version. Margarine *can* work, but… why hurt your soul like that? Butter is king!
- **Filling Frenzy:** Beyond chocolate spread, try a simple peanut butter mixture, a cream cheese filling, or even a spiced date paste if you’re feeling *healthy-ish*. You could even hide a mini Snickers bar in there, just sayin’.
- **Cocoa-Free Mooncakes:** Don’t have cocoa powder? Make plain mooncakes and dip them in melted chocolate after they cool for a different but equally yummy vibe.
FAQ (Frequently Asked Questions)
- **Do I *really* need a mooncake mould?**
Well, unless you want them to look like artisanal, slightly misshapen cookies, yes. The mould is what gives them their fancy-pants look. **It’s the whole point!** But hey, if you’re really mould-less, you could roll them into balls and press them flat, then etch a design with a knife. Just won’t be as impressive, FYI.
- **My dough is super sticky, help!**
You probably added too much liquid, or didn’t chill it enough. Add a tiny bit more flour, or just give it more chill time in the fridge. **Patience, grasshopper.** A little extra flour when rolling can also help.
- **How long do these chocolate beauties last?**
Stored in an airtight container at room temperature, they’re good for about **3-5 days**. But let’s be real, they won’t last that long. They’re too tasty.
- **Can I freeze them?**
Yep! Wrap ’em individually in plastic wrap and freeze for up to a month. Thaw at room temperature for a few hours, or zap ’em briefly if you’re impatient (like me).
- **Can I make these vegan?**
Absolutely! Swap butter for a good plant-based butter, the egg yolk for a flax egg (or just a splash of non-dairy milk), and ensure your filling is dairy-free (most chocolate spreads have vegan versions now!). Easy peasy plant-based perfection!
Final Thoughts
Boom! You just made Chocolate Mooncakes. See? I told you you were a kitchen wizard! Now go impress someone—or yourself—with your new culinary skills. You’ve earned it! Seriously, pour yourself a glass of milk (or wine, no judgment here) and enjoy your starry, chocolatey creation. You crushed it. **Happy baking, friend!**


