So you’re staring at your screen, dreaming of chocolate, but the thought of a complicated recipe makes you want to just order takeout? Been there, done that, bought the T-shirt. But guess what? I’ve got your back with a chocolate moist cake that’s so ridiculously easy, it practically bakes itself. No drama, just deliciousness.
Why This Recipe is Awesome
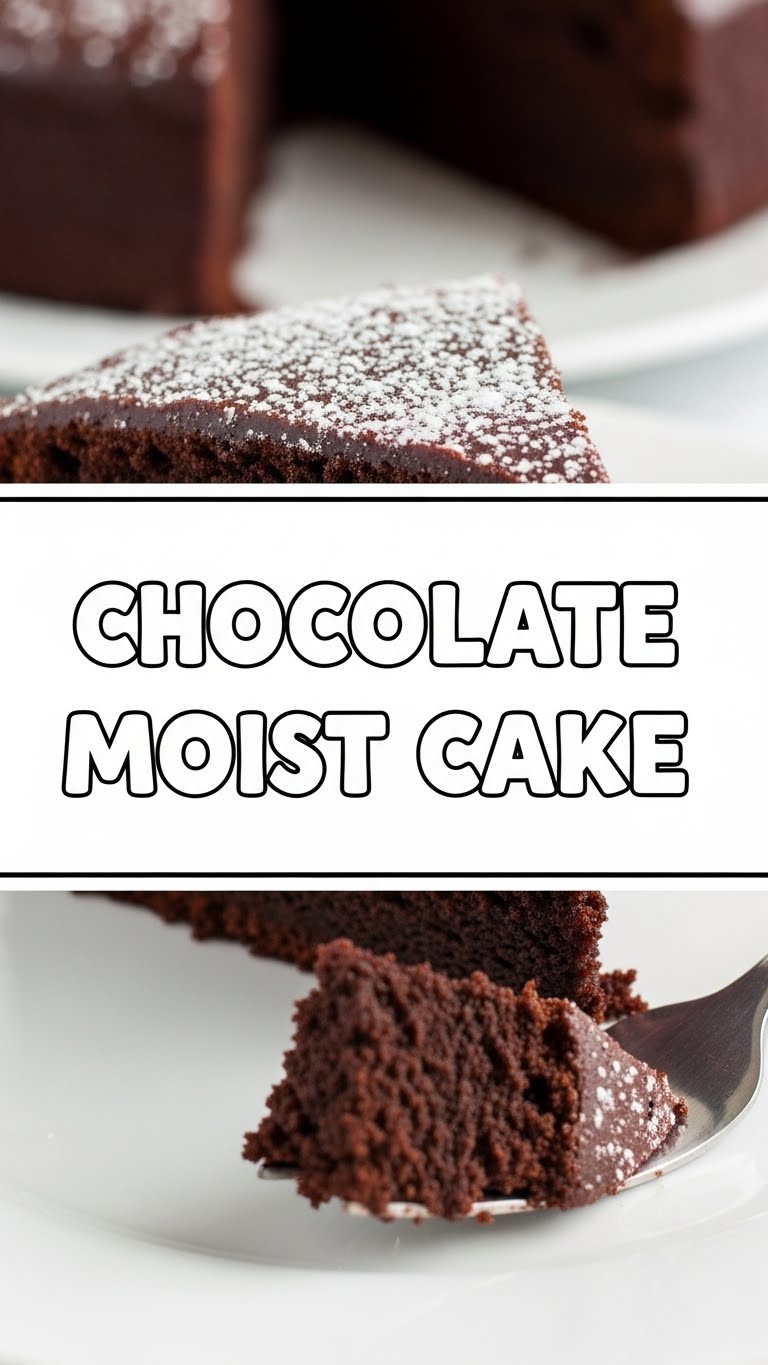
Why bother with *this* recipe, you ask? Because, my friend, it’s the culinary equivalent of a warm hug when you’re feeling low. It’s **foolproof**, seriously. Even if your kitchen skills are usually limited to microwaving leftovers, you’re gonna nail this. Plus, it’s *moist*. Like, ridiculously, scandalously moist. We’re talking melt-in-your-mouth, “where has this been all my life?” kind of moist. And no fancy equipment needed, just a bowl and a whisk (or a spoon, if you’re feeling minimalist). So, yeah, it’s awesome.
Ingredients You’ll Need
- **All-purpose flour:** About 1 ½ cups. Don’t worry, no sifting drama here, unless you *really* want to.
- **Granulated sugar:** 1 ½ cups. Because life’s too short for less sugar.
- **Unsweetened cocoa powder:** ½ cup. The darker, the better for that deep chocolatey goodness.
- **Baking soda:** 1 ½ teaspoons. Our magic leavening fairy dust.
- **Salt:** 1 teaspoon. Just a pinch to make all that chocolate sing.
- **Eggs:** 2 large ones. Room temperature, if you’re feeling fancy (and for better emulsification!).
- **Milk:** 1 cup. Whole milk is great, but whatever you have will probably do.
- **Vegetable oil:** ½ cup. The secret to that insane moistness, shhh!
- **Vanilla extract:** 2 teaspoons. Don’t skip this, it brightens everything up.
- **Boiling water:** 1 cup. Yep, *boiling*. Trust me on this one.
Step-by-Step Instructions
- **Preheat & Prep:** First things first, get your oven to **350°F (175°C)**. Grease and flour a 9×13 inch baking pan. Or line it with parchment paper like a pro.
- **Dry Mix Magic:** In a large bowl, whisk together your flour, sugar, cocoa powder, baking soda, and salt. Make sure there are no lumpy bits. We want smooth sailing!
- **Wet Ingredients Join the Party:** Add the eggs, milk, vegetable oil, and vanilla extract to your dry mix. Beat them together with an electric mixer on medium speed for about 2 minutes. Scrape down the sides of the bowl to make sure everything’s incorporated.
- **The Boiling Water Trick:** This is where the *moist* magic happens. Carefully pour the boiling water into your batter. Stir until just combined – don’t overmix, or your cake will get tough. The batter will be thin, and that’s totally normal.
- **Bake It Up:** Pour the super-liquid batter into your prepared pan. Pop it into the preheated oven and bake for **30-35 minutes**, or until a wooden skewer inserted into the center comes out clean.
- **Cool Down, Buttercup:** Let it cool in the pan for about 10-15 minutes before transferring it to a wire rack to cool completely. Patience, young grasshopper. It’s worth it.
Common Mistakes to Avoid
- **Not preheating the oven:** Rookie mistake. Your cake needs that consistent heat from the get-go. Otherwise, it bakes unevenly and cries. Don’t make your cake cry.
- **Overmixing the batter:** Once you add the wet ingredients, mix until just combined. Overmixing develops the gluten, leading to a tough, dry cake. And nobody wants a tough, dry cake, do they?
- **Opening the oven door constantly:** Resist the urge! Every time you peek, you let out heat, which can make your cake sink. Just trust the process, okay?
- **Not using boiling water:** That boiling water *really* helps bloom the cocoa and gives you that incredible moist texture. Cold water just won’t cut it, pal.
Alternatives & Substitutions
- **Milk:** Ran out of cow’s milk? Almond, soy, or oat milk can work in a pinch. Just know the flavor might shift slightly.
- **Oil:** Vegetable oil is best for a neutral taste and moisture, but canola or even a light olive oil (if you’re feeling adventurous) could work. Butter *can* be used, but you might lose some of that signature moistness from the oil. IMO, stick with the oil for this one.
- **Cocoa Powder:** If you only have Dutch-processed, it’ll still be delicious, but you might get a slightly less intense chocolate flavor and the leavening might be *slightly* different (but it’s fine for this recipe, no biggie).
- **Frosting:** No time for homemade? A good store-bought chocolate fudge frosting is perfectly acceptable. Or just a dusting of powdered sugar if you’re going for minimalist chic.
FAQ (Frequently Asked Questions)
- **”My cake is dry! What went wrong?”** Did you overbake it? Or maybe overmix the batter? These are the usual suspects. Next time, keep a closer eye on the baking time and mix *just* until combined.
- **”Can I make this into cupcakes?”** Absolutely, you baking superstar! Just reduce the baking time to about 18-22 minutes. Keep an eye on them.
- **”Do I *really* need boiling water?”** Yes, my friend, **yes!** It’s the secret sauce (or, well, water) for blooming the cocoa and getting that super moist texture. Don’t skip this critical step!
- **”Can I add chocolate chips?”** Oh, you fancy, huh? Go for it! Toss in about ½ cup to ¾ cup of your favorite chocolate chips with the dry ingredients. Makes it extra indulgent.
- **”How long does this cake last?”** If stored in an airtight container at room temp, it’s usually good for 3-4 days. But let’s be real, it probably won’t last that long anyway!
- **”Is this recipe kid-friendly?”** Super kid-friendly! Both to make (with supervision, especially the hot water part) and definitely to eat. Little ones can help with measuring and mixing the dry ingredients.
Final Thoughts
And there you have it, folks! Your very own Chocolate Moist Cake masterpiece. Who knew being a baking genius could be this easy, right? Now go impress someone—or yourself—with your new culinary skills. You’ve earned it! Seriously, grab a fork and dig in. You deserve every single moist, chocolatey bite. Happy baking (and eating)!

