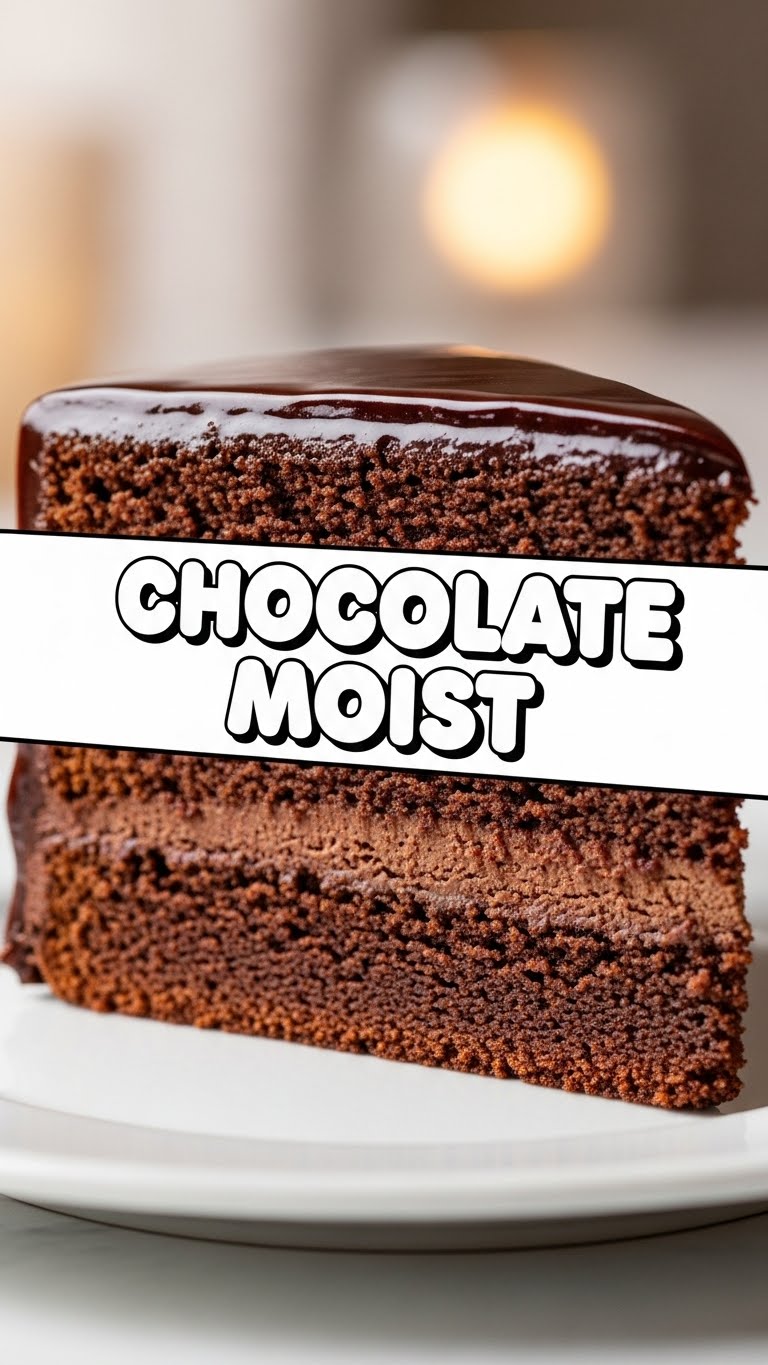
Ever have one of those days where your sweet tooth is screaming louder than your alarm clock, but your energy levels are whispering ‘nap time’? Yeah, me too. And that’s exactly why we’re making this ridiculously easy and unbelievably delicious chocolate moist cake. Forget complicated techniques and fancy ingredients – this is your new go-to for instant chocolate gratification without the drama.
Why This Recipe is Awesome
Okay, so why this recipe and not some other fancy-pants, artisanal, single-origin cacao masterpiece? Because, my friend, this cake is practically magic. It’s **super forgiving** (even if you’re, ahem, easily distracted by cat videos). It comes out **perfectly moist every single time**, without needing a PhD in baking science. Plus, you probably have most of these ingredients chilling in your pantry already. No special trips to a boutique grocery store required. Your wallet (and your sanity) will totally thank you, FYI.
Ingredients You’ll Need
- All-purpose flour: The foundation of all deliciousness. About 1 ½ cups.
- Granulated sugar: Sweet, sweet joy. A generous 1 ½ cups.
- Unsweetened cocoa powder: Go for the good stuff, about ½ cup. You deserve it!
- Baking soda: Our little lift-off agent. Just 1 teaspoon.
- Salt: Just a pinch (1 teaspoon) to make everything pop and balance the sweetness.
- Large eggs: Happy little binders. You’ll need 2 of these.
- Milk: Any kind works, but whole milk makes it extra lush. About 1 cup.
- Vegetable oil: The secret to that amazing moistness – don’t skimp! ½ cup.
- Vanilla extract: Because vanilla makes everything better, duh. 2 teaspoons.
- Boiling water: Sounds weird, but trust me on this. 1 cup.
Step-by-Step Instructions
- Preheat and Prep: Get your oven hot (we’re talking 350°F / 175°C, pal) and grease and flour your 9×13 inch pan. Or line it with parchment paper if you’re feeling fancy and want easy removal.
- Dry Mix: In a big bowl, whisk together all your dry buddies: flour, sugar, cocoa powder, baking soda, and salt. Make sure there are no lumpy surprises lurking.
- Wet Mix: In another bowl, beat those eggs, then stir in the milk, vegetable oil, and vanilla extract. Give it a good whisk until everything is well combined.
- Combine: Pour the wet ingredients into the dry mixture. Mix until just combined. **Don’t overmix!** Lumps are okay; a tough, dry cake is not.
- The Magic Step: Carefully pour in the boiling water. The batter will be thin – this is completely normal! Whisk it in until just combined again. This step is key for that signature moistness and bringing out the cocoa flavor.
- Bake: Pour the thin batter into your prepared pan. Slide it into the preheated oven for 30-35 minutes. A toothpick inserted into the center should come out clean or with a few moist crumbs.
- Cool: Let it cool in the pan for at least 15-20 minutes before you try to attack it. Patience, young grasshopper.
Common Mistakes to Avoid
- **Overmixing the batter:** Seriously, you want a moist cake, not a rubbery hockey puck. Mix until just combined, a few lumps are totally fine!
- **Not preheating the oven:** Rookie mistake! Your oven isn’t a microwave. Give it time to get to temp, otherwise, your cake will be sad, unevenly baked, and probably dry.
- **Opening the oven door too early:** Curiosity killed the cake! Resist the urge for at least 25 minutes, or your beautiful cake might sink in the middle.
- **Skipping the boiling water:** It’s the secret sauce for moisture and makes the cocoa bloom into a deeper flavor. Don’t ditch it; it’s there for a reason, **IMO**.
Alternatives & Substitutions
- **Milk:** No whole milk? Skim, almond, soy – pretty much anything works. But for maximum lushness and a truly decadent crumb, stick to whole milk or a rich plant-based milk.
- **Oil:** Vegetable oil is neutral and great here, but melted coconut oil or even unsalted butter (melted and cooled) can work if you’re in a pinch. Just know it might alter the texture slightly.
- **Cocoa powder:** Dutch-processed cocoa gives a darker, less acidic cake, while regular unsweetened cocoa powder is also fantastic. Use what you’ve got!
- **Gluten-free:** Swap the all-purpose flour for a 1:1 gluten-free baking blend. Easy peasy!
FAQ (Frequently Asked Questions)
- **Can I make this in advance?** Absolutely! This cake tastes even better the next day, like magic. Make it tonight for tomorrow’s party!
- **What if I don’t have boiling water?** Hot tap water works in a pinch, but using *actual* boiling water really brings out the cocoa flavor and ensures a super moist cake. So, try to boil it if you can!
- **Can I add chocolate chips?** Is that even a question? **YES!** Sprinkle about ½ to 1 cup of chocolate chips into the batter or on top before baking for an extra chocolate explosion. You do you.
- **How do I store leftovers? (Ha! Leftovers?)** If by some miracle you have any left, wrap it tightly or put it in an airtight container at room temperature for up to 3 days. Or in the fridge for longer.
- **Frosting suggestions?** A simple chocolate ganache is divine, or just a dusting of powdered sugar if you’re keeping it casual. My personal fave: a tangy cream cheese frosting to cut through the richness!
- **Is it *really* moist?** Dude, it’s called ‘Chocolate Moist’ for a reason. Trust the process and prepare for a melt-in-your-mouth experience.
Final Thoughts
See? I told you it was easy! Now you’ve got a killer chocolate cake recipe up your sleeve that’ll impress pretty much anyone (including your future self when you’re craving a midnight snack). Go ahead, take a bow, you culinary genius! And don’t forget to share… or not. Your call. **You’ve earned this chocolatey goodness!**

