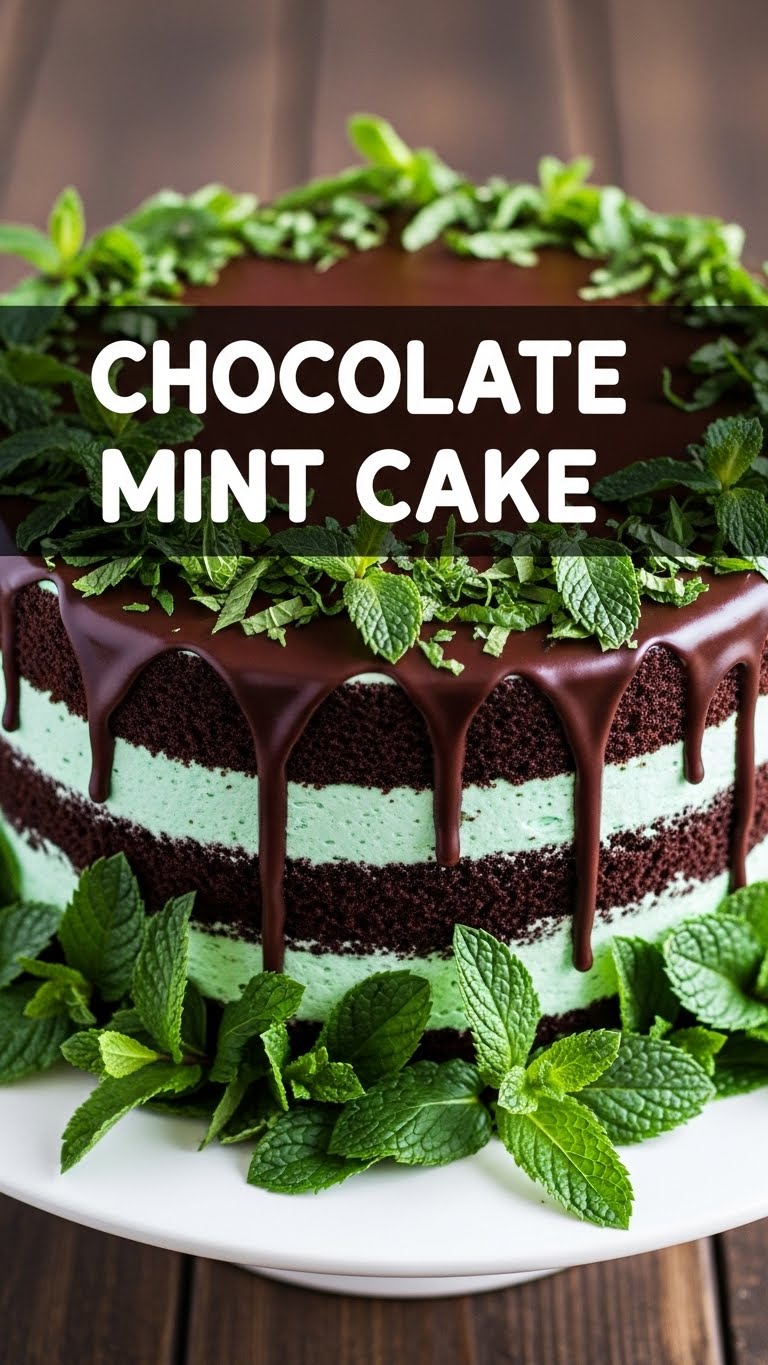
Feeling like your sweet tooth is staging a full-on rebellion, but your energy levels are, let’s say, ‘on sabbatical’? Same, friend, same. But don’t you dare reach for that sad, dusty box of stale cookies. We’re about to whip up something so ridiculously delicious and surprisingly easy, you’ll wonder why you ever hesitated. Get ready to dive into the magical, minty world of Chocolate Mint Cake!
Why This Recipe is Awesome
Okay, let’s be real. This isn’t just *a* cake; it’s *the* cake. It’s the kind of cake that makes people ask, “You made this?!” with wide, impressed eyes. And the best part? It’s practically idiot-proof. Seriously, if I, a person who once nearly set off the fire alarm trying to make toast (long story, don’t ask), can nail this, so can you. It’s got that perfect balance of rich, fudgy chocolate and cool, refreshing mint, which, **IMO**, is basically a party in your mouth. Plus, it looks fancy without requiring a culinary degree. Winning!
Ingredients You’ll Need
Time to gather your edible arsenal! No need for a scavenger hunt; these are pretty standard.
- For the Cake:
- 1 ½ cups all-purpose flour (the basic building block of joy)
- 1 ½ cups granulated sugar (because life’s too short for unsweetened sadness)
- ¾ cup unsweetened cocoa powder (good quality, please! None of that dusty stuff from the back of the cupboard)
- 1 ½ teaspoons baking soda (your cake’s fluffy secret weapon)
- ½ teaspoon baking powder (a little extra lift never hurt anyone)
- 1 teaspoon salt (to make everything else taste better, obviously)
- 2 large eggs (happy, room-temp eggs are best)
- ¾ cup milk (any kind works, but whole milk gives it that extra hug)
- ⅓ cup vegetable oil (or any neutral oil you have lurking)
- 2 teaspoons vanilla extract (the MVP of flavor)
- ¾ cup hot water or freshly brewed hot coffee (trust me on the coffee, it makes the chocolate sing!)
- For the Mint Buttercream Frosting:
- 1 cup (2 sticks) unsalted butter, softened (leave it out for an hour or two!)
- 4 cups powdered sugar (sifted, if you’re feeling extra fancy and lump-averse)
- ¼ cup milk or heavy cream (for creaminess, baby!)
- 1 teaspoon peppermint extract (don’t confuse with spearmint, unless you like a toothpaste cake)
- A few drops green food coloring (optional, but makes it look like a minty dream)
- For Garnish (Optional but highly recommended):
- Chocolate shavings or mini chocolate chips (because more chocolate is always the answer)
Step-by-Step Instructions
Ready? Let’s make some magic happen!
- First things first: **Preheat your oven to 350°F (175°C)**. Grab a 9×13 inch baking pan, grease it, and flour it up like you’re preparing for royalty.
- In a large mixing bowl, combine your flour, sugar, cocoa powder, baking soda, baking powder, and salt. Whisk ’em good until they’re all friends. We want no lumpy surprises later!
- In a separate bowl, whisk together the eggs, milk, oil, and vanilla extract. This is your wet team.
- Pour the wet ingredients into the dry ingredients. Mix on low speed (or by hand) until just combined. Don’t overmix! Overmixing leads to tough cakes, and we’re not about that life.
- Now, the secret weapon: slowly pour in the hot water or coffee, mixing until the batter is smooth. It might seem thin, but that’s okay, it’s just doing its thing.
- Pour your glorious batter into the prepared pan. Slide it into the preheated oven.
- Bake for 30-35 minutes, or until a toothpick inserted into the center comes out clean. **Resist the urge to open the oven door early!** Your cake needs its space.
- Once baked, let the cake cool in the pan for about 10-15 minutes, then transfer it to a wire rack to **cool completely**. This is crucial! Don’t even think about frosting a warm cake unless you want a melted mess.
- While the cake cools, let’s make that dreamy frosting! In a large bowl, beat the softened butter with an electric mixer until light and fluffy.
- Gradually add the sifted powdered sugar, about a cup at a time, beating well after each addition. If it gets too thick, add a splash of milk/cream.
- Once all the sugar is in, beat in the peppermint extract and a few drops of green food coloring until you reach your desired minty hue. Add more milk/cream if needed to get a smooth, spreadable consistency.
- Once the cake is completely cool (seriously, wait!), spread that gorgeous mint frosting all over it.
- Garnish with chocolate shavings or mini chips if you’re feeling extra. Slice, serve, and accept all the compliments!
Common Mistakes to Avoid
Listen, we’ve all been there. Here’s how to sidestep those common cake pitfalls:
- Not fully cooling the cake: I know, I know, the frosting is calling your name. But spreading frosting on a warm cake is like trying to ice a melting iceberg. It won’t end well.
- Overmixing the batter: Once you add the wet to the dry, mix *just* until combined. Too much mixing develops the gluten, making your cake tough and chewy instead of light and fluffy. We want fluffy!
- Eyeballing measurements: Seriously, grab those measuring cups and spoons. Baking is chemistry, not improv comedy. Precision matters, especially for things like baking soda and flour.
- Using expired leavening agents: Baking soda and powder lose their oomph over time. If your cake isn’t rising, check the dates. **FYI**, you can test baking soda with vinegar (should bubble) and baking powder with hot water (should bubble).
- Opening the oven door too often: Every time you peek, you let out heat and mess with the cake’s rise. Be patient! Trust the process and your timer.
Alternatives & Substitutions
Feeling rebellious? Or just missing an ingredient? Here are some quick swaps:
- No peppermint extract? You can totally skip it for a plain chocolate cake, or swap it for vanilla extract for a different vibe.
- Dairy-free? Use your favorite plant-based milk (almond, soy, oat) for both the cake and frosting. Ensure your butter alternative works for baking/frosting.
- Don’t have hot coffee? Hot water works perfectly fine. The coffee just enhances the chocolate flavor without making it taste like coffee itself. Magic!
- Not a fan of food coloring? No worries! Your mint frosting will be a lovely off-white color, which is still delicious.
- Want less intense mint? Start with ½ teaspoon of peppermint extract in the frosting and add more to taste.
FAQ (Frequently Asked Questions)
- My cake sank in the middle! What did I do wrong? Did you peek in the oven every five minutes? We’ve all been there. Resist the urge! Also, make sure your baking powder/soda isn’t ancient and you measured everything accurately.
- Can I use margarine instead of butter for the frosting? Well, technically yes, but why hurt your soul like that? Butter tastes better, trust me. If you must, use a good quality baking margarine.
- How long does this cake last? Covered tightly, this cake is good for 2-3 days at room temperature, or up to a week in the fridge. The frosting sets up nicely in the cold!
- Can I make cupcakes instead? Absolutely! Divide the batter into cupcake liners. Bake for about 18-22 minutes, or until a toothpick comes out clean.
- Can I freeze this cake? Yes! You can freeze unfrosted cake layers wrapped tightly in plastic wrap for up to 2 months. You can also freeze slices of frosted cake; just wrap them well.
- What kind of cocoa powder should I use? Natural unsweetened cocoa powder is generally what recipes mean unless otherwise specified. Dutch-processed cocoa works too, but it’s less acidic, which might slightly affect the rise if your recipe relies on the acidity for baking soda activation. For this recipe, natural is great!
Final Thoughts
See? You’re practically a pastry chef now, and you didn’t even break a sweat (or barely, anyway). This Chocolate Mint Cake is your new go-to for impressing guests, satisfying epic cravings, or just treating yourself because, frankly, you deserve it. So go on, unleash that chocolate-mint magic on the world (or just your couch). You’ve earned it!


