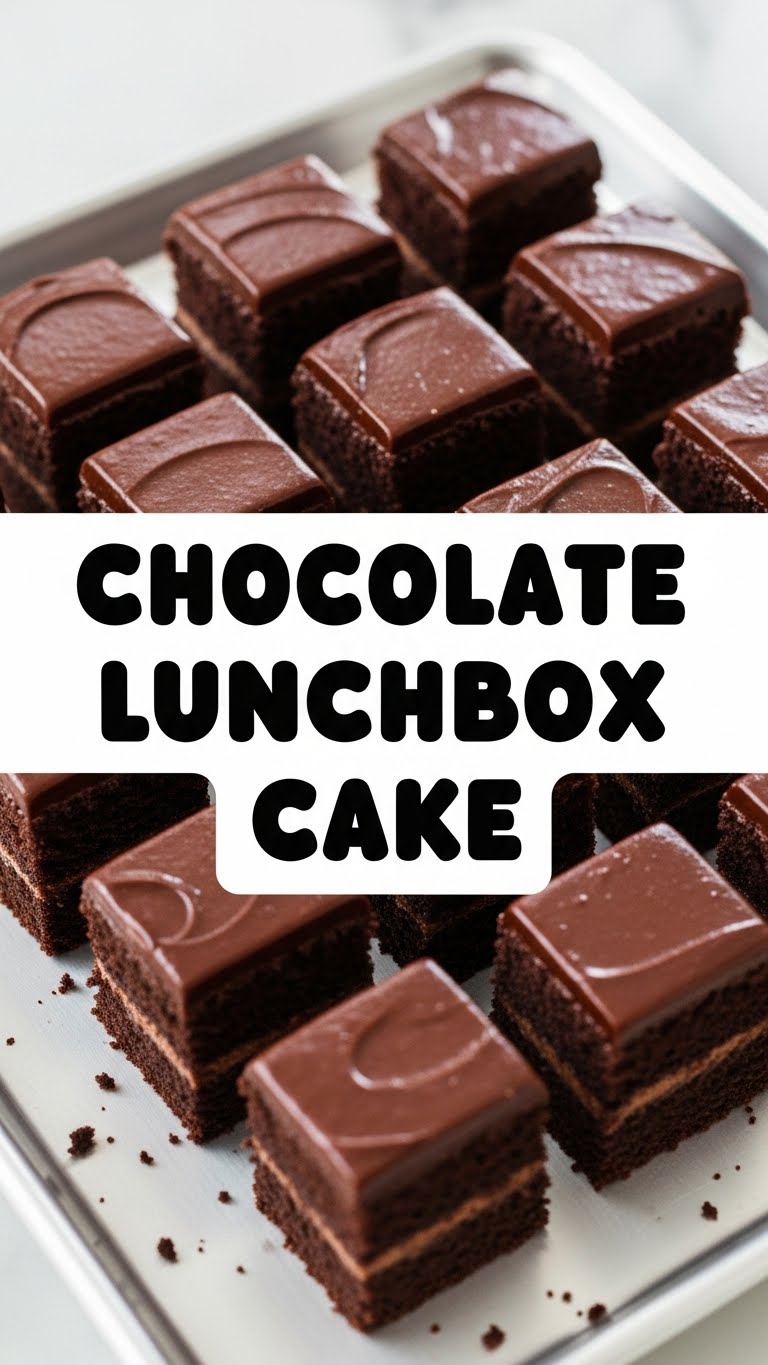
So you’re craving something tasty, chocolatey, and utterly delightful but too lazy to spend forever in the kitchen, huh? Same, friend, *same*. And let’s be real, sometimes you just need a personal-sized cake that doesn’t scream “I baked an entire cake, where’s the party?!” but rather “This is just for me, for my lunchbox, or my desk, or my couch. Don’t touch.” Enter the glorious, mighty, and ridiculously easy Chocolate Lunchbox Cake!
Why This Recipe is Awesome
Okay, let’s cut to the chase. Why bother with *this* particular chocolate cake recipe when the internet is overflowing with them? Simple:
- It’s practically **idiot-proof**. Seriously, even I, someone who once mistook salt for sugar (don’t ask), nail this every time.
- It’s **fast**. Like, “dinner’s in the oven, let’s whip up dessert before it’s done” fast.
- It’s the perfect size for a **solo chocolate emergency** or sharing with *one* very special person (maybe). No massive leftovers tempting you for days.
- **Minimal dishes.** This is a huge win, IMO. Less scrubbing, more eating.
- The flavor? Oh, it’s **deep, dark, and wonderfully moist**. Thanks to a little secret ingredient you’ll discover below.
Ingredients You’ll Need
Gather ’round, my sweet-toothed companions! Here’s what you’ll need for this chocolatey magic. Nothing fancy, mostly pantry staples.
- All-Purpose Flour: Just the regular stuff. The unsung hero of many a bake.
- Granulated Sugar: For that sweet, sweet goodness. Don’t skimp, unless you’re into savory cake (you’re not).
- Unsweetened Cocoa Powder: The darker, the better for that rich chocolate kick. Dutch-processed is my fave for color and depth.
- Baking Soda & Baking Powder: The dynamic duo for lift and fluffiness. Make sure they’re not expired, or your cake will be a brick.
- Salt: Just a pinch! It makes all the other flavors pop. Trust me on this one.
- Egg: One large egg, the binder of dreams.
- Milk: Any kind works – dairy, almond, oat… whatever your fridge holds.
- Vegetable Oil: Or canola, or melted coconut oil. It keeps the cake super moist and lovely.
- Vanilla Extract: A dash for that extra layer of yum. Don’t skip it!
- Hot Water or Hot Coffee: **Secret weapon alert!** This is what makes the chocolate flavor sing. Coffee doesn’t make it taste like coffee, it just amplifies the chocolate.
- For the Frosting (Because a cake without frosting is just bread, right?):
- Chocolate Chips: Semi-sweet or dark are best for a quick ganache.
- Heavy Cream: For that silky smooth, decadent ganache.
- Alternatively for buttercream: Butter, powdered sugar, a splash of milk, and more cocoa powder/vanilla.
Step-by-Step Instructions
Alright, apron on, game face ready! Let’s get baking. This is going to be so easy, you’ll wonder why you ever bought those overpriced bakery slices.
- Prep Your Pan: Grab a small cake pan (I usually use a 6-inch round or even a couple of smaller 4-inch ones for true “lunchbox” size). Lightly grease and flour it, or line it with parchment paper. Trust me, you don’t want your masterpiece stuck. Preheat your oven to **350°F (175°C)**. This is not a suggestion, it’s a command.
- Whisk the Dry Stuff: In a medium bowl, whisk together your flour, sugar, cocoa powder, baking soda, baking powder, and salt. Make sure there are no lumps of cocoa powder lurking – nobody wants a bitter surprise!
- Mix the Wet Stuff: In a separate smaller bowl (or just dump them into the dry ingredients if you’re a rebel, but I recommend separate for even mixing), whisk together the egg, milk, oil, and vanilla extract.
- Combine & Conquer: Pour the wet ingredients into the dry ingredients. Stir them together with a spatula until *just* combined. **Do not overmix!** Lumps are okay here; overmixing leads to tough cake.
- Add the Hot Stuff: Now, pour in your hot water or hot coffee. Stir until smooth. The batter will be quite thin – don’t panic, this is normal and contributes to the moistness.
- Bake It Up: Pour the batter into your prepared pan. Pop it into the preheated oven for **25-30 minutes**, or until a wooden skewer inserted into the center comes out clean.
- Cool Down: Let the cake cool in the pan for about 10 minutes before carefully inverting it onto a wire rack to cool completely. Patience is a virtue here, my friend. Don’t try to frost a warm cake unless you want a chocolate puddle.
- Make the Frosting (The Fun Part!):
- For Ganache: Heat the heavy cream in a small saucepan or microwave until it’s simmering (not boiling!). Pour it over your chocolate chips in a heatproof bowl. Let it sit for 5 minutes, then stir until smooth and glossy. Let it cool a bit until it’s thick enough to spread.
- For Buttercream (if you went that route): Cream softened butter, then gradually beat in powdered sugar, cocoa powder (if using), vanilla, and a splash of milk until fluffy and smooth.
- Frost & Devour: Once the cake is completely cool, slather on that glorious frosting. Add sprinkles, chocolate shavings, or just dig in!
Common Mistakes to Avoid
We all make mistakes, darling, but let’s try to avoid these common cake blunders, shall we?
- Forgetting to Preheat the Oven: Rookie move! Your cake won’t rise properly if it goes into a cold oven. **Always preheat!**
- Overmixing the Batter: Unless your goal is a dense, rubbery cake that could double as a hockey puck, stop mixing as soon as the ingredients are combined. Lumps are your friends here.
- Opening the Oven Door Too Soon: Curiosity killed the cake! Opening the door before the cake is set can make it sink. Give it at least 20 minutes before peaking.
- Not Cooling the Cake Completely Before Frosting: I know, it’s tempting. But a warm cake will melt your beautiful frosting into a messy, soupy disaster. Chill out.
- Skipping the Hot Water/Coffee: You might think it’s just a filler, but it activates the cocoa powder, making the chocolate flavor intensely rich and delicious. Don’t you dare skip it!
Alternatives & Substitutions
Feeling adventurous or just missing an ingredient? No stress! This recipe is pretty forgiving.
- Milk: Any dairy milk works great. For a dairy-free option, almond milk, soy milk, or oat milk are perfect substitutes.
- Oil: Vegetable oil is standard, but canola oil, sunflower oil, or even melted coconut oil (if you don’t mind a slight coconut flavor) will work just fine.
- Frosting: Not a ganache fan? Try a simple cream cheese frosting, a classic vanilla buttercream, or even just a dollop of whipped cream and some fresh berries for a lighter touch.
- Add-ins: Want more chocolate? Throw in a handful of chocolate chips to the batter! A sprinkle of chopped nuts or even some coffee granules (for an extra mocha kick) could be fun.
FAQ (Frequently Asked Questions)
Got questions? I’ve got (casual) answers!
Can I use a regular 8-inch or 9-inch cake pan?
Well, technically yes, but it will be a much thinner cake, and bake time will be shorter. If you want a full-sized cake, you’ll need to double the recipe, FYI!
What if I don’t have cocoa powder for the frosting?
You can make a vanilla buttercream! Just skip the cocoa powder in the frosting recipe. Or, try a simple glaze with powdered sugar and a bit of milk/vanilla.
Can I make this dairy-free or vegan?
Absolutely! Use plant-based milk (almond, soy, oat). For the egg, a flax egg (1 tbsp ground flaxseed + 3 tbsp water, let sit 5 mins) usually works great in this recipe. Just make sure your chocolate chips are dairy-free too!
How long does this cake last?
If you manage not to eat it all in one sitting (which is a challenge, I know), it’ll keep covered at room temperature for 2-3 days, or in the fridge for up to 5 days. Though it rarely lasts that long in my house!
Can I freeze the cake?
Yep! Wrap the unfrosted, cooled cake tightly in plastic wrap and then foil. It’ll last in the freezer for up to a month. Thaw at room temperature before frosting.
Do I *really* need hot water/coffee?
Yes, you really do! It’s the secret sauce for unlocking that deep, dark chocolate flavor. Trust the process. You won’t regret it.
Final Thoughts
And there you have it, my friend! Your new go-to recipe for when you need a chocolate fix, a stress-baking session, or just want to impress someone (or yourself!) with minimal effort. This Chocolate Lunchbox Cake is proof that amazing things come in small packages.
Now go forth, conquer your kitchen, and bake something delicious. You’ve earned it!


