So, you’ve got that undeniable chocolate craving hitting harder than a Monday morning, but the thought of a complicated recipe makes you want to just eat a spoonful of Nutella and call it a day? Yeah, I’ve been there. My friend, you’re in the right place, because today we’re making a Chocolate Loaded Cake that’s so easy, you’ll wonder if you accidentally used a magic wand instead of a whisk. Get ready for some serious chocolate therapy!
Why This Recipe is Awesome
Okay, let’s be real. We want maximum chocolate impact for minimum effort. This isn’t just a cake; it’s a chocolate experience. It’s ridiculously moist, intensely chocolatey, and so straightforward to make that even your cat could probably follow the instructions (if it had opposable thumbs, that is). It’s practically idiot-proof. Seriously, I made it last week after a particularly long day and didn’t even mess it up, which is saying something.
Plus, it uses simple ingredients you probably already have lurking in your pantry. No fancy-pants stuff needed. Just pure, unadulterated chocolatey goodness ready to be unleashed upon your unsuspecting taste buds. Prepare for compliments, because this bad boy is a crowd-pleaser.
Ingredients You’ll Need
Gather your chocolatey troops! Here’s what we’re rounding up:
- All-purpose flour: About 1 ½ cups. The backbone of our cakey dreams.
- Granulated sugar: 1 ½ cups. Because life’s too short for unsweetened sadness.
- Unsweetened cocoa powder: ¾ cup. Go for a good quality one, it makes a huge difference, IMO!
- Baking soda: 1 ½ teaspoons. Our little lifting fairy.
- Salt: 1 teaspoon. Don’t skip it; it brings out all the flavors!
- Eggs: 2 large. Room temperature, please! They mix better.
- Milk: 1 cup. Any kind works, but whole milk makes it extra rich.
- Vegetable oil: ½ cup. Or any neutral oil. Adds glorious moisture.
- Vanilla extract: 2 teaspoons. The silent hero of all desserts.
- Boiling water: 1 cup. Yes, boiling! It blooms the cocoa.
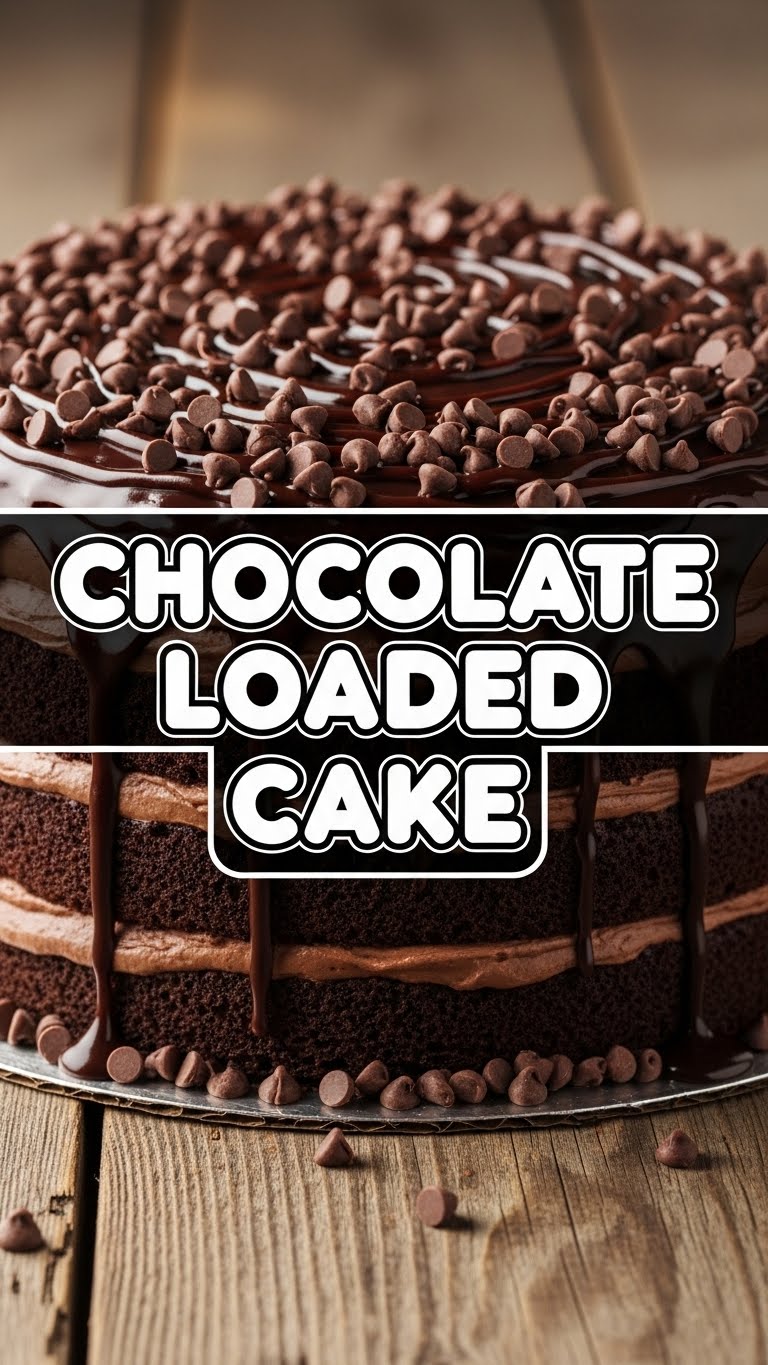
- Chocolate chips (optional, but highly recommended): 1 cup. Because why not? We said loaded, right?
For the Frosting/Ganache (optional, but let’s be honest, you’re doing it):
- Heavy cream: ½ cup.
- Semi-sweet chocolate chips/chopped chocolate: 1 cup.
Step-by-Step Instructions
- Preheat & Prep: First things first, crank that oven to **350°F (175°C)**. Grease and flour a 9×13 inch baking pan. Or line it with parchment paper like a pro.
- Dry Mix Magic: In a large bowl, whisk together your flour, sugar, cocoa powder, baking soda, and salt. Make sure there are no lumps—we’re aiming for smooth operations here.
- Wet Mix Wonder: In a separate, medium-sized bowl, lightly beat the eggs, then whisk in the milk, oil, and vanilla extract.
- Combine Forces: Pour the wet ingredients into the dry ingredients. Mix with a spatula or an electric mixer on low speed until just combined. Don’t overmix! A few small lumps are totally fine.
- The Secret Weapon: Carefully pour in the boiling water. The batter will look thin, don’t panic! This is normal. Stir until just smooth. If using, fold in those beautiful chocolate chips now.
- Bake It Up: Pour the glorious batter into your prepared pan. Bake for **30-35 minutes**, or until a wooden skewer inserted into the center comes out clean.
- Cool Down: Let the cake cool in the pan for about 10-15 minutes before transferring it to a wire rack to cool completely. Patience, young padawan!
- Frosting Time (if you’re feeling fancy): While the cake cools, heat the heavy cream in a small saucepan until just simmering. Remove from heat, add chocolate chips, and let sit for 5 minutes. Whisk until smooth and glossy. Let it cool slightly, then pour it over your magnificent cake.
Common Mistakes to Avoid
- Overmixing: Please, for the love of all that is holy, don’t overmix the batter! You’ll end up with a tough, sad cake. Mix until just combined.
- Not greasing your pan: Rookie mistake! Your cake will stick, and you’ll cry. Grease it well, or use parchment paper.
- Opening the oven door too early: That precious cake needs its space! Opening the door lets cold air in, which can make your cake sink. Wait until at least 25 minutes have passed.
- Skipping the boiling water: Seriously, don’t. That hot water “blooms” the cocoa, intensifying the chocolate flavor like magic.
- Cutting the cake while it’s hot: It will crumble and fall apart. Resist the urge, let it cool!
Alternatives & Substitutions
Feeling a bit experimental? I like your style!
- Dairy-Free: Swap regular milk for almond, soy, or oat milk. Use a neutral oil (like canola or vegetable) and make sure your chocolate chips are dairy-free.
- Gluten-Free: You can often use a 1:1 gluten-free flour blend in place of all-purpose flour. Just make sure it contains xanthan gum!
- Extra Chocolate Punch: Use dark cocoa powder for an even deeper chocolate flavor. Or mix in some instant espresso powder (1-2 tsp) with the dry ingredients—it really enhances the chocolate without making it taste like coffee.
- Different Chocolate Chips: Feel free to experiment! White chocolate chips, milk chocolate chunks, or even a mix would be divine.
- Add-ins: Walnuts, pecans, or even a handful of dried cherries would be delicious if you’re feeling adventurous.
FAQ (Frequently Asked Questions)
- “Can I use natural cocoa powder instead of Dutch-processed?” Technically yes, but you might want to consider adding a tiny bit more baking soda (say, an extra ¼ tsp) if your recipe calls for natural and you’re using Dutch-processed, or vice-versa. Natural cocoa reacts with baking soda, while Dutch-processed is neutral. For this recipe, either works great, but Dutch-processed often gives a darker color.
- “My cake sank in the middle! What happened?” Oh no! This can happen for a few reasons: oven door opened too soon, overmixing, too much leavening, or incorrect oven temperature. Double-check your oven thermometer!
- “How long does this cake last?” Covered tightly at room temperature, it’ll be amazing for 3-4 days. In the fridge, it can stretch to a week, but honestly, it probably won’t last that long. It’s too delicious!
- “Can I make this into cupcakes?” Absolutely! Divide the batter into cupcake liners and bake for about 18-22 minutes. Keep an eye on them!
- “Can I freeze this cake?” You bet! Let it cool completely, then wrap it tightly in plastic wrap and then foil. It’ll keep for up to 3 months. Thaw at room temperature.
Final Thoughts
See? That wasn’t so scary, was it? You just whipped up a show-stopping Chocolate Loaded Cake like it was nothing. Go ahead, take a bow. You deserve it! This cake is perfect for celebrations, commiserations, or just a Tuesday night when you really, really need chocolate. So go on, slice yourself a generous piece, maybe pour a cup of coffee or a cold glass of milk, and enjoy the fruits of your not-so-laborious labor. Now go impress someone—or yourself—with your new culinary skills. You’ve earned it!


