Hey there, fellow dessert enthusiast! You want something ridiculously impressive, super decadent, but secretly *easy* to whip up? Something that screams ‘I’m a kitchen wizard!’ but actually takes like, zero brain cells? Yeah, me too. Let’s make a Chocolate Lava Cake, because adulting is hard, but dessert doesn’t have to be.
Why This Recipe is Awesome
Okay, so why this one? First, it’s basically a magic trick. You pull it out of the oven, it looks all innocent, then BOOM! Molten chocolate river. Secondly, it’s faster than deciding what to watch on Netflix. Seriously. And thirdly, it uses minimal dishes, which, if you’re like me, is the real MVP of any recipe.
It’s so foolproof, even I didn’t mess it up, and my kitchen skills sometimes peak at instant noodles. It’s got that fancy restaurant vibe without the fancy restaurant effort (or price tag). Plus, it’s ridiculously satisfying to see that lava flow. Trust me on this one.
Ingredients You’ll Need
Gather your troops! Here’s what you’ll need to make this chocolatey dream come true:
- Half a cup (1 stick) Unsalted Butter: The good stuff, not that weird spreadable stuff. Unsalted because we’re fancy and control our salt levels.
- 4 ounces Dark Chocolate: Chips or a good quality bar (70% cocoa for maximum deliciousness). Think of it as therapy, in chocolate form.
- 2 Large Eggs: Because they’re the glue that holds our lava together. Room temperature, please!
- 2 Large Egg Yolks: Just the yolks! Don’t throw out the whites, make a mini meringue later, or just… don’t. Your call. Room temp again.
- Half a cup Powdered Sugar: For that melt-in-your-mouth sweetness without the graininess. Don’t use regular sugar, trust me.
- 2 Tablespoons All-Purpose Flour: Just a tiny bit. We want lava, not a brick.
- 1 Teaspoon Vanilla Extract: Because vanilla makes everything better, period.
- Pinch of Salt: To balance out all that glorious sweetness. Don’t skip it!
For the Super Simple Chocolate Sauce:
- Half a cup Heavy Cream: The rich stuff.
- 2 ounces Dark Chocolate (again): Chopped or chips.
Step-by-Step Instructions
- Preheat & Prep: Get that oven cranked up to 400°F (200°C). Now, grab four 6-ounce ramekins. Generously grease them with butter and dust lightly with cocoa powder (or flour). This is crucial!
- Melt the Goodness: In a microwave-safe bowl (or over a double boiler if you’re feeling extra chef-y), melt the butter and 4 oz of dark chocolate. Do it in 30-second bursts in the microwave, stirring until smooth and glossy. Let it cool slightly.
- Whip It Good: In a separate bowl, whisk together the large eggs, egg yolks, and powdered sugar until the mixture is light, pale, and fluffy. This usually takes about 2-3 minutes with an electric mixer, or a good arm workout by hand.
- Fold It In: Gently fold the flour, vanilla extract, and pinch of salt into your egg mixture. Don’t overmix! We’re aiming for fluffy, not tough.
- Combine the Deliciousness: Slowly pour the slightly cooled chocolate-butter mixture into the egg mixture. Fold gently until just combined. Again, be gentle, folks!
- Fill ‘Em Up: Divide your glorious batter evenly among the prepared ramekins. Place them on a baking sheet for easy transport.
- Bake to Perfection: Pop them in the preheated oven for 12-15 minutes. You’re looking for edges that are set and slightly puffed, but the center should still be deliciously jiggly. A little jiggle is a good jiggle!
- Rest & Release: Let the cakes cool in their ramekins for just 1-2 minutes. Then, carefully run a knife around the edges, place a plate over the ramekin, and invert. Ta-da!
- Sauce Time (Optional, but highly recommended): While the cakes are baking, heat the heavy cream in a small saucepan until just simmering. Remove from heat, add the 2 oz of chocolate, and whisk until smooth.
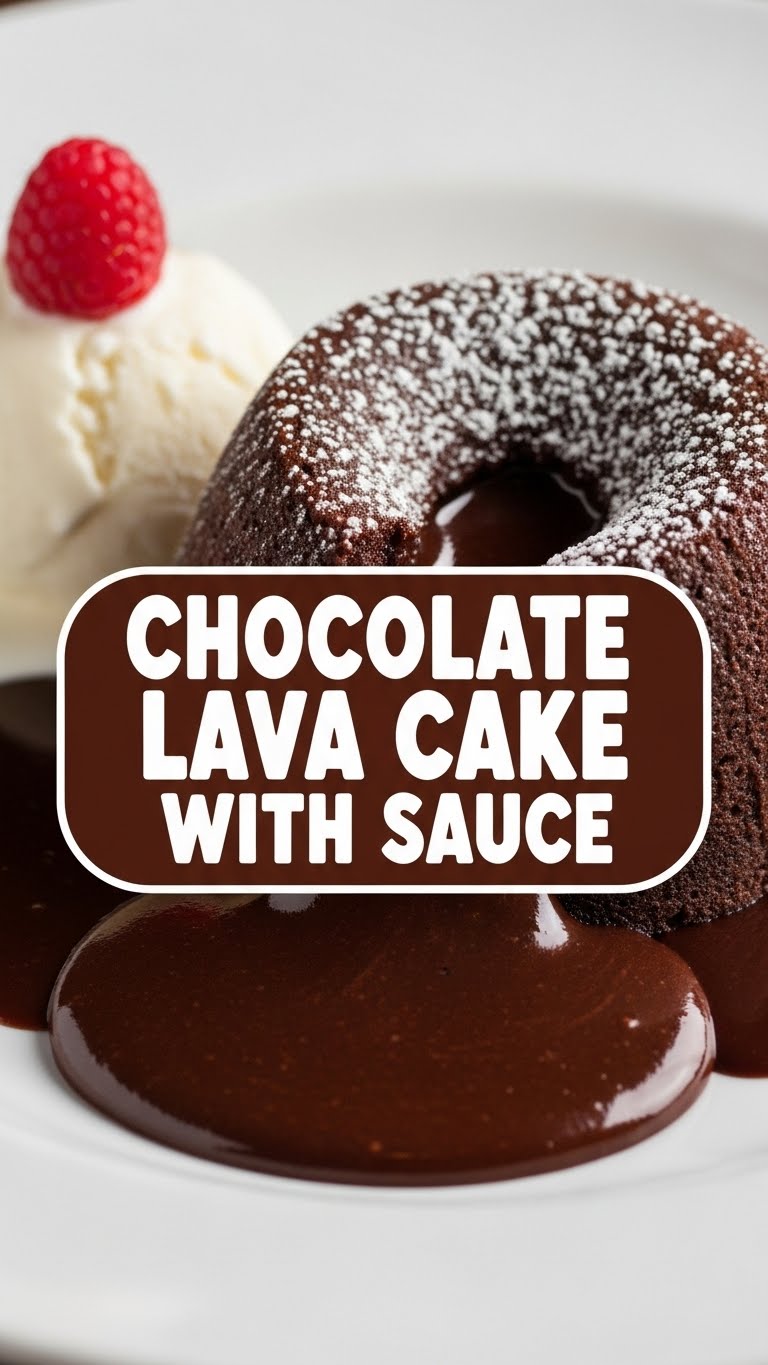
- Serve & Devour: Drizzle your warm chocolate sauce generously over the lava cakes. A scoop of vanilla ice cream or a sprinkle of berries also wouldn’t hurt. Enjoy your masterpiece!
Common Mistakes to Avoid
Look, we all make mistakes. But these ones? Try to dodge ’em:
- Not Greasing Ramekins Properly: This is the cardinal sin. You’ll end up with a stuck lava cake and a broken spirit. Grease and cocoa dust like your dessert life depends on it.
- Overbaking: This is the ultimate killer of lava cakes. You want gooey lava, not a dry muffin. Pull it out when the edges are set but the center still jiggles like a happy puppy. Seriously, don’t overbake!
- Overmixing the Batter: You’re not making bread, you’re making magic. Mix gently to keep it light and airy. Too much mixing develops gluten, leading to a tougher cake.
- Using Cold Ingredients: Bring those eggs and butter to room temperature, people! It helps everything combine smoothly and results in a better texture.
- Skipping the Preheat: Rookie mistake! An even, hot oven temperature is crucial for the lava effect. Don’t put your cakes into a cold oven.
Alternatives & Substitutions
Feeling adventurous? Or just out of something? Here are some tweaks:
- Chocolate Type: Use milk chocolate if you like it sweeter, but IMO, dark chocolate is where the party’s at for lava cake. White chocolate? Bold move, but you do you.
- Flour Alternatives: Gluten-free flour blend should work fine if that’s your jam. Just ensure it’s a 1:1 substitute. Almond flour *might* work, but adjust baking time and texture expectations.
- Sauce Variations: Skip the chocolate sauce and go for a scoop of vanilla bean ice cream instead. Or fresh raspberries. Or a dusting of powdered sugar. Or all of the above! Life’s short, eat dessert first.
- Flavor Boosts: Add a tiny pinch of cayenne pepper to the melted chocolate for a fun, subtle kick. Or a splash of espresso powder to deepen the chocolate flavor. A little orange zest can also be delightful.
FAQ (Frequently Asked Questions)
- Can I make these ahead of time? Yes! You can prep the batter and chill it in the ramekins for a day or two. Just let them sit at room temp for 20-30 minutes before baking, and you might need an extra minute or two in the oven.
- My cake didn’t have a gooey center! What happened? You, my friend, overbaked it. It’s the most common mistake! Learn from your mistakes and next time, pull it out *earlier*. Trust the jiggle!
- Do I *really* need to separate egg yolks? Yes! The extra yolks give it that rich, custardy texture and contribute to the lava effect. Don’t skimp on the good stuff.
- What if I don’t have ramekins? Muffin tins can work in a pinch, but they might bake a bit faster and not look as majestic. Disposable foil ramekins are also an option! Just remember to grease them well.
- Can I use margarine instead of butter? Well, technically yes, but why hurt your soul like that? Butter tastes better and provides a superior texture. For a recipe this simple, use the real deal.
- How do I know when it’s done? The edges should be set and slightly puffed, but the very center should still be jiggly when you gently shake the ramekin. That jiggle is your molten core!
Final Thoughts
Boom! You did it! You’re now officially a Lava Cake Jedi Master. Go on, take a bow. This glorious, molten masterpiece is your reward. Share it, hoard it, eat it standing over the sink—whatever brings you joy. Now go impress someone—or yourself—with your new culinary skills. You’ve earned it!


