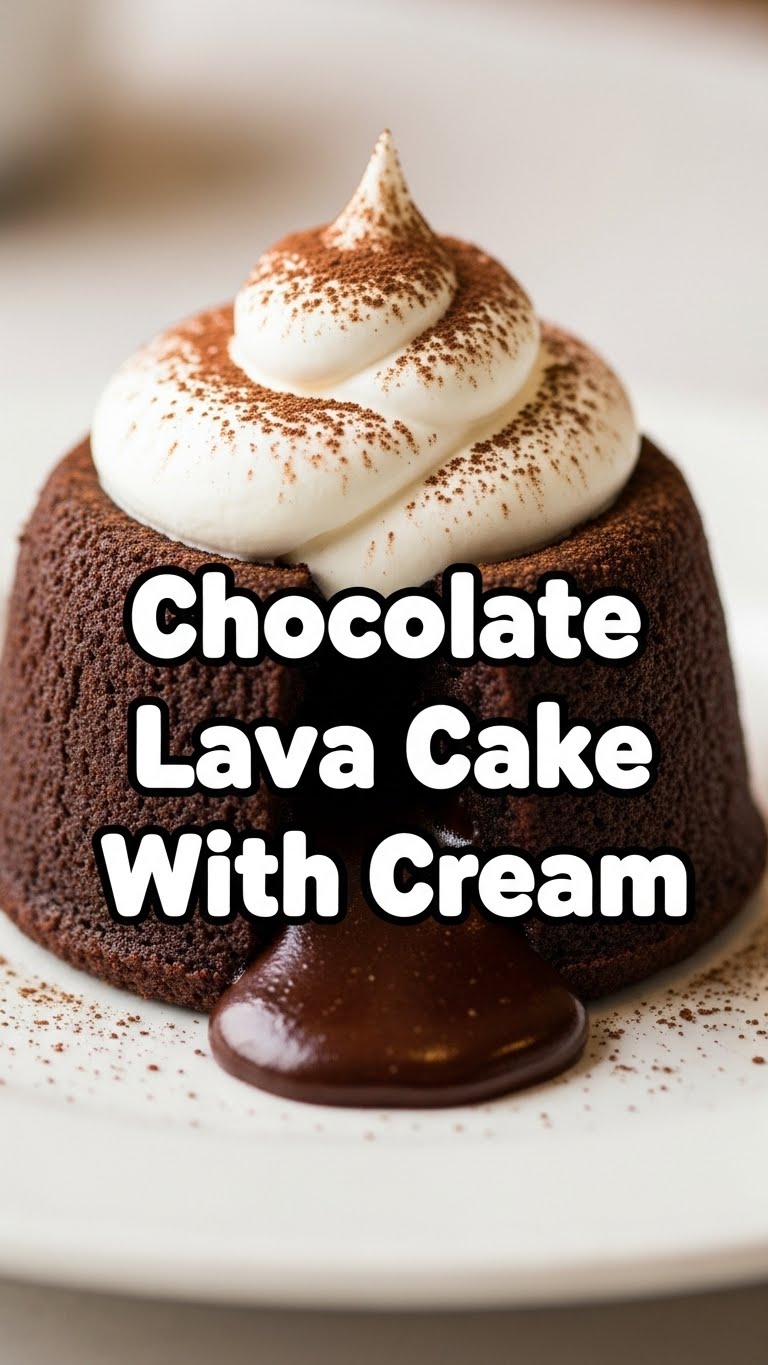
So you’re craving something warm, gooey, and utterly decadent but thinking, “Ugh, too much effort,” right? Been there, done that, bought the T-shirt. You want that fancy dessert vibe without, you know, *being* a fancy dessert chef. Well, friend, you’ve stumbled upon the holy grail of instant gratification: the Chocolate Lava Cake. With cream, because we’re not animals.
Why This Recipe is Awesome
Okay, let’s be real. This isn’t just a recipe; it’s a magic trick. You’ll look like a culinary wizard, and nobody needs to know you only spent about 10 minutes of active prep time. Seriously, it’s so easy, your pet goldfish could probably follow these steps (if they had opposable fins, obvs).
The “lava” part? Pure drama, pure deliciousness. It’s like a warm hug in chocolate form. The “cake” part? Just a sturdy little vessel for all that molten goodness. **Minimal ingredients, maximum impact.** Plus, who doesn’t love a dessert that requires an immediate, glorious excavation?
Ingredients You’ll Need
Gather your chocolatey troops! Here’s what we’re rounding up:
- **1/2 cup (113g) Unsalted Butter:** The good stuff. Unsalted because we control the salt content, duh.
- **6 oz (170g) Good Quality Dark Chocolate:** We’re talking baking chocolate here, 60-70% cocoa. This is NOT the candy bar you squirrel away in your desk drawer. Treat yo’ self!
- **2 Large Eggs:** Because structure.
- **2 Large Egg Yolks:** For extra richness and that dreamy texture. Separating eggs is character-building, FYI.
- **1/4 cup (50g) Granulated Sugar:** Just enough sweetness to balance the dark chocolate’s glorious sass.
- **2 tbsp (16g) All-Purpose Flour:** A tiny bit, so it actually holds its shape and doesn’t just become chocolate soup.
- **Pinch of Salt:** Enhances all those deep chocolate notes. Science!
- **1 tsp Vanilla Extract:** Because everything is better with a splash of vanilla.
- **For Serving:** Whipped cream (duh), a scoop of vanilla bean ice cream, or even just a light dusting of powdered sugar. Get fancy, or don’t. Your call!
Step-by-Step Instructions
Alright, apron on, game face ready! Let’s get this molten party started.
- **Preheat & Prep:** Preheat your oven to a blazing **425°F (220°C)**. Grab four 6-ounce ramekins. Now, butter and flour those bad boys like your life depends on it. Like, REALLY grease them. Don’t skip this; nothing sadder than a stuck lava cake.
- **Melt the Chocolate Magic:** In a microwave-safe bowl (or over a double boiler if you’re feeling extra fancy), combine your butter and chopped dark chocolate. Microwave in 30-second bursts, stirring in between, until it’s gloriously smooth and melted. Be patient, young Padawan.
- **Whisk It Real Good:** In a separate medium bowl, whisk together the whole eggs, egg yolks, and granulated sugar until the mixture is pale yellow and slightly fluffy. This incorporates air, making your cake lovely and light.
- **Combine the Powers:** Gently fold the flour and salt into your egg mixture. Then, pour the melted chocolate mixture into the egg mixture. Fold carefully until just combined. **Do not overmix!** Overmixing leads to tough cakes, and we don’t do tough cakes here.
- **Fill ‘Em Up:** Divide the batter evenly among your prepared ramekins. Fill them about two-thirds to three-quarters full.
- **Bake to Perfection:** Pop those ramekins onto a baking sheet and slide them into your preheated oven. Bake for **12-14 minutes**. You’re looking for edges that are set and firm, but the center should still be wonderfully jiggly. That jiggle, my friend, is your lava!
- **Serve Immediately (No Waiting!):** This is crucial! Carefully remove the ramekins from the oven. Let them cool for just 1 minute. Then, run a knife around the edge of each cake, place a serving plate on top of the ramekin, and carefully invert it. Lift the ramekin, and behold! Your molten masterpiece. Top with a generous dollop of cream and devour. Like, immediately.
Common Mistakes to Avoid
Listen, we all make mistakes. But these are the ones you REALLY want to dodge for lava cake success:
- **Not Greasing Ramekins Properly:** This is the cardinal sin. If your cake sticks, you’ll cry. Trust me, I’ve been there; it’s not pretty. **Butter AND flour, people!**
- **Overbaking:** This is the *other* cardinal sin. You want gooey, molten lava, not a dry hockey puck. Keep an eagle eye on that jiggly center. When in doubt, underbake slightly.
- **Using Cheap Chocolate:** Garbage in, garbage out, my friend. Splurge a little on good quality chocolate; your taste buds (and your lava) will thank you.
- **Impatience (Unmolding Too Soon):** Trying to flip it out of the ramekin the second it leaves the oven? Disaster. Give it that crucial one minute to set slightly.
Alternatives & Substitutions
Feeling adventurous? Or just out of something? Here are some tweaks:
- **Chocolate Type:** Dark chocolate is my jam, but if you have a sweeter tooth, you could use a slightly less dark (e.g., 50-60%) semi-sweet chocolate. Milk chocolate? Not really for this recipe, unless you want a very sweet, less intense cake.
- **Flavor Boosts:** A tiny splash of espresso powder (1/2 tsp) folded into the batter really deepens the chocolate flavor. A shot of Kahlúa, Grand Marnier, or even a dash of cayenne pepper (for a Mexican hot chocolate vibe!) can be divine.
- **Serving Suggestions:** Whipped cream is classic, but a scoop of really good vanilla bean or even coffee ice cream is pure bliss. Fresh raspberries or strawberries cut through the richness beautifully, making you feel vaguely healthy.
FAQ (Frequently Asked Questions)
- **Can I make these ahead of time?** You clever cookie! You can prep the batter and chill it in the fridge for up to a day. Just give it a little extra baking time (maybe 2-4 minutes more) when it goes into the oven.
- **What if I don’t have ramekins?** Muffin tins can work in a pinch, but they might bake faster and be harder to unmold. Make sure to grease them meticulously! You can also use oven-safe mugs, but baking time might vary.
- **Why is my lava cake not ‘lava-y’?** You, my friend, overbaked it. It happens to the best of us. Less time next time, focus on that jiggly center!
- **Can I use cocoa powder instead of melting chocolate?** Nope, not for the lava effect. You need the fat and structure of melted chocolate to get that glorious gooey center.
- **My cake stuck to the ramekin, help!** Did you butter and flour thoroughly? **Seriously, butter and flour!** Or maybe it was still too hot when you tried to unmold. Patience, grasshopper.
- **Is this really easy? I’m a baking disaster.** Honestly, yes! It’s one of those recipes that looks super fancy but is ridiculously forgiving. Just don’t overbake, that’s the golden rule. You got this!
Final Thoughts
So there you have it, your ticket to chocolate nirvana without the culinary school debt. You’ve just mastered the art of the perfect lava cake – a dessert that whispers, “I’m sophisticated,” while screaming, “I’m ridiculously easy to make!”
Go on, impress your significant other, your cat, or just yourself. You’ve earned this gooey, chocolatey triumph. Now go forth and spread the lava love! **Happy baking, my friend!**


