So, you’re scrolling through TikTok at 2 AM, eyeing those ridiculously gooey chocolate lava cakes and thinking, “I need that, but also, my energy levels are currently at zero.” Sound familiar? Same, friend, same. Good news: I’ve got your back. This isn’t just a recipe; it’s a *mission* to get maximum deliciousness with minimum effort. Get ready for a chocolate lava cake that’ll make your tastebuds do a happy dance and your friends think you’re a culinary genius (your secret’s safe with me).
Why This Recipe is Awesome
Okay, let’s be real. We all want to impress, but nobody wants to spend three hours sweating over a stove, right? This lava cake? It’s your secret weapon. It looks super fancy, tastes like a million bucks, but is genuinely **idiot-proof**. Seriously, if I, a person who once set off a smoke alarm making toast, can nail this, you absolutely can too. Plus, that molten chocolate center? It’s basically a hug in dessert form. And we all need more hugs. Especially chocolate ones.
Ingredients You’ll Need
No obscure unicorn tears or rare spices here, just your good ol’ pantry staples. Mostly. Get ready to raid the cupboards!
For the Lava Cakes:
- Unsalted Butter (1/2 cup / 113g): The good stuff. Don’t skimp, your soul deserves butter.
- Good Quality Dark Chocolate (6 oz / 170g): Think 60-70% cocoa. This is where the magic happens, so no wimpy chocolate chips, please!
- Large Eggs (2 whole + 2 yolks): They bind everything together and make it rich. Don’t worry, we’re not baking an omelette.
- Granulated Sugar (1/4 cup / 50g): Just enough sweetness to balance the dark chocolate’s sass.
- All-Purpose Flour (2 tablespoons): Just a touch, like a sprinkle of fairy dust.
- Salt (Pinch): Seriously, a pinch. It makes all the other flavors sing.
- Vanilla Extract (1/2 teaspoon): Because vanilla and chocolate are besties.
For the Chocolate Sauce (because why not go extra?):
- Heavy Cream (1/2 cup / 120ml): Richness alert!
- Semi-Sweet Chocolate Chips (1/2 cup / 85g): Or chopped chocolate, whatever floats your boat.
- Pinch of Salt: Again, flavor enhancer!
Optional (but highly recommended) Garnish:
- Powdered Sugar: For that fancy “I know what I’m doing” dust.
- Fresh Berries: Strawberries, raspberries – makes you feel slightly less guilty.
- Vanilla Ice Cream: Because hot chocolate and cold ice cream are a match made in heaven.
Step-by-Step Instructions
Alright, apron on (or not, I’m not judging), let’s get this deliciousness going!
Part 1: The Lava Cakes
- Prep Your Ramekins: Grab four 6-ounce ramekins. **Butter them generously** and then dust them with cocoa powder or flour. This is crucial unless you want your beautiful cakes stuck forever. Tap out any excess!
- Melt the Choco-Butter Goodness: In a microwave-safe bowl (or over a double boiler if you’re feeling fancy), combine your butter and chopped dark chocolate. Heat in 30-second intervals, stirring until gloriously smooth and melted. Set aside to cool slightly.
- Whip the Eggs: In a separate medium bowl, whisk together the whole eggs, egg yolks, and granulated sugar until it’s lightened in color and a bit fluffy. This usually takes a minute or two.
- Combine Forces: Slowly pour the slightly cooled chocolate mixture into the egg mixture, whisking constantly until well combined. Don’t go crazy, just mix until incorporated.
- Fold in Dry Stuff: Gently fold in the flour, salt, and vanilla extract. **Be careful not to overmix!** Overmixing develops gluten, and we want tender cakes, not bouncy balls.
- Fill ‘Em Up: Divide the batter evenly among your prepared ramekins. Don’t fill them to the very brim; leave a little space for expansion (they’re going to puff up!).
- Bake Time! Pop those beauties into your preheated oven (remember to preheat!). Bake for 12-14 minutes. The edges should be set, but the center should still look a *little* jiggly. That’s your lava!
- The Grand Unveiling: Let them cool for just 1-2 minutes in the ramekins. Then, carefully run a knife around the edges, place a plate over the ramekin, and **flip it confidently!** Gently lift the ramekin. Ta-da!
Part 2: The Chocolate Sauce (because extra chocolate is always a good idea)
- Heat the Cream: In a small saucepan, gently heat the heavy cream until it just starts to simmer around the edges. Don’t boil it!
- Melt the Chocolate: Remove from heat and stir in the chocolate chips and pinch of salt. Let it sit for a minute, then stir until completely smooth and glossy. If it’s not melting perfectly, pop it back on *very* low heat for a few seconds.
Part 3: Serve Like a Boss
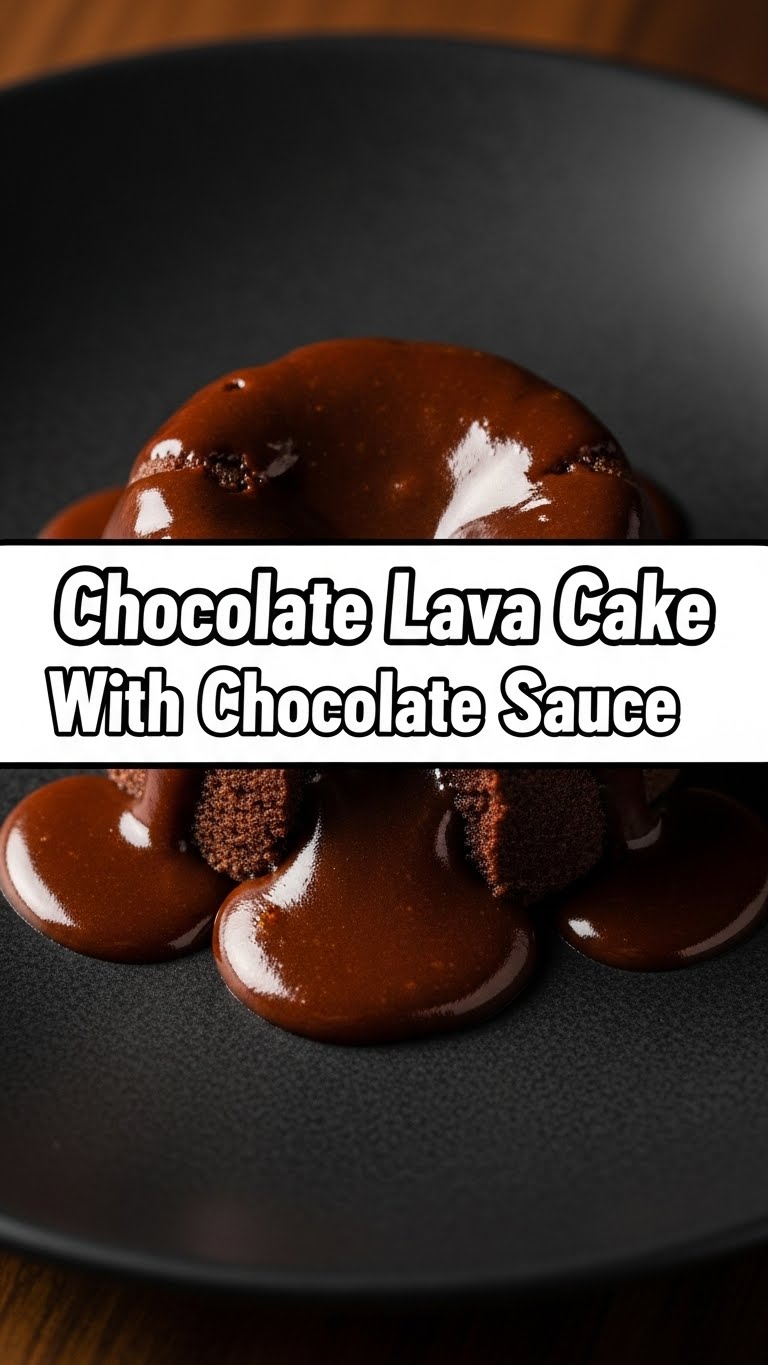
Drizzle that glorious chocolate sauce over your warm lava cakes. Dust with powdered sugar, add some berries, or a scoop of vanilla ice cream. Devour immediately, and try not to make too much noise while doing it.
Common Mistakes to Avoid
Don’t be *that* person. Learn from my (and others’) past culinary blunders!
- Forgetting to Preheat the Oven: Rookie mistake! Your cakes won’t cook evenly, and you’ll end up with a sad, flat cake or no lava. **Always preheat!**
- Overmixing the Batter: Remember what I said about bouncy balls? Overmixing develops gluten, leading to tough cakes. Mix until just combined, then back off.
- Overbaking: This is the ultimate lava cake sin. If you bake it too long, your lava will solidify, and you’ll just have a regular (albeit delicious) chocolate cake. Keep an eye on that jiggle!
- Not Greasing/Flouring the Ramekins: You *will* cry trying to get your beautiful cake out. Don’t skip this step. **Butter and dust them thoroughly!**
- Using Cheap Chocolate: Seriously, this is a chocolate cake. If you use sub-par chocolate, you’ll get sub-par flavor. Invest in something decent; you deserve it.
Alternatives & Substitutions
Life happens, sometimes you don’t have everything. Here are some quick fixes:
- No Ramekins? No Problem! You can use a muffin tin! Just butter and flour individual muffin cups. Adjust baking time slightly (probably 10-12 minutes), as they’re smaller. Keep an eye on that jiggle!
- Different Chocolate Types: While dark chocolate is king here, you can use semi-sweet. Just be aware it’ll be a bit sweeter. Milk chocolate might be too sweet and not rich enough, IMO.
- Gluten-Free Flour: For my gluten-intolerant pals, a 1:1 gluten-free baking flour blend should work just fine.
- Vanilla Extract Swap: Out of vanilla? A tiny dash of espresso powder (enhances chocolate flavor without making it taste like coffee) or even a splash of orange liqueur (like Grand Marnier) can be a fun twist.
- Sauce It Up! Instead of plain chocolate sauce, try a raspberry coulis, a caramel drizzle, or even a dollop of whipped cream. Or all three. Go wild!
FAQ (Frequently Asked Questions)
- Can I make these ahead of time? You savvy planner, you! You can prepare the batter and keep it covered in the fridge for up to 24 hours. Just give it a good stir before pouring into ramekins and add a minute or two to the baking time.
- My lava didn’t flow! What went wrong? Oh no! Most likely, you overbaked it. Remember, that slight jiggle in the center is key. Or maybe your oven runs hot? Invest in an oven thermometer, they’re cheap!
- Can I use margarine instead of butter? Well, technically yes, but why hurt your soul like that? Butter provides a richer flavor and better texture. Treat yourself!
- What if I don’t have good dark chocolate? I get it, sometimes you just have what you have. Use the best quality chocolate you can get your hands on. Even good semi-sweet chocolate will work better than super-sweet, waxy cheap stuff.
- How do I store leftovers? Leftovers? What are those?! Kidding (mostly). If you miraculously have any, store them in an airtight container in the fridge for up to 2-3 days. Reheat gently in the microwave for a few seconds to get that molten center back.
- Can I add other flavors to the cake? Absolutely! A pinch of cinnamon, a tiny bit of chili powder for a Mexican hot chocolate vibe, or a teaspoon of orange zest. Experiment!
Final Thoughts
So there you have it, folks! Your very own, incredibly impressive, yet secretly super easy, chocolate lava cake with a decadent chocolate sauce. You’ve conquered the molten core, impressed your tastebuds (and probably anyone lucky enough to be near you), and barely broke a sweat. Now go impress someone—or yourself—with your new culinary skills. You’ve earned it! Seriously, go make some noise with that spoon. You’re a rockstar!


