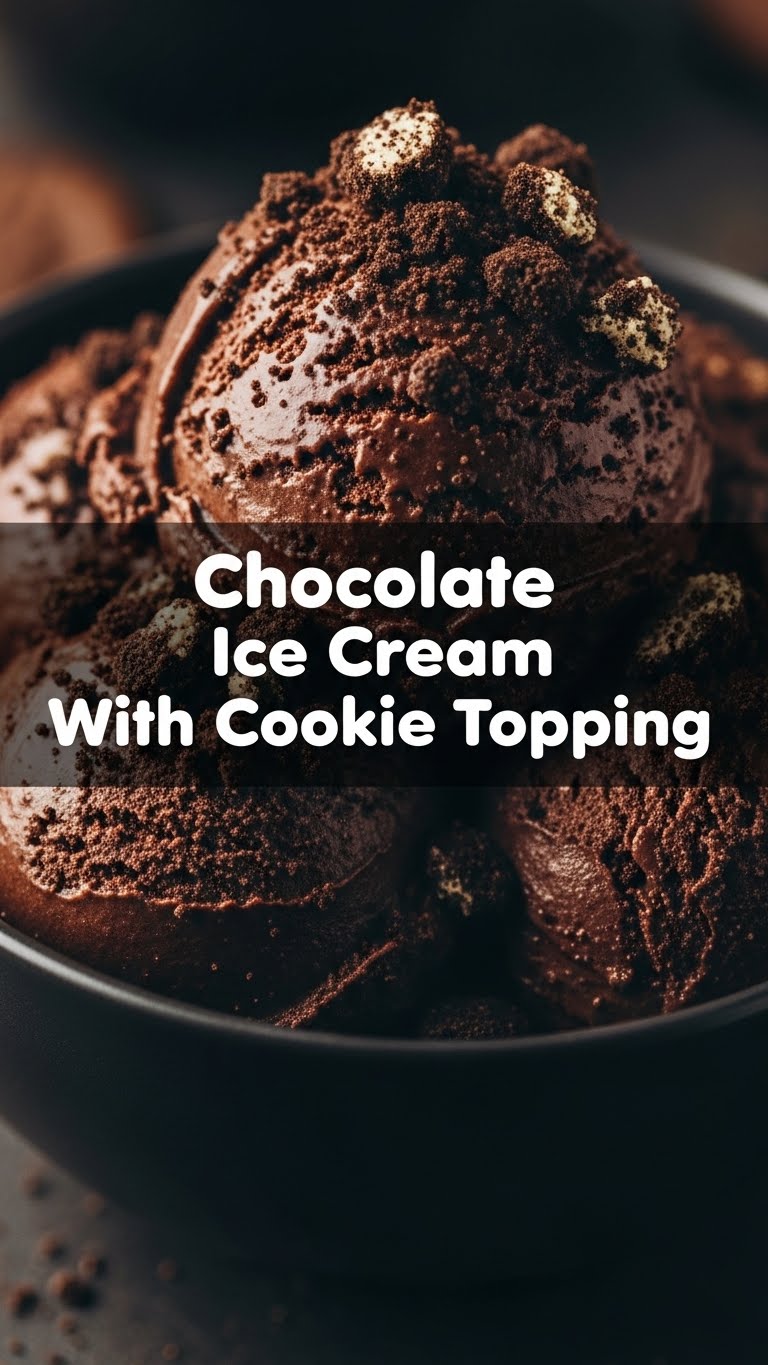
So, you’ve scrolled through enough perfectly curated food porn to make your stomach rumble like a beast, and now you’re hit with that all-consuming desire for something sweet, cold, and utterly decadent? Specifically, chocolate? And maybe, just maybe, some cookies? My friend, you’ve come to the right place. We’re about to make some seriously amazing chocolate ice cream with a glorious cookie topping, and guess what? It’s easier than deciding what to binge-watch next.
Why This Recipe is Awesome
Let’s be real, life is complicated enough. Your dessert shouldn’t be. This isn’t one of those recipes where you need a degree in molecular gastronomy or a kitchen full of gadgets that look like they belong in a spaceship. Nope. This bad boy is **foolproof**, even if your past culinary adventures involve setting off the smoke detector with toast. It’s rich, it’s creamy, it’s packed with chocolatey goodness, and then we throw in cookies because… why not? It’s basically a hug in a bowl, but colder and with more sugar. Plus, you get bragging rights. Go on, show off a little!
Ingredients You’ll Need
Gather ’round, my sweet-toothed companions. Here’s what you need for this magical journey:
- 2 cups Heavy Cream: The MVP of creaminess. Don’t skimp here; this is where the magic happens.
- 1 cup Whole Milk: The sidekick that makes everything smoother.
- 3/4 cup Granulated Sugar: Sweetness personified.
- 1/2 cup Unsweetened Cocoa Powder: For that deep, dark, soulful chocolate flavor. We’re not playing around with weak chocolate here.
- 1 teaspoon Vanilla Extract: A little splash of liquid gold to elevate everything.
- Pinch of Salt: Seriously, don’t skip this. It balances the sweetness and makes the chocolate sing!
- 1 cup Crushed Cookies: Your choice! Oreos are classic, chocolate chip cookies are divine, digestive biscuits for a more subtle crunch. Whatever makes your heart happy. Crush ’em up good!
Step-by-Step Instructions
Alright, apron on (or not, we don’t judge), let’s get this party started!
- Whisk It Good: Grab a medium saucepan. Pour in the heavy cream, whole milk, granulated sugar, cocoa powder, and that tiny pinch of salt. Whisk everything together until the cocoa powder is fully dissolved and there are no lumps. You want a smooth, chocolatey canvas.
- Heat Things Up: Place the saucepan over medium heat. Stir frequently, but don’t let it boil! Just heat it until the sugar is completely dissolved and the mixture is warm, about 5-7 minutes. You’ll see tiny bubbles around the edges.
- Cool Down: Remove the saucepan from the heat. Stir in the vanilla extract. Now, for the hard part: let it cool completely. **Chilling this mixture thoroughly is crucial for creamy ice cream.** You can pop it in an airtight container and chill it in the fridge for at least 4 hours, or even better, overnight.
- Churn, Baby, Churn: Once your chocolate base is ice-cold, pour it into your ice cream maker. Follow your machine’s instructions. Churn for about 20-30 minutes, or until it reaches a soft-serve consistency. It should look like a glorious, thick chocolate milkshake.
- Cookie Time!: In the last 5 minutes of churning, or immediately after, gently fold in your crushed cookies. Don’t overmix; you want chunks, not dust!
- Freeze to Perfection: Transfer the soft ice cream into a freezer-safe container. Press a piece of plastic wrap directly onto the surface of the ice cream to prevent ice crystals (a pro tip!). Freeze for at least 3-4 hours, or until firm.
- Scoop and Devour: Let it sit on the counter for a few minutes before scooping, if it’s too hard. Then, dig in! You earned this.
Common Mistakes to Avoid
Listen, we’ve all been there. Learn from my (many) past blunders:
- Skipping the Chill: Trying to churn warm ice cream base? That’s like trying to win a marathon in flip-flops. It won’t work well. **Always chill your base completely!**
- Overheating the Base: You’re warming the mixture, not trying to make chocolate soup. If it boils, you might scorch the milk, and trust me, that’s a flavor nobody wants.
- Not Enough Cookies (or too many): Resist the urge to eat all the crushed cookies before they make it into the ice cream. Also, don’t add so many that it becomes a crumbly mess and less ice cream. There’s a delicate balance.
- Impatience: Freshly churned ice cream is delicious, but it’s soft. Freezing it for a few hours makes it perfectly scoopable and gives the flavors time to meld. **Good things come to those who wait!**
Alternatives & Substitutions
Feeling rebellious? Here are some ways to shake things up:
- Chocolate Varieties: Only got Dutch-processed cocoa? Go for it! Craving a darker flavor? Use dark cocoa powder. You can even melt in some good quality dark chocolate chips with the warm milk for an extra rich ganache-like base.
- Milk Matters: For an even richer texture, swap out some of the whole milk for more heavy cream. For a slightly lighter (but still delicious) version, you could try 2% milk, but honestly, IMO, full fat is best here.
- Cookie Chaos: Crushed Biscoff cookies? Brownie chunks? Chocolate chip cookie dough bits? Caramelized shortbread? The world is your oyster! Mix and match to your heart’s content.
- Extra Add-ins: Swirl in some peanut butter, a dash of espresso powder for mocha vibes, or even a shot of your favorite liqueur (like Kahlua or Baileys) once the mixture has cooled. **Just add the liqueur after cooking!**
FAQ (Frequently Asked Questions)
- Do I *really* need an ice cream maker?
Well, technically no, but it makes life a whole lot easier and produces a much creamier texture. You can try the “no-churn” method by whipping cream separately and folding it in, but for this recipe, an ice cream maker is highly recommended for that perfect texture.
- Can I use a sugar substitute?
You can! Just be aware that some sugar substitutes might affect the final texture of the ice cream, making it a bit icier. Start with a smaller amount and adjust to your taste.
- My ice cream is too hard, what gives?
This usually means it’s been in the freezer for a while. Let it sit on the counter for 5-10 minutes before scooping. Also, ensure you use the recommended amount of fat (heavy cream!) as fat helps keep it soft.
- How long does homemade ice cream last?
If it lasts longer than a week, you’re doing something wrong (kidding!). Seriously though, in an airtight container, it’s best consumed within 1-2 weeks for optimal freshness and texture. It won’t go “bad” right away, but it can get icy over time.
- Can I make this dairy-free?
Absolutely! Swap the heavy cream for full-fat canned coconut cream (chill cans overnight and scoop out the thick cream) and whole milk for a dairy-free milk alternative (like almond or oat milk). Just be aware the flavor and texture will be slightly different.
Final Thoughts
So there you have it! A recipe for chocolate ice cream with cookie topping that’s not only incredibly delicious but also totally achievable. You just made something truly special with your own two hands. Now go impress someone—or yourself—with your new culinary skills. You’ve earned every single scoop. Go on, get that bowl and spoon, you superstar!


