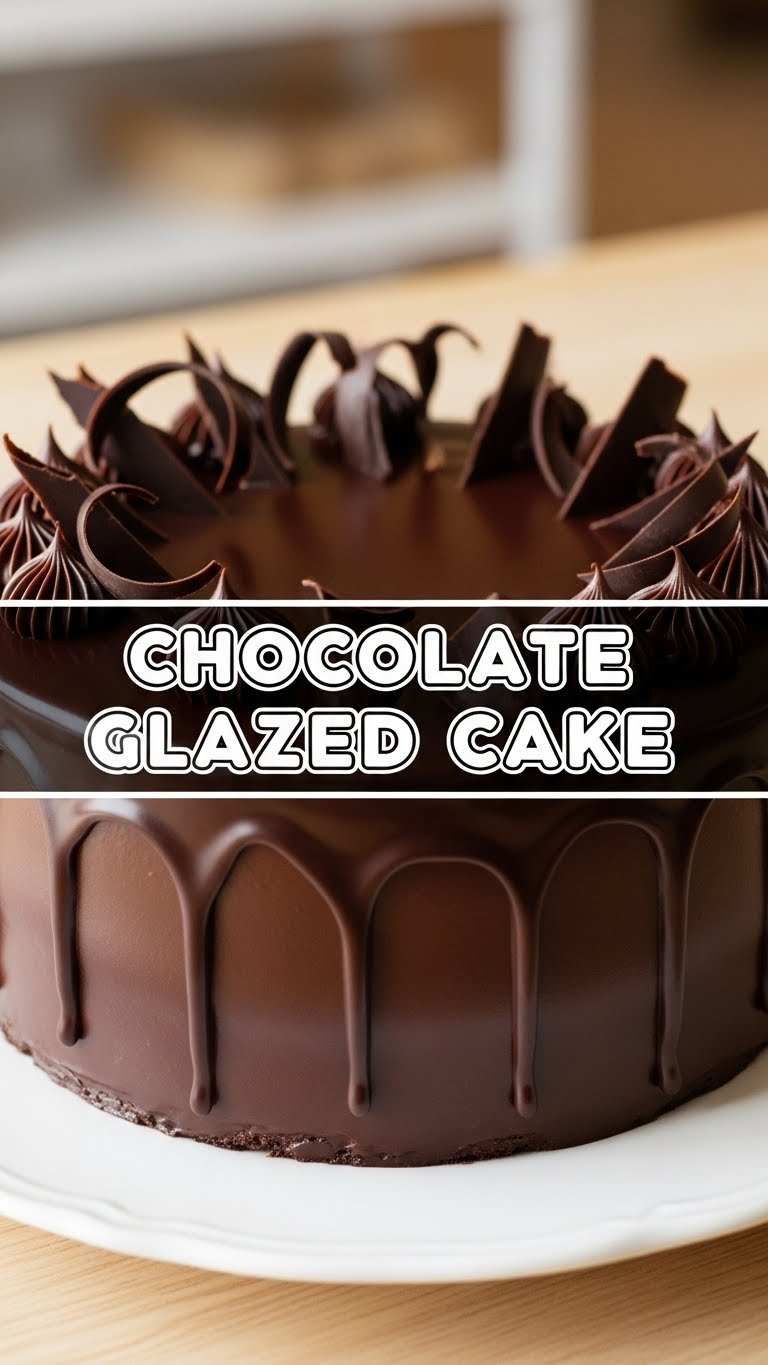
So you’re craving something ridiculously tasty but too lazy to spend forever in the kitchen, huh? Same, friend, *same*. We’re talking about that glorious moment when you want chocolate, you want cake, and you want it NOW, without performing a culinary circus act. Good news, your dessert prayers have been answered! Get ready to whip up a Chocolate Glazed Cake that’s so easy, you’ll wonder why you ever bought a store-bought one. Prepare to be a hero, even if it’s just to yourself and your Netflix queue.
Why This Recipe is Awesome
Okay, let’s be real. This isn’t just *a* recipe; it’s *the* recipe for when you need a chocolate fix but your motivation is currently on vacation. Why is it awesome? Because it’s practically **idiot-proof**. Seriously, even I, a person who once set off the smoke alarm boiling water, can make this. It’s fast, uses simple ingredients you probably already have, and the end result is a moist, chocolatey dream hugged by a shiny, rich glaze. Plus, it looks fancy enough to fool your friends into thinking you actually put effort in. **Winning!**
Ingredients You’ll Need
Gather ’round, butter-fingers! Here’s your shopping list (or rather, “rummage through your pantry” list):
For the Cake:
- 1 ½ cups All-Purpose Flour: The basic stuff. No need for fancy artisanal flour here, unless you’re feeling extra.
- 1 cup Granulated Sugar: Sweetness is key, my friend.
- ½ cup Unsweetened Cocoa Powder: The deeper the better! Go for natural, not Dutch-processed, for a more intense chocolate flavor that reacts better with baking soda.
- 1 teaspoon Baking Soda: Our magical leavening agent. Makes things rise, like your spirits after a slice of this cake.
- ½ teaspoon Salt: Don’t skip this! It enhances the chocolate flavor and balances the sweetness. Trust me.
- 1 cup Milk: Whole milk works best for richness, but any milk will do in a pinch.
- ½ cup Vegetable Oil: Or any neutral oil like canola. Keeps the cake super moist, **FYI**.
- 1 teaspoon Vanilla Extract: Because vanilla makes everything better, even chocolate.
- 1 large Egg: Our binder.
For the Chocolate Glaze:
- ½ cup Semi-Sweet Chocolate Chips: Or chopped chocolate. The better the chocolate, the better the glaze, IMO.
- ¼ cup Heavy Cream: Makes the glaze silky smooth and pourable.
- 1 tablespoon Unsalted Butter: For extra shine and richness.
- Pinch of Salt: Just a tiny bit to cut through the sweetness.
Step-by-Step Instructions
Let’s get this party started! Preheat your oven to 350°F (175°C) and grease and flour an 8×8 inch square pan or a 9-inch round cake pan. Don’t be lazy on the greasing, or you’ll be prying cake bits from the pan later.
- Mix the Dry Stuff: In a large bowl, whisk together the flour, sugar, cocoa powder, baking soda, and salt. Make sure there are no lumpy bits. You want smooth sailing here!
- Add the Wet Stuff: In a separate, medium-sized bowl, whisk together the milk, oil, vanilla extract, and egg until well combined.
- Combine ‘Em: Pour the wet ingredients into the dry ingredients. Mix everything with a whisk or spatula until *just* combined. **Do not overmix!** A few small lumps are totally fine; overmixing leads to tough cake. Nobody wants tough cake.
- Bake It Baby: Pour the batter evenly into your prepared pan. Pop it into the preheated oven and bake for 30-35 minutes, or until a toothpick inserted into the center comes out clean.
- Cool Down: Let the cake cool in the pan for about 10-15 minutes before carefully inverting it onto a wire rack to cool completely. Patience, young padawan! A warm glaze on a warm cake is a hot mess.
- Make the Glaze (while the cake cools): In a microwave-safe bowl, combine the chocolate chips, heavy cream, butter, and a pinch of salt. Microwave in 30-second intervals, stirring after each, until smooth and glossy. This usually takes about 1-2 minutes. Alternatively, melt over a double boiler.
- Glaze it Like a Boss: Once the cake is completely cool (seriously, wait!), pour the warm chocolate glaze over the top. Use an offset spatula or the back of a spoon to spread it evenly, letting some delicious drips go down the sides.
- Set and Serve: Let the glaze set for about 15-20 minutes at room temperature, or pop it in the fridge for 5-10 minutes if you’re truly impatient. Then, slice and devour!
Common Mistakes to Avoid
Listen up, buttercup! Don’t be *that* person who messes up an easy recipe. Here are a few rookie errors to steer clear of:
- Not Preheating the Oven: Seriously, this isn’t optional. Your cake needs a consistent, hot environment to rise properly. Otherwise, you get a sad, dense hockey puck.
- Overmixing the Batter: I repeat: **Do NOT overmix!** Mix until *just* combined. Overmixing develops the gluten too much, resulting in a dry, chewy cake. We want moist and tender, right?
- Glazing a Warm Cake: Unless you’re going for a melted, soupy chocolate puddle, make sure your cake is completely cool before glazing. Otherwise, the glaze will melt right off. Total bummer.
- Eyeballing Ingredients: Baking is a science, not an art. Measure your ingredients accurately, especially the flour and leavening agents.
Alternatives & Substitutions
Feeling a little rebellious? Here are some ways to switch things up without totally ruining your masterpiece:
- Milk Swap: No whole milk? Almond, oat, or even water (gasp!) will work for the cake, though whole milk gives the best richness. For the glaze, stick to heavy cream for that luxurious texture.
- Oil for Butter: If you’re out of oil for the cake, melted unsalted butter can work, but it might change the texture slightly. Stick with oil for max moistness, though!
- Spice it Up: Add a pinch of cinnamon or a tiny dash of cayenne pepper to the cake batter for a subtle kick. Or, stir a teaspoon of instant espresso powder into your milk for a deeper chocolate flavor. Coffee brings out the best in chocolate!
- Glaze Variations: Add a splash of rum or Kahlua to your glaze for an adult twist. A pinch of flaky sea salt on top of the still-wet glaze is also divine!
FAQ (Frequently Asked Questions)
Got questions? I’ve got answers. Mostly.
- Can I use margarine instead of butter? Well, technically yes, but why hurt your soul like that? Butter just tastes better, both in the cake and especially in the glaze. Treat yo’ self!
- How long does this cake last? If you manage to not eat it all in one sitting (impressive!), it’ll be good for 3-4 days at room temperature, covered. In the fridge, maybe a day or two longer, but it might dry out a bit.
- Can I make it ahead of time? Absolutely! Bake the cake, let it cool completely, and store it tightly wrapped at room temperature. Make the glaze just before serving.
- What if my glaze is too thick/thin? If it’s too thick, add a tiny splash more cream (or milk) and stir. Too thin? Add a few more chocolate chips and melt them in. It’s forgiving!
- Can I make this in a different size pan? Sure, but you’ll need to adjust baking times. A 9×13 inch pan might need less time (around 20-25 mins), while a loaf pan will need more. Always do the toothpick test!
Final Thoughts
Alright, superstar! You just conquered a seriously delicious Chocolate Glazed Cake with minimal fuss and maximum flavor. Pretty amazing, right? This cake is your new secret weapon for potlucks, surprise guests, or just a Tuesday night when you deserve a little chocolate hug. So go ahead, pat yourself on the back. You’ve earned it! Now go impress someone—or yourself—with your new culinary skills. Happy baking (and eating)!


