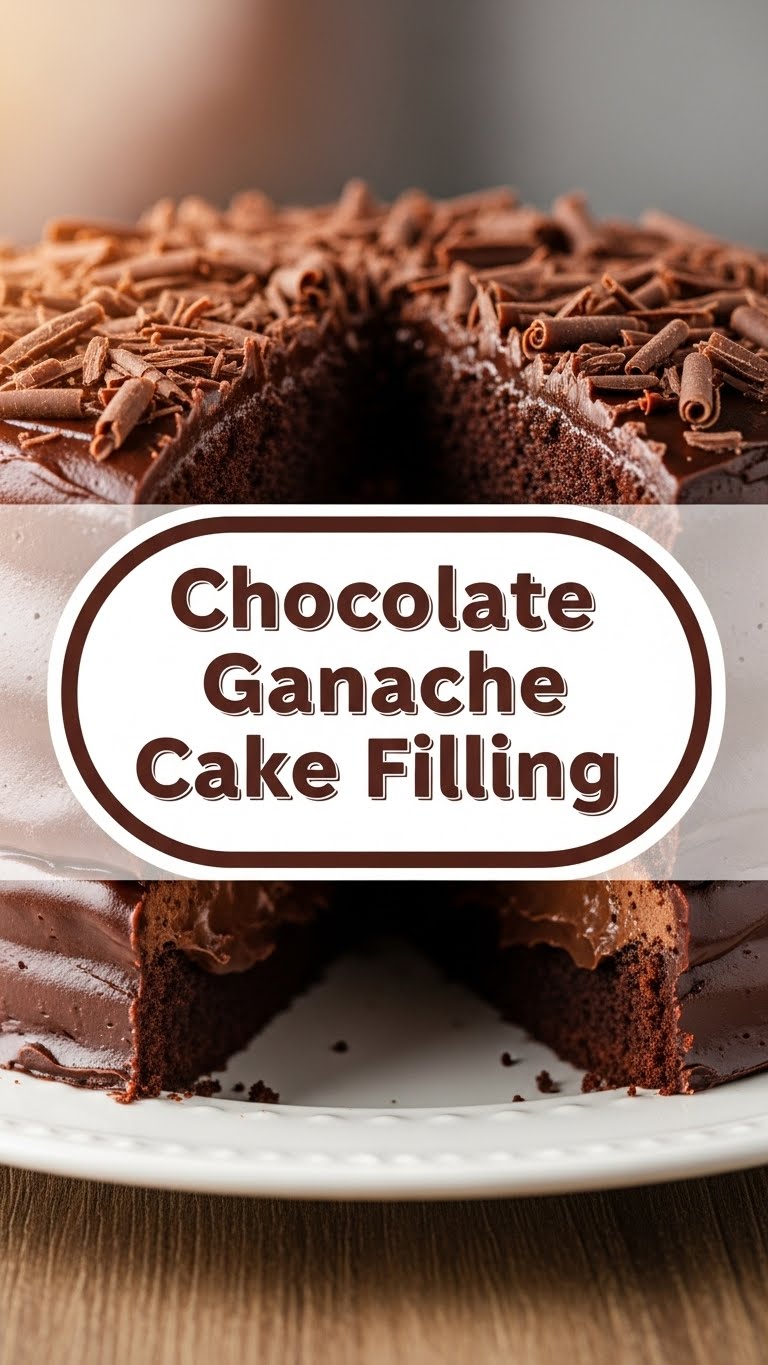
So, you’ve just baked a cake (or bought a plain one, no judgment here!) and now it’s staring at you, looking a little… *naked*. It needs a hug. A rich, decadent, chocolatey hug that screams, “I’m fancy, but also I’m super easy to make!” Well, my friend, you’ve come to the right place. We’re diving headfirst into the glorious world of **Chocolate Ganache Cake Filling**, and trust me, it’s about to become your new favorite superpower.
Why This Recipe is Awesome
Because it looks like you spent hours slaving away, but in reality, you probably spent more time scrolling through TikTok. This recipe is your secret weapon for instant dessert gratification. It’s **idiot-proof** – and if *I* can make it without setting off the smoke alarm, you totally can too. It uses like, two main ingredients, requires minimal brain power, and the result? Pure, unadulterated bliss that will make your taste buds sing opera. Plus, it’s versatile enough to fill, frost, or drizzle. Talk about a triple threat!
Ingredients You’ll Need
Gather ’round, my fellow lazy gourmets. Here’s what you’ll need for this culinary magic trick:
- Heavy Cream (aka Whipping Cream): About 1 cup (240ml). Don’t you dare reach for anything “light” or “half-and-half.” This is where the magic happens, people. Go big or go home!
- Good Quality Chocolate: 8 ounces (about 225g). This is crucial! Think chocolate chips (preferably good quality ones, like Ghirardelli or Guittard), or even better, a nice chopped-up bar of semi-sweet, dark, or milk chocolate. **Avoid the waxy stuff**, seriously. Your taste buds will thank you.
- (Optional but Recommended) Unsalted Butter: 1 tablespoon. For extra shine and silkiness. Because why not be extra?
- (Optional) Vanilla Extract: 1/2 teaspoon. A tiny splash for depth of flavor.
- (Optional) Pinch of Salt: Just a tiny bit to make all that chocolate flavor pop!
Step-by-Step Instructions
Get ready for the easiest “gourmet” dessert you’ve ever made. Follow these simple steps:
- Chop Your Chocolate: If you’re using a bar, chop it into small, uniform pieces. This helps it melt evenly and quickly. Toss them into a heat-proof bowl.
- Heat the Cream: Pour your heavy cream into a small saucepan. Heat it over medium heat until it just begins to simmer around the edges – you’ll see tiny bubbles forming. **Do NOT let it boil violently!**
- Pour and Wait: Immediately pour the hot cream over your chopped chocolate in the bowl. This is the hardest part: **DO NOT STIR YET!** Just let it sit there for about 5 minutes. The hot cream needs time to work its melting magic on the chocolate.
- Stir Until Smooth: After its little spa session, grab a whisk or a spatula and gently start stirring from the center outwards. Keep stirring until all the chocolate is melted and you have a beautifully smooth, glossy, irresistible mixture. If you’re using butter, vanilla, or salt, stir them in now!
- Cool Down, Baby: This is important for a cake filling. Let your ganache cool at room temperature, stirring occasionally, until it reaches a spreadable consistency. This might take an hour or two. For a thicker, more stable filling, you can pop it in the fridge for 30-60 minutes, stirring every 15 minutes, until it’s perfect for spreading. It should be thick, but still pliable.
- Fill ‘Er Up! Once it’s the right consistency, spread that glorious ganache between your cake layers. You can even use it for a thin, elegant glaze over the top!
Common Mistakes to Avoid
Because nobody wants a ganache-tastrophe. Learn from my blunders, folks:
- Boiling the Cream: Remember step 2? Simmer, not boil! Overheated cream can scorch, make your ganache grainy, or cause it to separate. Ew.
- Impatience is NOT a Virtue Here: Stirring too soon in step 3. Seriously, let the chocolate melt. If you stir too early, you might think it’s not melting and panic, leading to more stirring and a potentially seized ganache.
- Using Low-Quality Chocolate: I said it once, I’ll say it again. Cheap chocolate equals waxy, bland ganache. It’s just not worth it.
- Not Cooling Enough: Trying to fill a cake with warm, runny ganache is like building a house on sand. Your cake layers will slide, and you’ll end up with a chocolatey mess instead of a masterpiece. **Patience, young grasshopper!**
Alternatives & Substitutions
Feeling adventurous? Here are some ways to jazz up your ganache:
- Chocolate Type: Want it sweeter? Use milk chocolate (you might need a tad less cream). Want it super intense? Go for dark chocolate (70% cocoa or higher). White chocolate works too, but it’s a bit trickier to get right and often requires a slightly different cream ratio.
- Flavor Boosts: Swap some of the vanilla for a teaspoon of espresso powder (enhances chocolate flavor!), a dash of rum or Kahlua, or even a tiny bit of orange zest for a chocolate-orange vibe.
- Dairy-Free/Vegan: You can totally make this with full-fat canned coconut milk or cream. Just use the thick cream from the top of the can. It might have a subtle coconut flavor, but it’s still delish!
FAQ (Frequently Asked Questions)
Got questions? I’ve got (casual) answers!
- “My ganache looks grainy/separated! What went wrong?” Usually, this means your cream was too hot, or you stirred too vigorously/early. Sometimes adding a tiny splash of cool cream and stirring gently can bring it back. If it’s really bad, you might have to start over. Sad, but true.
- “Can I use chocolate chips instead of a chopped bar?” Yep, absolutely! Just make sure they’re decent quality. Chopped bar chocolate often melts a bit smoother, but chips are totally fine for convenience.
- “How long does ganache last?” In an airtight container in the fridge, it’ll last about a week. But honestly, it rarely lasts that long in my house.
- “Can I make it thicker or thinner?” You bet! For a thicker ganache (great for truffle filling or firmer frosting), use more chocolate to cream (e.g., 2 parts chocolate to 1 part cream). For a thinner drizzle, use less chocolate (e.g., equal parts chocolate and cream, or slightly more cream).
- “What else can I use this magic for?” Oh, honey, the possibilities are endless! Drizzle it over ice cream, use it as a dip for fruit, fill croissants, make truffles, or just eat it with a spoon directly from the bowl. (Don’t tell anyone I said that last part.)
Final Thoughts
See? Told you it was easy peasy lemon squeezy. You just transformed some humble ingredients into a luxurious, mouth-watering creation. Go ahead, pat yourself on the back. You’re basically a professional patissier now, only cooler because you don’t take yourself too seriously. Now go impress someone—or just yourself—with your new culinary prowess. You’ve earned it!


