So you’ve got a cake, huh? Maybe it’s a magnificent homemade creation, or maybe you “baked” it with your local grocery store’s finest. No judgment here! Either way, it’s sitting there, practically begging for a glow-up. And what’s the easiest, most impressive way to turn a basic cake into a showstopper? **Chocolate Ganache**, my friend. It’s like the little black dress of cake decorating – always classy, always fabulous, and surprisingly simple.
Why This Decorating “Recipe” is Awesome
Because let’s be real, you want to look like a pastry wizard without actually going to culinary school. This isn’t just about making ganache (which, FYI, is ridiculously easy); it’s about wielding it like a pro. This “recipe” for decoration is your secret weapon. It’s idiot-proof, makes even a slightly lopsided cake look intentional, and lets you unleash your inner artist without, you know, needing actual artistic talent. Plus, it’s chocolate. Need I say more?
Ingredients You’ll Need (for the ganache and the glam!)
- For the Basic Ganache:
- Good quality chocolate: About 8 oz (225g). Chips are fine, but a chopped bar of decent stuff (like Ghirardelli, Lindt, or even just a trusty semi-sweet baking bar) will give you better flavor and shine. Don’t skimp here; your taste buds will thank you.
- Heavy cream: About 8 fl oz (240ml). The stuff with at least 36% milk fat. This is where the magic happens, giving you that silky smooth texture.
- (Optional) 1 tbsp unsalted butter: Adds extra shine and richness, because why not?
- For the Dazzle (Pick and Choose Your Adventure!):
- Sprinkles: Rainbow, metallic, themed – literally whatever sparks joy.
- Fresh fruit: Raspberries, strawberries, cherries, blueberries… nature’s candy is always a win.
- Edible flowers: For that “I just strolled through a garden and picked these” vibe.
- Nuts: Toasted almonds, pistachios, chopped walnuts – for a little crunch.
- Piping bags & tips: If you’re feeling fancy and want to pipe borders or rosettes.
- Zesters: For chocolate curls or citrus zest.
- A cool, prepared cake: Obviously!
Step-by-Step Instructions: Let’s Get Drizzling!
- Make Your Ganache (The Quick & Dirty Way): Chop your chocolate into small, even pieces and place it in a heatproof bowl. In a small saucepan, heat the heavy cream (and butter, if using) over medium heat until it just starts to simmer around the edges – don’t boil it! Pour the hot cream over the chocolate. Let it sit for 5 minutes. No peeking!
- Whisk it Good: After 5 minutes, gently whisk the mixture from the center outwards until it’s smooth, glossy, and completely combined. If you need to, you can microwave it for 10-15 seconds at a time, stirring in between, until it’s fully melted.
- Cooling Time is Key (This is HUGE!): This is where the magic really begins for different decorations.
- For Drips: You want your ganache to be pourable but slightly thickened – about 90-100°F (32-38°C). It should flow nicely, but not be super runny. If it’s too hot, it’ll make thin, sad drips; too cool, and it won’t drip at all!
- For a Smooth Glaze: Slightly warmer than for drips, around 100-110°F (38-43°C), or even just after it’s fully smooth. You want it fluid enough to coat evenly.
- For Piping or Filling: This needs to be much cooler and thicker – closer to room temperature, or even slightly chilled until it’s spreadable like a thick frosting. It should hold its shape when you dollop it.
- The Drip Effect (My Personal Fav): Once your ganache is the perfect drip consistency, transfer a small amount to a squeeze bottle or a piping bag with a small hole cut in the tip. Start by gently squeezing a little ganache over the edge of your *chilled* cake, letting it run down the sides. Vary the length of your drips. Once the sides are done, pour the remaining ganache over the top, spreading it evenly with an offset spatula.
- The Smooth, Glossy Glaze: If you’re going for a full, elegant coat, make sure your cake is chilled. Pour your slightly warmer, pourable ganache directly onto the center of your cake. Use an offset spatula or a bench scraper to gently push and spread the ganache evenly over the top and down the sides. Don’t overwork it! Let it self-level for that super smooth finish.
- Piping Fun (Because You’re a PRO Now): Once your ganache is cool and thick (like peanut butter), scoop it into a piping bag fitted with your favorite tip. Pipe borders, rosettes, swirls, or even write messages on top of your cake. This works great for creating a “dam” around the edge before pouring a thinner ganache in the center for a two-tone effect.
- The Grand Finale (AKA “Accessorize!”):
- Sprinkles: Shower them over the still-wet ganache for maximum adhesion.
- Fruit: Arrange fresh berries or sliced fruit artistically on top. They look gorgeous nestled into that dark ganache.
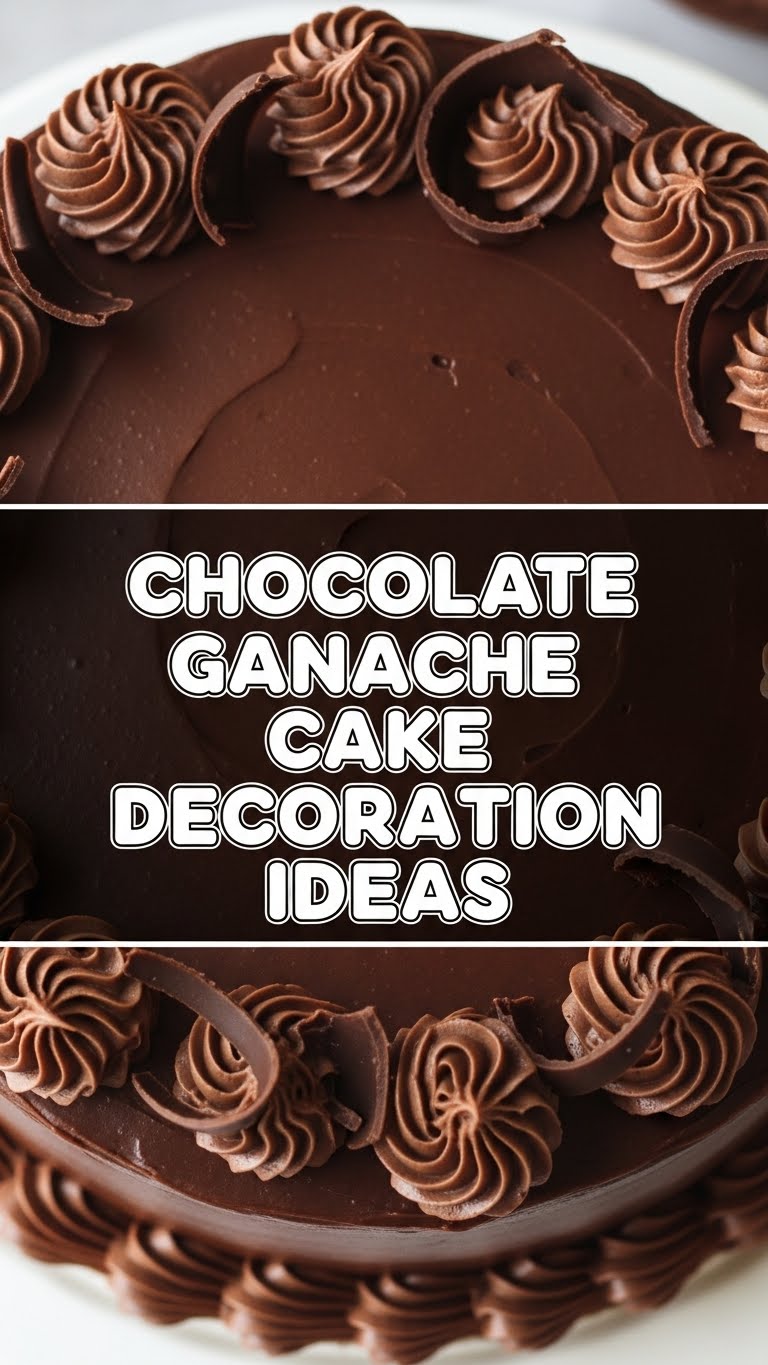
- Chocolate Curls/Shavings: Use a vegetable peeler on a block of chocolate to create elegant curls.
- Nuts/Cocoa Powder: Sprinkle chopped nuts or a dusting of cocoa powder for a sophisticated touch.
- Edible Flowers: Place them delicately on top for a whimsical, garden-party vibe.
Common Mistakes to Avoid (So You Don’t Cry Over Spilt Ganache)
- Impatience is NOT a Virtue: Trying to use ganache when it’s too hot for drips or too thin for piping. Seriously, give it time to cool and thicken. Rome wasn’t decorated in a day!
- Skimping on Chocolate Quality: Using the cheapest chocolate you can find will result in a less glossy, less flavorful ganache. Your cake (and your guests) deserve better.
- Over-whisking Hot Ganache: If you beat it too vigorously when it’s hot, you’ll incorporate too much air, which can make it appear dull. A gentle whisk is all you need.
- Cold Cake, Hot Ganache (or vice versa, for drips): For perfect drips, your cake should be chilled, and your ganache at the ideal flow temperature. If the cake is warm, the ganache will just slide off; if the ganache is too cold, it’ll clump.
- Not Enough Ganache: There’s nothing worse than running out mid-drip. When in doubt, make a little extra. You can always save it!
Alternatives & Substitutions (Get Creative, You Rebel!)
- Different Chocolates:
- White Chocolate Ganache: Use white chocolate and heavy cream (might need a tiny bit less cream, as white chocolate is usually softer). You can even tint it with food coloring for vibrant cake art!
- Milk Chocolate Ganache: Swap for milk chocolate. It’ll be a bit sweeter and softer.
- Flavor Boosters: Stir in a teaspoon of espresso powder, vanilla extract, almond extract, or even a tablespoon of your favorite liqueur (like Kahlúa, Grand Marnier, or rum) once your ganache is smooth. **Boom!** Instant sophistication.
- Dairy-Free Option: Use full-fat coconut cream instead of heavy cream (chill a can of full-fat coconut milk overnight, then scoop out the thick cream on top). Taste amazing, though the texture might be slightly different.
- No Piping Bag? No Problem!: Use a zip-top bag with the corner snipped off for drips or simple piping. Or, grab a spoon for rustic, charming drips.
FAQ (Frequently Asked Questions, AKA “Help Me, My Ganache is Acting Weird!”)
- How do I get perfect drips that aren’t too long or too short? Ah, the elusive perfect drip! It’s all about the ganache temperature and your cake being chilled. Test a tiny drip on the back of the cake first to gauge the flow. Too long? Let it cool a little. Too short? Warm it up a smidge. Practice makes perfect, and also, sometimes happy accidents are the best drips!
- Can I make ganache ahead of time? Absolutely! You can make it up to a week in advance and store it in an airtight container in the fridge. When you’re ready to use it, gently reheat it in the microwave in 15-second bursts, stirring until it’s the right consistency for your desired decoration.
- What if my ganache is too thick/thin? If it’s too thick, add a tiny bit more warm cream (a teaspoon at a time) and stir until smooth. If it’s too thin, let it cool longer, or pop it in the fridge for 5-10 minute intervals, stirring frequently, until it reaches your desired consistency. Don’t panic!
- Can I use chocolate chips instead of chopped chocolate bars? You can, but make sure they’re good quality. Some chocolate chips contain stabilizers that prevent them from melting as smoothly, which can affect the ganache’s texture and shine. But for casual decorating, they’re usually fine!
- My ganache looks dull, not shiny. What went wrong? This usually means it was either over-whisked (incorporating too much air), or it didn’t fully emulsify. Make sure your cream is hot enough to melt the chocolate completely, and whisk gently from the center. A touch of butter can also help with shine!
- How long do cakes decorated with ganache last? A ganache-coated cake can usually sit at room temperature for a day or two (depending on other perishable fillings), but it’s best stored in the fridge for up to 3-5 days. Let it come to room temp for about 30 minutes before serving for the best texture and flavor.
Final Thoughts
So there you have it, superstar! You’re now armed with the knowledge to turn any cake into a jaw-dropping masterpiece, all thanks to the magic of chocolate ganache. Remember, baking (and decorating!) should be fun, so don’t stress if it’s not “perfect.” The best decorations are the ones made with love (and maybe a little bit of cheeky rebellion). Now go impress someone—or yourself—with your new culinary skills. You’ve earned it!


