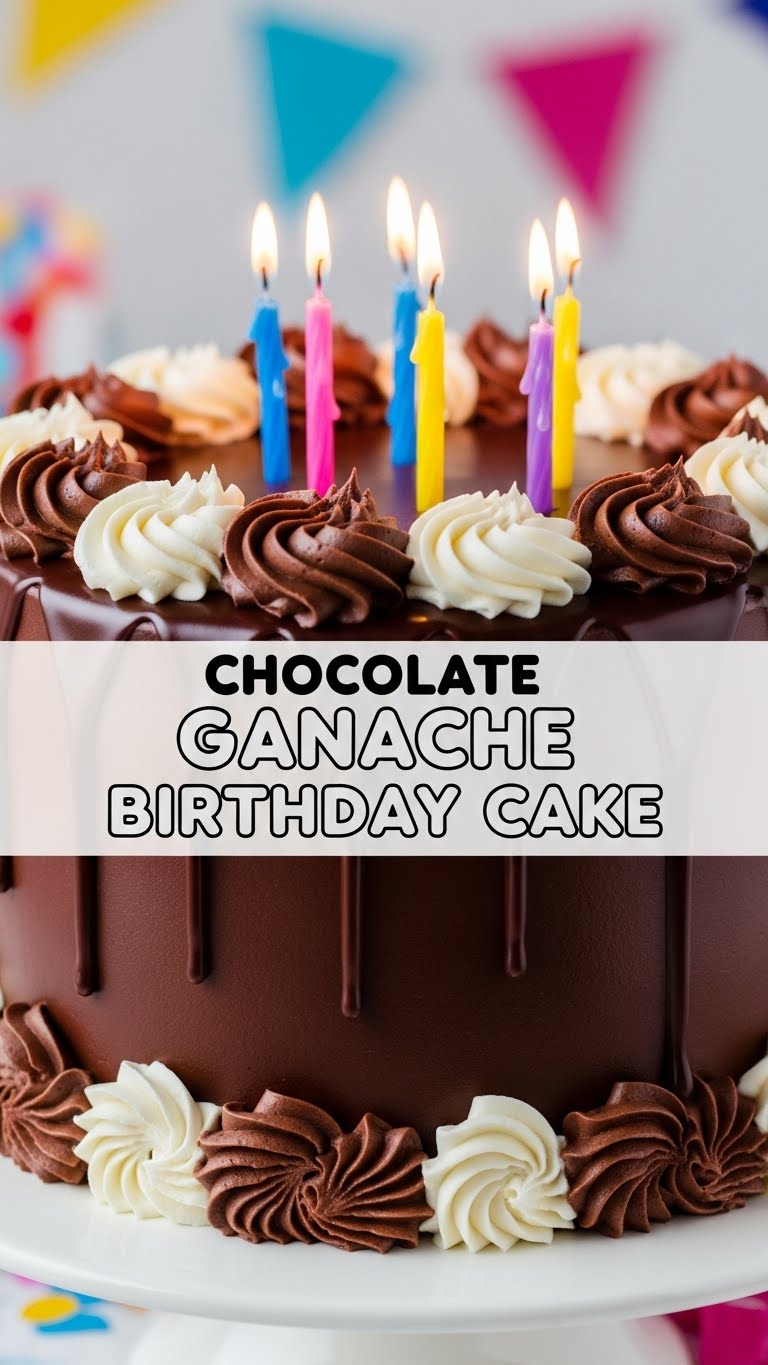
Feeling fancy but also… kinda lazy? Me too. Today, we’re making a Chocolate Ganache Birthday Cake that screams ‘I tried!’ but secretly only took like, two hours max (plus cooling time, don’t rush the magic!). And it’s perfect for birthdays, or Tuesdays, or just because chocolate exists. Who needs an excuse, right?
Why This Recipe is Awesome
Okay, so why this cake and not, like, store-bought? Because you’ll feel like a baking wizard, without actually needing a wand (or a culinary degree). This recipe delivers a cake that’s **super moist**, ridiculously chocolatey, and that ganache? Oh boy, it’s like a warm hug for your taste buds. Plus, it looks seriously impressive, which means instant compliments. And let’s be real, that’s half the fun, isn’t it? It’s also pretty **foolproof** – if I can do it without setting off the smoke alarm, you totally can. So get ready to impress!
Ingredients You’ll Need
Gather your chocolatey arsenal!
For the Cake:
- 2 cups (240g) All-purpose flour: The backbone of all good cakes.
- 2 cups (400g) Granulated sugar: Sweetness, duh.
- ¾ cup (75g) Unsweetened cocoa powder: The dark, rich chocolatey goodness.
- 2 teaspoons Baking soda: For lift, so your cake isn’t a brick.
- 1 teaspoon Baking powder: Extra lift insurance!
- 1 teaspoon Salt: Don’t skip it, it truly brings out the chocolate flavor!
- 2 large Eggs: Binders, fresh from the chicken or the carton, your call.
- 1 cup (240ml) Milk: Whole milk is best, adds richness.
- ½ cup (120ml) Vegetable oil: Keeps it ridiculously moist, no dry cake allowed.
- 2 teaspoons Vanilla extract: A little *oomph* for flavor depth.
- 1 cup (240ml) Boiling water: Sounds weird, works wonders for extra moistness and bloom.
For the Chocolate Ganache:
- 12 oz (340g) Good quality dark chocolate: **This is key!** Chips or finely chopped bar, 60-70% cacao is great for that intense flavor.
- 1 ½ cups (360ml) Heavy cream: The magic ingredient for silky ganache.
- 2 tablespoons Unsalted butter: Just a tiny bit for extra shine and richness. (Optional, but highly recommended!)
Step-by-Step Instructions
For the Cake:
- **Prep Time!** Preheat your oven to 350°F (175°C). Grease and flour two 8-inch round cake pans. Or, even better, line the bottoms with parchment paper circles. Don’t skip this, unless you like your cake glued to the pan.
- **Dry Mix.** In a large bowl, whisk together the flour, sugar, cocoa powder, baking soda, baking powder, and salt. Make sure there are no lumps. You want everything well incorporated.
- **Wet Mix.** In another medium bowl, whisk the eggs, milk, vegetable oil, and vanilla extract until they’re nicely combined.
- **Combine.** Slowly add the wet ingredients to the dry ingredients, mixing on low speed with an electric mixer (or by hand) until just combined. **Do not overmix!** You want a tender cake, not a tough one.
- **Boiling Water Magic.** Carefully, and slowly, stir in the boiling water until the batter is smooth. It will be thin – that’s completely normal! This is the secret to its amazing moistness.
- **Bake It!** Divide the batter evenly between your two prepared pans. Bake for 30-35 minutes, or until a wooden skewer or toothpick inserted into the center comes out clean.
- **Cool Down.** Let the cakes cool in their pans for about 10-15 minutes, then carefully invert them onto a wire rack to cool completely. **Patience is a virtue here.** Seriously, don’t rush this, or your cake will crumble and make you sad.
For the Chocolate Ganache:
- **Chop Chocolate.** If you’re using a chocolate bar, chop it into small, uniform pieces. Place all the chopped chocolate (or chips) into a heatproof bowl.
- **Heat Cream.** In a small saucepan, heat the heavy cream over medium heat until it just begins to simmer around the edges. **Do not boil it vigorously!**
- **Pour & Wait.** Immediately pour the hot cream over the chocolate in the bowl. Let it sit for 5 minutes without stirring. This allows the hot cream to melt the chocolate evenly.
- **Stir & Shine.** After 5 minutes, gently whisk the mixture from the center outwards until it’s completely smooth and wonderfully glossy. Stir in the butter (if using) until it’s fully melted and incorporated.
- **Cool Ganache.** Let the ganache cool at room temperature for about 30-60 minutes, stirring occasionally, until it thickens to a luscious, spreadable, but still pourable consistency. It should be like thick syrup, not liquid.
Assembly Time!
- **Level Up.** Once your cake layers are completely cool, level them with a serrated knife if they have a dome. This makes for a neater stack.
- **Stack & Spread.** Place one cake layer on your serving plate or stand. Spread a generous layer of your beautiful, cooled ganache over the top of the first layer.
- **Top It Off.** Carefully place the second cake layer on top. Pour the remaining ganache over the top, letting it drip artfully down the sides. Use an offset spatula or the back of a spoon to smooth it out if you want a cleaner look.
- **Chill Out.** Pop it in the fridge for 15-30 minutes to set the ganache a bit, making it easier to slice cleanly.
- **Devour!** Slice into your masterpiece and enjoy! You’ve earned this.
Common Mistakes to Avoid
- **Overmixing the batter:** This is a cardinal sin! Overmixing develops the gluten too much, giving you a tough, chewy cake instead of a tender one. Mix just until combined.
- **Not greasing/flouring pans properly:** Hello, stuck cake! A baking tragedy that’s easily avoided. Use plenty of butter/shortening and flour, or parchment paper.
- **Cutting into a warm cake:** It will crumble, tear, and generally make you sad. Seriously, **let the cakes cool completely** on a wire rack before frosting or leveling.
- **Overheating the cream for ganache:** Scorched cream equals bitter, gross ganache. Just a gentle simmer, then remove it from the heat.
- **Not using good quality chocolate for ganache:** This is where you taste the difference. Cheap chocolate will give you a subpar ganache. Invest in a decent bar, it’s worth it!
Alternatives & Substitutions
- **Dairy-free?** For the cake, use plant-based milk (almond, soy, oat) and your preferred vegetable oil. For the ganache, use full-fat coconut cream (the thick stuff from a can, chilled overnight, scoop out the solid part) instead of heavy cream, and ensure your dark chocolate is dairy-free. It’ll still be super rich!
- **Different chocolate?** For ganache, semi-sweet chocolate works great too for a slightly sweeter finish. Milk chocolate might be too sweet and too thin, IMO, so stick to dark or semi-sweet for best results.
- **Spice it up!** Add a pinch of instant espresso powder (about 1-2 teaspoons) to the cake batter to really enhance and deepen the chocolate flavor without making it taste like coffee. Trust me on this one, it’s a game-changer.
- **No boiling water?** Warm strong coffee (same quantity) works too, for an even deeper, more complex chocolate flavor profile!
FAQ (Frequently Asked Questions)
Got questions? I’ve got answers!
- **”My ganache is too thin! What did I do wrong?”** Probably didn’t let it cool long enough. Pop it in the fridge for 10-15 minute intervals, stirring in between, until it thickens. FYI, sometimes it’s also about the chocolate’s cocoa solids percentage; lower percentages yield thinner ganache.
- **”Can I make this cake ahead of time?”** Absolutely! The cake layers can be baked a day or two in advance, wrapped tightly in plastic wrap, and kept at room temperature. The ganache can be made a day ahead and gently reheated (microwave in 15-second bursts or over a double boiler) to a pourable consistency.
- **”Do I really need boiling water?”** Yes! It makes the cake incredibly moist and helps ‘bloom’ the cocoa powder, enhancing its flavor. Don’t skip this magical step!
- **”What kind of cocoa powder should I use?”** Natural unsweetened cocoa powder (like Hershey’s or Ghirardelli) is perfect for this recipe as it reacts with the baking soda. Dutch-processed cocoa powder gives a darker color and milder flavor, but stick with natural here.
- **”My cake stuck to the pan, HELP!”** Oh no! Next time, really grease and flour those pans thoroughly, or use parchment paper rounds on the bottom. For now, try to piece it back together with the ganache – it hides a multitude of sins!
- **”Can I make cupcakes with this recipe?”** Yep! Divide the batter into cupcake liners and bake for about 18-22 minutes, or until a toothpick comes out clean. Adjust your expectations for ganache coverage, though – it’s more of a drizzle than a thick coating for cupcakes.
Final Thoughts
There you have it! A Chocolate Ganache Birthday Cake that’s as impressive as it is delicious. You’ve just created a masterpiece, seriously. Go ahead, pat yourself on the back, and maybe grab a slice (or two, I won’t tell). Now go impress someone—or yourself—with your new culinary skills. You’ve earned it! And remember, life’s too short for boring cake.


