So, you’ve got a cake, a tub (or bowl!) of glorious chocolate frosting, and that little voice in your head whispering, “Don’t just slather it on, make it *fabulous*!” Good news, friend. We’re about to dive into the wonderful, slightly messy, and incredibly rewarding world of jazzing up your cake with chocolate frosting without needing a pastry degree or a team of tiny elves. Let’s make some cake magic, shall we?
Why Decorating with Chocolate Frosting is Awesome
Because it’s chocolate! Duh. But seriously, chocolate frosting is like the little black dress of the cake world – it’s always in style, super versatile, and incredibly forgiving. Spilled a bit? Looks rustic! Squiggly line? Artistic! Plus, it hides a multitude of sins (like that slightly lopsided cake layer you swear no one will notice). It’s also **idiot-proof**, I mean, *even I* can make it look decent. Whether you’re aiming for “elegant dinner party” or “I just needed an excuse to eat more chocolate,” this frosting is your trusty sidekick. And let’s be real, the best part is licking the spoon.
Ingredients You’ll Need (for your frosting canvas)
Before we get our decorating groove on, you need some kick-ass chocolate frosting. Here’s a super simple recipe if you’re not just grabbing a tub from the store (no judgment, we’ve all been there!).
- 1/2 cup (1 stick) unsalted butter, softened. Because life’s too short for hard butter.
- 2 cups powdered sugar (aka confectioners’ sugar). Get ready for a sugar cloud!
- 1/2 cup unsweetened cocoa powder. The darker, the dreamier.
- 1/4 cup milk (any kind works, even almond milk if you’re feeling fancy). This helps it get swooshy.
- 1 teaspoon vanilla extract. Makes everything smell like a hug.
- A pinch of salt. Elevates all those chocolatey notes, trust me.
Step-by-Step Instructions (Now for the Fun Part: Decorating!)
Okay, you’ve got your cake, you’ve got your magnificent chocolate frosting (either homemade or store-bought – no shame in the game!). Let’s turn that cake into a showstopper. No fancy equipment needed for most of these!
-
The “Rustic Swirl” (aka The “I Woke Up Like This” Look):
This is probably the easiest and most effective way to make your cake look professionally “undone.” Simply plop a generous amount of frosting on top of your cooled cake. Grab an offset spatula or the back of a spoon. Gently spread the frosting from the center outwards, creating beautiful, imperfect swirls and peaks. Don’t overthink it; the more natural, the better. You can even drag the spatula slightly over the sides for that trendy naked cake vibe with just a hint of chocolate.
-
Chocolate Shavings & Curls Extravaganza:
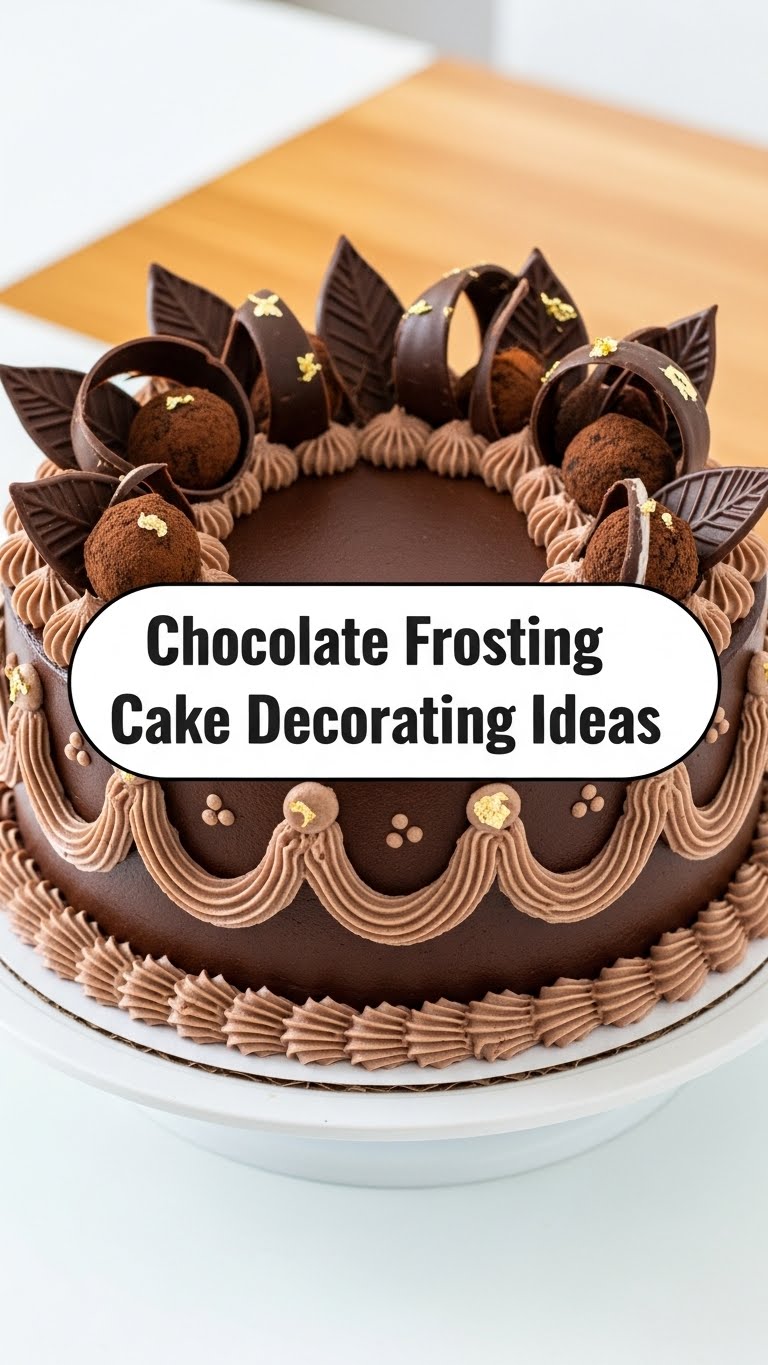
Want instant elegance? Grab a chocolate bar (a good quality one, please!). Use a vegetable peeler to shave delicate curls and shards directly over your frosted cake. You can do this all over, or just in the center, creating a gorgeous chocolatey mound. **Pro tip:** Chill the chocolate bar slightly beforehand for easier, cleaner curls. This looks super impressive with minimal effort, FYI.
-
The Sprinkle Party (Confetti Chaos!):
Sometimes, you just need a burst of color. Once your cake is frosted, immediately shower it with your favorite sprinkles! Rainbow jimmies, nonpareils, even edible glitter – the world is your oyster. This is particularly great for kid’s birthdays (or your own, let’s be real). Just make sure the frosting is still tacky so the sprinkles stick. Want to get slightly fancier? Press sprinkles just around the bottom edge for a neat border.
-
Simple Piped Dots or Stars:
Feeling a little more adventurous? Grab a piping bag with a round or star tip (or even just snip the corner off a Ziploc bag!). Fill it with your chocolate frosting. Practice on a plate first if you’re nervous. You can pipe simple, evenly spaced dots around the top edge of the cake, or create little stars. This adds a delicate, finished touch. You can even pipe a little “Happy Birthday” if your handwriting is better than mine (which, let’s be honest, it probably is).
-
Edible Flower Power:
For a touch of natural beauty, adorn your chocolate frosted cake with edible flowers (ensure they are truly edible and pesticide-free!). Pansies, violas, or even rose petals look stunning against the dark chocolate backdrop. This is perfect for garden parties, spring events, or just making your Tuesday feel fancy. Arrange them artfully on top or cascading down the side.
Common Mistakes to Avoid
Even though chocolate frosting is forgiving, a few rookie moves can mess with your masterpiece. Don’t be that person!
- Frosting a Warm Cake: This is a cardinal sin. You’ll end up with a sliding, melting, chocolatey mess instead of a beautifully decorated cake. **Always make sure your cake is completely cool** before even thinking about frosting it.
- Using Cold Frosting: If your frosting is straight out of the fridge, it’ll be stiff and hard to spread or pipe. Let it come to room temperature for at least 30 minutes, or microwave it for 10-15 seconds (stirring well!) until it’s pliable and smooth.
- Over-Piping/Over-Fussing: Sometimes, less is more. Don’t keep adjusting and re-adjusting your decorations. A few simple, confident strokes or placements often look better than an over-worked, stressed-out cake. Embrace imperfection!
- Forgetting a Crumb Coat: If your cake is prone to shedding crumbs (and let’s face it, most are), do a thin “crumb coat” of frosting first. Chill it for 15-20 minutes, *then* apply your final, decorative layer. It traps all those pesky crumbs for a super smooth finish.
Alternatives & Substitutions
Feeling adventurous or missing an ingredient? No worries, we’ve got options!
- Butter Alternative: You can use shortening (like Crisco) for a super white, stable frosting, but for chocolate, **I recommend sticking with butter for flavor**. If you *must* use margarine, well, technically yes, but why hurt your soul like that? Butter is king here, IMO.
- Milk Alternative: Any liquid works! Cream for richness, water for a lighter frosting, or even a splash of coffee for an even deeper chocolate flavor. Experiment!
- Cocoa Powder: Dutch-processed cocoa powder will give you a darker, less bitter chocolate flavor. Natural cocoa powder is also great and usually what’s on hand. Just use what you’ve got!
- Decorating Tools: No piping bag? A Ziploc bag with a corner snipped works wonders. No offset spatula? A butter knife or the back of a spoon is your best friend for rustic swirls. Get creative!
FAQ (Frequently Asked Questions)
- My frosting is too thick! What do I do?
Easy-peasy! Add milk (or cream, or coffee) a teaspoon at a time, mixing well after each addition, until it reaches your desired consistency. Don’t go crazy, or you’ll end up with chocolate soup!
- And if it’s too thin? Help!
No panic! Gradually add more powdered sugar, a tablespoon at a time, mixing until it thickens up. Sometimes, a quick chill in the fridge for 10-15 minutes can also firm it up a bit.
- Can I make this frosting ahead of time?
Absolutely! Store it in an airtight container in the fridge for up to a week. When you’re ready to use it, let it come to room temperature and give it a good whip with your mixer to get it fluffy again. Might need a tiny splash of milk.
- What if I don’t have a stand mixer?
A hand mixer works perfectly fine! If you’re really old school, you can use a whisk and some serious arm power. It’ll just take a bit longer and give you a good workout!
- Can I add other flavors to the chocolate frosting?
Heck yes! A little peppermint extract for mint chocolate, almond extract for a subtle nutty note, or a dash of espresso powder for super-rich mocha frosting. The possibilities are endless, my friend!
- Does it matter what kind of cake I use?
Nope! Chocolate frosting is a universal love language. It goes with vanilla cake, chocolate cake, red velvet, banana bread… you name it. It’s the ultimate team player.
Final Thoughts
See? You’re practically a cake decorating maestro now! The key is to have fun, not take yourself too seriously, and remember that even “mistakes” often just become delicious, rustic charm. So go forth, wield that chocolate frosting like the culinary artist you are, and create something beautiful (and tasty!). Now go impress someone—or yourself—with your new culinary skills. You’ve earned it!


