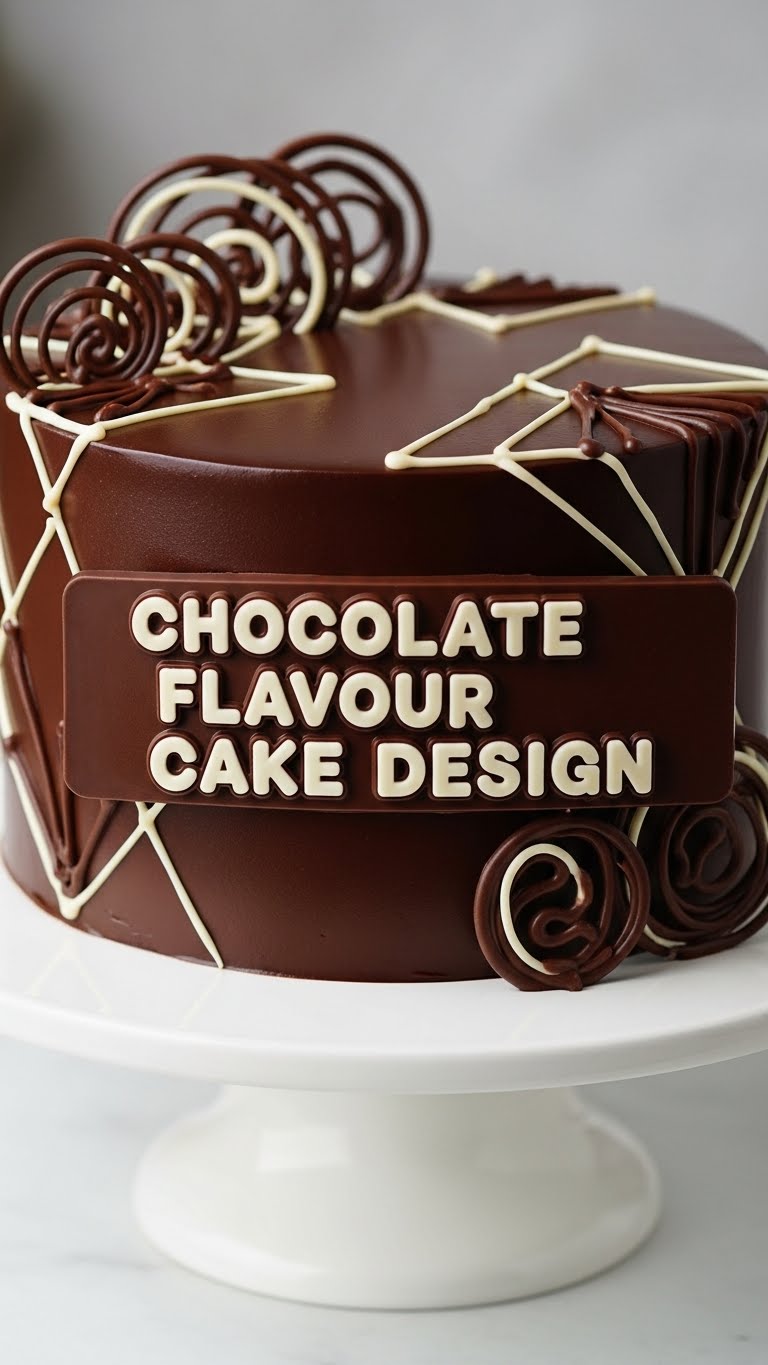
So you’ve decided to dive headfirst into the glorious, messy, utterly delicious world of chocolate cake, huh? Good choice. Because honestly, is there any problem a chocolate cake can’t *at least* temporarily solve? We’re talking rich, moist, soul-satisfying chocolate goodness that looks like you spent hours on it, but actually, you just channeled your inner kitchen wizard for a hot minute. Let’s bake some magic!
Why This Recipe is Awesome
This isn’t your grandma’s ‘spend-all-day-in-the-kitchen’ recipe (unless your grandma was super chill and loved shortcuts, in which case, high five to her!). Nope, this one is for the modern, busy, chocolate-obsessed human. It’s so **idiot-proof**, you could probably make it in your sleep. And trust me, I’ve tested that theory after a long day. The result? Pure chocolatey bliss, every single time. Plus, it looks fancy AF without any actual fancy effort. Win-win! It’s perfect for impressing guests, bribing colleagues, or just having a private pity party with a fork. No judgment here.
Ingredients You’ll Need
Gather ’round, fellow chocolate fiends! Here’s what you’ll need to turn into a cake designer extraordinaire. Don’t worry, nothing too exotic here.
- All-purpose flour: 1 ¾ cups (210g). Because we’re not baking scientists here.
- Granulated sugar: 1 ¾ cups (350g). For that sweet, sweet magic.
- Unsweetened cocoa powder: ¾ cup (65g). The darker, the better for that deep chocolate soul.
- Baking soda: 1 ½ teaspoons. One of the secret agents that make your cake fluffy, not flat.
- Baking powder: 1 ½ teaspoons. Its partner in crime, ensuring maximum lift.
- Salt: 1 teaspoon. Just a pinch, to make everything pop and balance the sweetness.
- Large eggs: 2, at room temperature. They just mix better, trust me.
- Whole milk: 1 cup (240ml). For richness, or whatever you have on hand – we’re not snobs.
- Vegetable or canola oil: ½ cup (120ml). Because butter is great, but oil makes it ridiculously moist.
- Vanilla extract: 2 teaspoons. Don’t skip this! It amplifies all that chocolate goodness.
- Hot water or hot brewed coffee: 1 cup (240ml). The *real* secret weapon for intense chocolate flavor and super moistness. Shhh!
- Your favorite chocolate frosting or ganache: Plenty for layering and decorating. Because what’s chocolate cake without more chocolate?
Step-by-Step Instructions
Alright, apron on, game face on (or just your hungry face, that works too). Let’s do this!
- First things first: Preheat that oven to 350°F (175°C). Then, grease and flour two 8-inch round cake pans. Or line them with parchment paper if you’re feeling fancy. **Don’t skip this part!** Nobody likes a stuck cake.
- In a large bowl, whisk together all your dry ingredients: the flour, sugar, cocoa powder, baking soda, baking powder, and salt. Make sure there are no lumpy bits. We want smooth sailing.
- In another, separate bowl, combine your wet ingredients: the eggs, milk, oil, and vanilla extract. Give it a good whisk until everything is friends and nicely blended.
- Slowly pour the wet ingredients into the dry ingredients. Mix until *just* combined. **Overmixing is the enemy of moist cake!** A few small lumps are perfectly okay. Seriously, step away from the whisk.
- Now for the magic touch: carefully stir in the hot water (or coffee, if you’re brave and want extra depth). The batter will be quite thin, but that’s exactly what we want. Embrace the thinness!
- Divide the batter evenly between your two prepared cake pans. Pop them into the preheated oven for 30-35 minutes, or until a toothpick inserted into the center comes out clean. **Keep an eye on them!** Ovens are like siblings; they all behave differently.
- Once baked, let them cool in the pans for about 10-15 minutes before carefully flipping them onto a wire rack to cool completely. **Patience, young grasshopper!** Trying to frost a warm cake is a recipe for disaster (and melty, sad frosting).
- Once completely cool, it’s time to assemble and design! Level your cakes if needed, then frost with your favorite chocolate ganache or buttercream. Stack ’em up, smooth the edges, add sprinkles, chocolate shavings, whatever your heart desires. This is where your inner artist shines!
Common Mistakes to Avoid
We’ve all been there. Learn from my chocolatey errors, my friend:
- Thinking you don’t need to preheat the oven. Rookie mistake. Your cake will thank you for the consistent, even heat.
- Overmixing the batter. Seriously, stop! You’re building gluten, not muscles. Lumpy batter makes for a tough cake. And nobody likes a tough cake.
- Not letting the cake cool completely before frosting. This isn’t a race, it’s an art. Melted frosting looks like a sad, deflated mess, and all your hard work goes to waste. You’ve been warned.
- Eyeballing ingredients, especially baking powder/soda. Baking is chemistry, not improv comedy. **Measure accurately!** Your cake’s structure depends on it.
Alternatives & Substitutions
Life happens, and sometimes you don’t have exactly what the recipe calls for. No stress!
- No buttermilk? No problem! Add 1 tablespoon of white vinegar or lemon juice to regular milk and let it sit for 5 minutes. Voila, instant buttermilk.
- Out of vegetable oil? Melted unsalted butter works too, but the texture will be slightly different (still delicious though, IMO!). The oil tends to make it extra moist.
- Coffee hater? Just use hot water. But seriously, the coffee just deepens the chocolate flavor without making it taste like coffee. It’s a secret weapon for chocoholics!
- Want to make it gluten-free? Use a 1:1 gluten-free flour blend. I haven’t personally tried it with this specific recipe, but generally, it works well. Just manage your expectations slightly – GF cakes can be a bit more delicate.
FAQ (Frequently Asked Questions)
- Can I use margarine instead of butter (in frosting)? Well, technically yes, but why hurt your soul like that? Butter is king for flavor and texture in frosting, **FYI**. Stick to butter for the best results.
- My cake sank in the middle! What went wrong? Probably opened the oven door too early, or your leavening agents (baking soda/powder) were old. Check those expiration dates; they lose their oomph over time!
- Can I make this as cupcakes? Absolutely! Fill cupcake liners about 2/3 full and bake for 18-22 minutes. Keep an eye on them, as oven times vary.
- How long does it last? Covered tightly at room temperature, it’s usually good for 3-4 days. In the fridge, maybe a week. But honestly, who lets chocolate cake last that long? Mine disappears like magic.
- Can I add chocolate chips to the batter? Go wild! Just toss them in a little flour before adding to the batter to prevent them from sinking to the bottom. More chocolate is always the answer.
- Is this recipe good for beginners? **Yes!** That’s the whole point. It’s forgiving, delicious, and will make you feel like a pro even if you’ve never baked a cake before. You got this, champ.
Final Thoughts
And there you have it, folks! Your very own, utterly fabulous chocolate cake, ready to dazzle taste buds and solve all of life’s minor inconveniences (temporarily, at least). Whether you’re celebrating, commiserating, or just craving something sweet, this cake is your new best friend. Go forth and conquer, my baking buddy. Now go impress someone—or yourself—with your new culinary skills. You’ve earned it! Seriously, go eat that cake.

