So, you’ve got a cake sitting there, probably looking all cute and innocent, just begging for some chocolatey goodness, right? But the thought of wrestling with a complicated ganache or some fussy pastry cream has you reaching for the nearest bag of chips instead. Been there, friend. Too many times. That’s why we’re making a chocolate filling that’s so easy, so ridiculously delicious, you’ll wonder where it’s been all your cake-baking life. No stress, maximum yum. Let’s do this!
Why This Recipe is Awesome
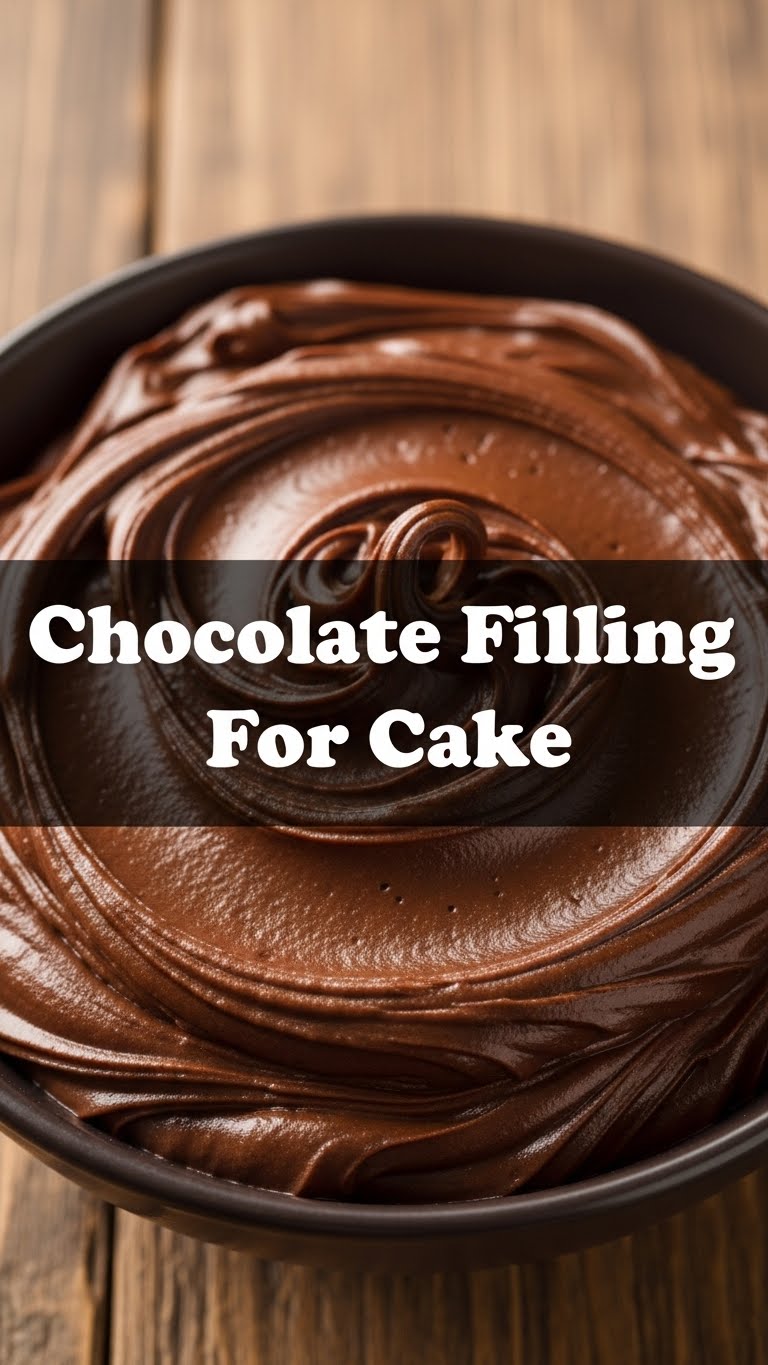
Because, let’s be real, life is too short for bland cake fillings. And even shorter for recipes that make you question your life choices halfway through. This chocolate filling? It’s the MVP of cake fillings. Seriously. It’s **super creamy**, perfectly rich, and has that deep chocolate flavor that makes people close their eyes in pure bliss. Plus, it’s pretty much **idiot-proof**. Even if your usual kitchen adventures involve setting off the smoke detector, I promise you, you can nail this one. It comes together in a flash, uses ingredients you probably already have, and tastes like you spent hours slaving away. Win-win-win!
Ingredients You’ll Need
- **½ cup (1 stick) unsalted butter**, softened. Not melted, not rock hard. Just that perfect ‘smearable’ consistency. Think of it as the happy medium of butter states.
- **1 cup powdered sugar** (aka confectioners’ sugar). Sift it if you’re feeling fancy or if you hate lumps. But honestly, for this, we’re blending it all anyway, so don’t stress too much.
- **½ cup good quality cocoa powder**. This isn’t the time for that dusty, forgotten container from the back of your pantry from 2005. Get some decent stuff, it really makes a difference. Trust me, your taste buds will thank you.
- **¼ cup milk** (any kind, dairy or non-dairy works!). This is our secret weapon for creaminess.
- **1 teaspoon vanilla extract**. The real stuff, please. None of that artificial jazz if you can help it. It’s like putting regular gas in a sports car – why would you?
- **Pinch of salt**. Just a tiny bit to make all those chocolate flavors sing. It’s like the backup singer that makes the lead sound even better.
Step-by-Step Instructions
- **Cream the butter:** Grab a medium bowl and your trusty electric mixer (or a strong arm, if you’re feeling ambitious). Beat the softened butter on medium speed until it’s light and fluffy. This usually takes about 1-2 minutes.
- **Add the good stuff:** Gradually add the powdered sugar and cocoa powder to the butter. Start on low speed to avoid a cocoa dust cloud that will make your kitchen look like a crime scene. Once it’s somewhat combined, crank up the speed to medium and beat until fully incorporated and smooth. Scrape down the sides of the bowl as needed.
- **Bring on the liquid gold:** Pour in the milk and vanilla extract. Add that little pinch of salt too. Beat on medium speed until everything is beautifully combined and the filling is super smooth and creamy. If it seems a little thick, add another teaspoon of milk until you reach your desired spreadable consistency.
- **Taste test (the best part!):** Grab a spoon (or your finger, no judgment here) and have a little taste. Does it need more sugar? More chocolate? More vanilla? Adjust to your heart’s content. Remember, this is *your* cake!
- **Fill ‘er up!** Now, go forth and generously spread this glorious chocolate filling between your cake layers. Or just eat it straight from the bowl. I won’t tell.
Common Mistakes to Avoid
- **Using cold butter:** Oh honey, no. This is a frosting, not a butter sculpture contest. Cold butter won’t cream properly, and you’ll end up with lumpy filling. **Always use softened butter!**
- **Skipping the salt:** It sounds weird, putting salt in a sweet filling, right? But trust me, a tiny pinch makes all the difference, enhancing the chocolate flavor and preventing it from tasting flat. It’s science!
- **Over-mixing:** While this isn’t as finicky as cake batter, over-mixing after adding the milk can sometimes incorporate too much air, making it a bit *too* light. Mix until just combined and creamy.
- **Using bad quality cocoa:** We talked about this. Cheap cocoa gives you cheap flavor. Splurge a little; your taste buds will high-five you.
Alternatives & Substitutions
Feeling adventurous, or just ran out of something vital? No worries, I got you!
- **Milk swap:** Don’t have regular milk? Almond milk, soy milk, oat milk – any of them will work just fine. The flavor might shift ever so slightly, but it’ll still be creamy and delicious.
- **Butter alternative:** While I’m a butter purist for this recipe (IMO, it just tastes better), you *could* technically use a good quality plant-based butter substitute if you need it to be dairy-free. Just make sure it’s one that bakes well and has a decent flavor profile.
- **Amp up the chocolate:** Want it even more intense? Melt a couple of ounces of dark chocolate (good quality, again!) and cool it slightly before beating it into the butter mixture in step 2. Hello, chocolate heaven!
- **Flavor twists:** A tiny splash of coffee extract or a tablespoon of espresso powder can really deepen the chocolate flavor. Or, for a mint chocolate vibe, add a few drops of peppermint extract. FYI, a little goes a long way with extracts!
FAQ (Frequently Asked Questions)
Got questions? I probably already thought of them (or made the mistake myself once upon a time!).
- **Can I make this ahead of time?** Absolutely! You can whip this up a day or two in advance. Store it in an airtight container in the fridge. Just let it come to room temperature and give it a quick whip with your mixer before using to get that perfect consistency back.
- **My filling is too runny, what happened?** Likely too much milk, or maybe your butter was too soft (or even melted slightly). No panic! Add a tablespoon or two more powdered sugar and beat it in until it thickens up.
- **My filling is too stiff/thick! Help!** Easy fix! Add milk, a teaspoon at a time, beating after each addition, until it reaches your desired spreadable consistency.
- **Can I use this for cupcakes too?** Duh! This is fantastic on cupcakes. Pipe it on for a fancy look, or just dollop it with a spoon for that rustic charm.
- **Is this suitable for piping?** Yes, it holds its shape really well! Just make sure it’s not too warm, otherwise it might get a bit too soft. If it is, pop it in the fridge for 10-15 minutes.
- **Can I freeze this filling?** Technically yes, but I don’t recommend it. Freezing can sometimes mess with the texture, making it a bit grainy or separating. It’s so quick to make fresh, why bother?
Final Thoughts
See? That wasn’t so scary, was it? You just whipped up a killer chocolate filling that’s going to elevate your cake game from “nice attempt” to “OMG, you *made* this?!” Now go impress someone—or yourself—with your new culinary skills. You’ve earned that extra slice of cake, trust me. And don’t forget to send me a virtual slice!


