Ever scrolled through Instagram, seen those ridiculously gorgeous chocolate drip cakes, and thought, “Yeah, I could *never*?” Or maybe you’ve got a birthday coming up (yours, a friend’s, your dog’s… no judgment here!) and you’re tired of the same old store-bought cardboard-with-frosting situation. Same, friend, same. Well, buckle up buttercup, because today we’re tackling the majestic Chocolate Drip Cake, and guess what? You absolutely *can* do this. Seriously, if I can, you can.
Why This Recipe is Awesome
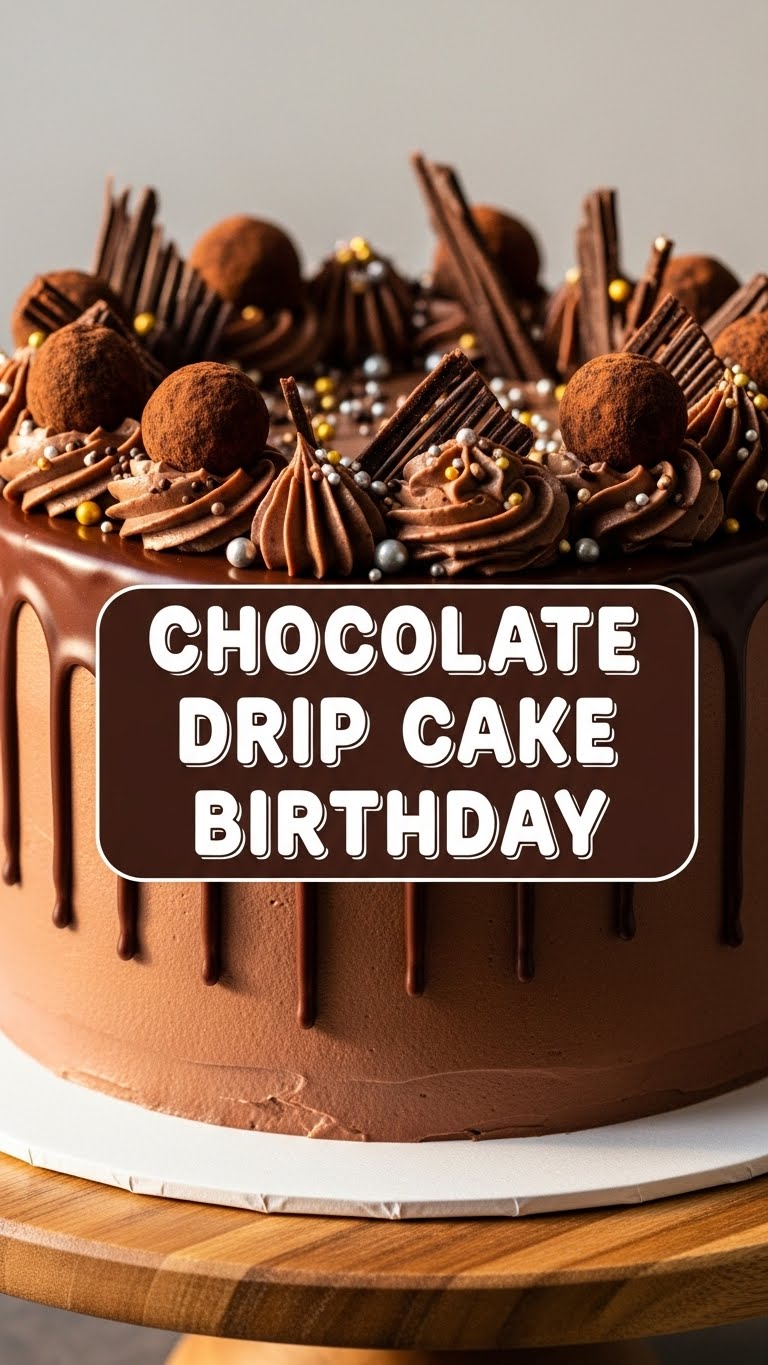
Okay, let’s be real. This isn’t just a cake; it’s a statement. It screams, “I love you (and chocolate) enough to put in *some* effort, but not enough to lose my mind.” It looks incredibly fancy, like you hired a professional baker, but in reality, it’s deceptively simple. We’re talking **major visual impact with minimal stress**. Plus, it’s chocolate. Do I really need to elaborate? It’s rich, moist, and that drip? *Chef’s kiss*. It’s idiot-proof, honestly. Even *I* didn’t mess it up, and my kitchen regularly sees culinary disasters.
Ingredients You’ll Need
Get ready to gather your baking arsenal! Here’s what you’ll need for this masterpiece:
- For the Cake:
- 1 box (approx. 15.25 oz) chocolate cake mix (yes, a box! We’re not snobs here, we’re smart!)
- 3 large eggs (usually what the box asks for)
- 1/2 cup vegetable oil (or whatever the box dictates)
- 1 cup milk (instead of water for extra richness – **pro tip!**)
- 1 tsp vanilla extract (optional, but adds a little oomph)
- For the Buttercream Frosting:
- 1 cup (2 sticks) unsalted butter, softened (not melted, unless you like soup)
- 3-4 cups powdered sugar, sifted (to avoid lumpy frosting – gross)
- 1/4 cup heavy cream or milk (adjust for desired consistency)
- 1 tsp vanilla extract (the more vanilla, the merrier, IMO)
- 1/4 cup good quality cocoa powder (because life’s too short for mediocre chocolate)
- For the Chocolate Drip (Ganache):
- 1/2 cup heavy cream (non-negotiable for that perfect drip)
- 1 cup chocolate chips or finely chopped chocolate (semi-sweet or dark for best results)
- For Decorating:
- Your favorite sprinkles, candies, chopped chocolates, fresh berries, etc. (go wild, it’s a birthday!)
Step-by-Step Instructions
Alright, let’s get this party started! Follow these steps for drip cake glory:
- Bake Your Cakes: Preheat your oven according to your cake mix box instructions (usually 350°F / 175°C). Grease and flour two 8-inch round cake pans. In a large bowl, combine the cake mix, eggs, oil, milk, and vanilla extract. Mix until just combined – don’t overmix, or your cake will be tough like your aunt’s fruitcake. Pour evenly into the prepared pans.
- Cool Them Down: Bake for the time specified on the box, or until a toothpick inserted into the center comes out clean. Let them cool in the pans for about 10-15 minutes, then invert them onto a wire rack to cool completely. This is crucial! **Do not rush this step**, or your frosting will melt into a sad puddle.
- Whip Up the Frosting: While the cakes cool, make your buttercream. In a large bowl, beat the softened butter until creamy. Gradually add the sifted powdered sugar, cocoa powder, heavy cream (or milk), and vanilla extract. Beat until light and fluffy. If it’s too thick, add a tiny bit more cream; too thin, add more powdered sugar.
- Assemble Your Cake: Once your cakes are *completely* cool, level them with a serrated knife if they have domed tops. Place one cake layer on your serving plate or cake stand. Spread a generous layer of chocolate buttercream on top. Place the second cake layer on top and repeat with another layer of frosting.
- Crumb Coat Magic: Apply a thin layer of buttercream all over the cake – top and sides. This is your “crumb coat,” and it traps any loose crumbs, so your final coat is smooth. Pop it in the fridge for 15-20 minutes to chill and set.
- Final Frosting Flourish: Once the crumb coat is firm, apply the remaining buttercream in a thicker, even layer all over the cake. Use an offset spatula or bench scraper to smooth the sides and top. Don’t stress too much about perfection; the drip will hide some sins!
- Make the Ganache Drip: In a microwave-safe bowl, heat the heavy cream until it’s just simmering (don’t boil it!). Pour the hot cream over your chocolate chips/chopped chocolate. Let it sit for 5 minutes without stirring. Then, gently whisk until smooth and glossy. Let the ganache cool for about 10-15 minutes until it’s slightly thickened but still pourable. **It should be warm to the touch, but not hot.**
- Drip It, Baby! Using a spoon or a squeeze bottle, carefully pour or pipe the ganache around the top edge of your chilled cake, letting it drip down the sides. For a fuller drip, let more ganache accumulate on the edge before it flows over. Fill the center of the cake with the remaining ganache and spread it evenly.
- Decorate and Devour: Immediately add your sprinkles, candies, or whatever fun toppings you chose while the ganache is still slightly wet (so they stick!). Chill the cake for another 15 minutes to set the drip. Then, slice, serve, and bask in the glory of your creation!
Common Mistakes to Avoid
We’ve all been there – kitchen blunders are part of the baking journey. But let’s try to sidestep these common pitfalls:
- Hot Cakes, Sad Frosting: Frosting a warm cake is like trying to ice skate on quicksand. It’s a disaster. Always, always, **ALWAYS wait until your cakes are completely cool.** You’ve been warned!
- Overmixing Batter: Mixing cake batter for too long develops the gluten, resulting in a tough, dense cake. Mix until just combined, then stop. Walk away from the mixer!
- Ganache Goldilocks Problem: If your ganache is too hot, it’ll run right off the cake like water. Too cold, and it’ll be too thick to drip gracefully, looking more like blobs. You need it *just right* – warm to the touch, but not scorching. **Patience is key here.**
- Skipping the Crumb Coat: You might think it’s an extra step you can skip. Rookie mistake! That crumb coat is your protective shield against crumbly, messy frosting. Don’t skip it unless you enjoy a speckled final product.
- Impatience is Not a Virtue: Rushing the cooling, rushing the chilling, rushing the ganache cooling… it all leads to disappointment. Baking is an exercise in delayed gratification.
Alternatives & Substitutions
Feeling creative? Or maybe you’re just missing an ingredient (we’ve all run out of eggs mid-bake, TBH). Here are some easy swaps:
- Cake Flavor: Don’t love chocolate *that* much? (Gasp! But okay.) Swap the chocolate cake mix for vanilla, funfetti, or even red velvet. The drip will still look fantastic.
- Frosting Flavor: You can skip the cocoa in the buttercream for a classic vanilla or even add a little espresso powder for a mocha kick. Want something less sweet? A cream cheese frosting would also be divine (just make sure it’s firm enough to hold up!).
- Drip Chocolate: Use white chocolate for a contrasting drip, or even add food coloring to white chocolate ganache for a vibrant pop! Caramel or even peanut butter ganache are also tasty options if you’re feeling adventurous.
- Decorations: Instead of candy, try fresh berries (strawberries, raspberries, cherries), chocolate-covered pretzels, mini cookies, or even edible flowers for a more sophisticated look.
- No Heavy Cream for Ganache? You *could* try milk, but honestly, it’s not the same. The high fat content in heavy cream is what gives ganache its luxurious texture. My advice? Just go buy the cream, **it’s worth it for the perfect drip!**
FAQ (Frequently Asked Questions)
- “Can I make this cake ahead of time?”
Absolutely! You can bake the cake layers a day or two in advance and store them, well-wrapped, at room temperature or in the fridge. You can even make the buttercream a few days ahead. Assemble the whole cake the day before, but add the drip and final decorations a few hours before serving for the freshest look.
- “My ganache drip isn’t dripping properly! Help!”
Ah, the classic Goldilocks problem! If it’s too runny, it was too hot. Let it cool longer. If it’s too thick and just plops, it got too cold. Gently warm it in 10-second bursts in the microwave, stirring between each, until it’s the right consistency. Practice makes perfect!
- “Do I *have* to use good quality chocolate for the ganache?”
Well, technically no, but why hurt your soul like that? Seriously though, better chocolate equals better flavor and a smoother ganache. It’s the star of the show here, so give it the respect it deserves!
- “Can I make this a two-tier cake?”
Go big or go home! Yes, you totally can, but you’ll need to double the recipe for the cake and frosting, and probably make 1.5x the ganache. Also, remember to dowel and support your bottom layer if you’re stacking more than two layers. Safety first!
- “How long does a chocolate drip cake last?”
Stored in an airtight container at room temperature, it’s usually good for 2-3 days. In the fridge, it can last up to 5 days, but bring it to room temperature for an hour before serving for the best texture and flavor.
- “My frosting isn’t smooth! What’s wrong?”
Did you sift your powdered sugar? Lumps are often from unsifted sugar. Also, make sure your butter is truly soft, not cold and hard, or melted. A little more liquid (cream/milk) can help, and using an offset spatula or bench scraper will work wonders for smoothing.
Final Thoughts
There you have it! Your very own, absolutely stunning, Chocolate Drip Cake. You just created a masterpiece that’s going to impress everyone (or just you, which is arguably more important). Now go take a picture, humble brag a little, and then devour it with a giant fork. You’ve earned it! Remember, baking is supposed to be fun, so don’t stress too much. And if it’s not perfect, hey, it still tastes amazing, right? Happy baking, my friend!


