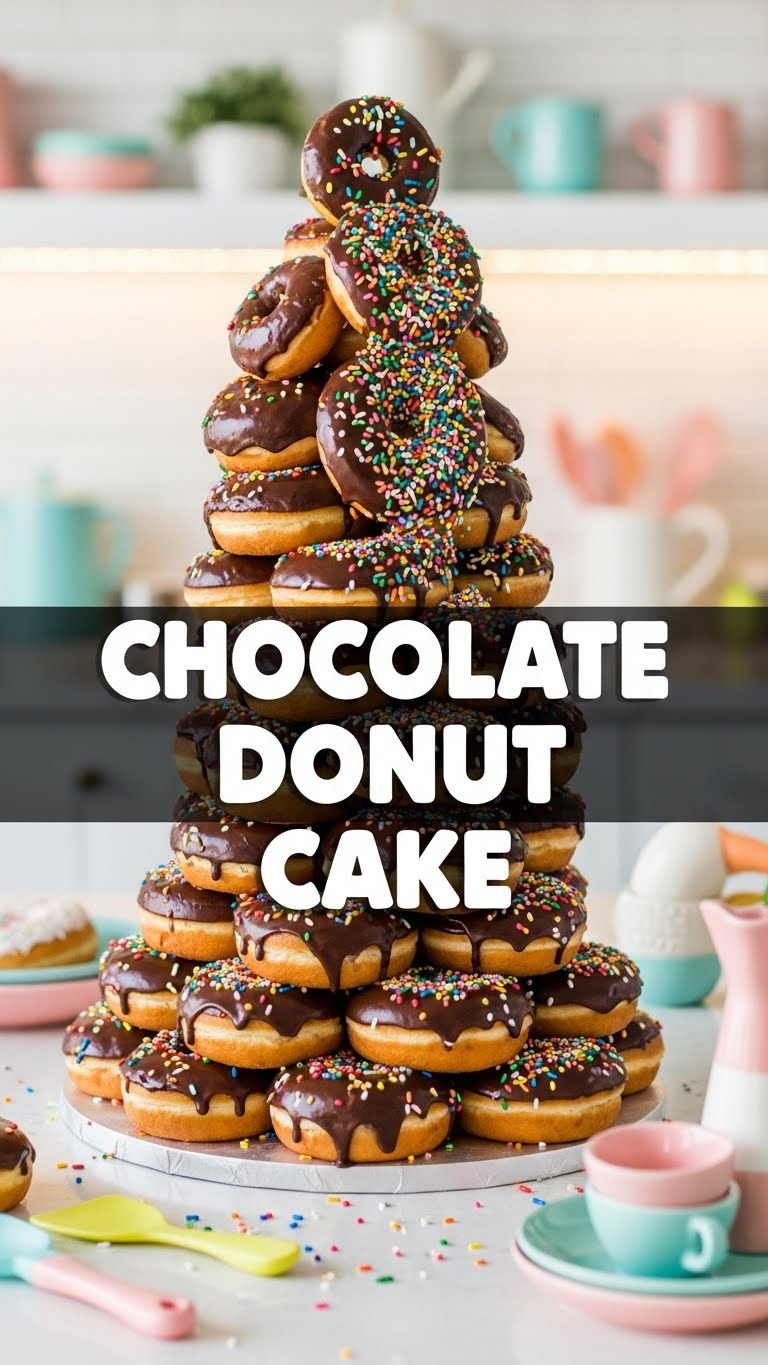
Ever found yourself staring into the abyss of your fridge, dreaming of something ridiculously delicious but also, like, *effortless*? Yeah, me too. And that, my friend, is precisely how the Chocolate Donut Cake came into my life (and now, yours!). It’s the kind of dessert that whispers, “Hey, I look fancy, but I was actually super chill to make.” Get ready to impress everyone with minimal actual effort. You’re welcome.
Why This Recipe is Awesome
Let’s be real, this isn’t just *any* cake. This is a cake that *thinks* it’s a donut. It’s the best of both worlds, right? Here’s why you’re about to fall head over heels:
- Seriously, it’s ridiculously easy. If you can stir things and press a button, you’re golden. Even my cat could probably manage this (if she had opposable thumbs, which, sadly, she doesn’t).
- No deep-frying! Hallelujah! We’re baking this beauty, so less mess, less guilt (maybe). Your kitchen won’t smell like a greasy spoon, and your abs will thank you.
- It tastes like a hug from a chocolate cloud. Don’t believe me? Try it. It’s rich, moist, and perfectly chocolatey.
- It’s perfect for those moments when you want to look like a baking guru without, you know, actually being one. Minimal effort, maximum “wow” factor.
Ingredients You’ll Need
Gather your troops, folks! Here’s what you’ll need for this delicious escapade:
- For the Cake:
- 1 ½ cups all-purpose flour: The backbone of our delicious adventure. Don’t skip it.
- ¾ cup granulated sugar: Because sweetness makes the world go ’round, and also cakes.
- ½ cup unsweetened cocoa powder: Go for good quality; it makes a difference! Trust me on this one.
- 1 teaspoon baking soda: Our trusty leavening agent. It’s what makes the magic happen.
- ½ teaspoon salt: Balances everything out, like a tiny culinary referee.
- 1 large egg: The binder of champions. Make sure it’s at room temp!
- ¾ cup buttermilk: Adds moisture and a slight tang. If you don’t have it, don’t panic! (See FAQ).
- ½ cup warm water: Helps the cocoa bloom and keeps things super moist.
- ¼ cup vegetable oil: For that lovely, tender crumb.
- 1 teaspoon vanilla extract: Essential for *all* baked goods, IMO. Don’t even think about skipping it.
- For the Chocolate Glaze:
- 1 ½ cups powdered sugar: For that classic donut glaze sweetness.
- ¼ cup unsweetened cocoa powder: More chocolate, because why not?
- 3-4 tablespoons milk (any kind): To get that perfect drizzly consistency. Start with less, add more.
- ½ teaspoon vanilla extract: Another splash of deliciousness.
Step-by-Step Instructions
- Preheat & Prep: Get that oven heated to 350°F (175°C). Grease and flour a 9-inch round cake pan. Or, if you’re feeling fancy, line it with parchment paper. This step is non-negotiable, unless you like your cake glued to the pan.
- Dry Mix: In a large bowl, whisk together the flour, granulated sugar, cocoa powder, baking soda, and salt. Make sure there are no lumpy bits. We want smooth sailing!
- Wet Mix: In a separate medium bowl, whisk the egg, buttermilk, warm water, vegetable oil, and vanilla extract until well combined.
- Combine Forces: Pour the wet ingredients into the dry ingredients. Mix with a spatula or whisk until *just* combined. Don’t overmix! A few small lumps are totally fine; overmixing makes for a tough cake, and nobody wants a tough cake.
- Bake It Up: Pour the batter into your prepared cake pan. Pop it into the preheated oven and bake for 30-35 minutes, or until a wooden skewer inserted into the center comes out clean.
- Cool Down: Let the cake cool in the pan for about 10-15 minutes before inverting it onto a wire rack to cool completely. Patience, young grasshopper! A warm cake will melt your beautiful glaze into a sad, sad puddle.
- Glaze Time: While the cake cools, whisk together all the glaze ingredients in a small bowl until smooth. If it’s too thick, add a tiny bit more milk; too thin, add a touch more powdered sugar. You’re aiming for a consistency that drizzles but also coats.
- Drizzle & Devour: Once the cake is completely cool, pour the glaze over the top, letting it drip enticingly down the sides. Slice, serve, and bask in the glory of your homemade Chocolate Donut Cake. You did it!
Common Mistakes to Avoid
Even the pros make mistakes (or so I tell myself). Here are a few pitfalls to steer clear of:
- Not preheating the oven: Rookie move. Your cake needs a warm welcome to rise properly. Don’t skip this, or you’ll have a sad, dense cake that questions your life choices.
- Overmixing the batter: This is the arch-nemesis of tender cakes. Mix *just* until the ingredients are combined. Lumps are your friends here (small ones, anyway).
- Not greasing and flouring the pan properly: Unless you want to chisel your cake out, do this thoroughly. Or, as mentioned, parchment paper is your BFF. It’s a lifesaver.
- Glazing a warm cake: Your beautiful glaze will turn into a watery puddle. Wait until the cake is completely cool. I repeat: COMPLETELY COOL. Don’t test fate!
- Using cold ingredients: Especially the egg and buttermilk. Room temperature ingredients mix more evenly and lead to a better texture. Plan ahead, even if just for 30 mins!
Alternatives & Substitutions
Life’s about options, right? Here are some ways to tweak this recipe to your heart’s content:
- No Buttermilk? No Problem! Seriously, don’t run to the store. Just add 1 tablespoon of white vinegar or lemon juice to a measuring cup, then fill the rest with regular milk until it reaches ¾ cup. Let it sit for 5 minutes, and *voilà*, DIY buttermilk! It works like a charm.
- Oil Swap: You can totally use melted unsalted butter instead of vegetable oil for a slightly richer flavor. Just make sure it’s cooled a bit before adding to the wet ingredients.
- Glaze Variations: Feeling wild? Add a pinch of instant espresso powder to the glaze for a mocha kick. Or, for a hint of something different, a tiny splash of almond extract. Or, just skip the glaze and dust with powdered sugar for a simpler, elegant look. Your cake, your rules!
- Dairy-Free: For a dairy-free version, use your favorite non-dairy milk (almond, oat, soy) to make the “buttermilk” substitute, and use a dairy-free milk in the glaze. Easy peasy.
FAQ (Frequently Asked Questions)
Got questions? I’ve got (casual) answers!
- “My cake turned out dry! What went wrong?” Did you overbake it? Or overmix the batter? These are the usual culprits. Next time, keep an eye on it and pull it out as soon as the skewer is clean. A little underbaked is better than overbaked, FYI.
- “Can I make this into cupcakes?” Absolutely! Adjust the baking time to about 18-22 minutes. You’ll get about 12-18 cupcakes, depending on how full you fill them. Perfect for individual portions!
- “What kind of cocoa powder should I use?” Any unsweetened cocoa powder works! Natural cocoa (like Hershey’s) gives a slightly lighter, fruitier chocolate flavor, while Dutch-processed cocoa gives a darker, mellower chocolate. Use what you have and love!
- “How long does this cake last?” Stored covered at room temperature, it’s usually good for 3-4 days. But let’s be real, it rarely lasts that long in my house. It’s just too tempting!
- “Can I add chocolate chips to the batter?” Um, yes! Is that even a question? Fold in about ½ to ¾ cup of your favorite chocolate chips with the dry ingredients before adding the wet. More chocolate is always the answer.
- “Is this *really* easy?” Yes, my friend, yes. I wouldn’t lie to you about something this important. It’s designed for maximum deliciousness with minimum stress.
- “Can I use margarine instead of butter?” Well, technically yes, but why hurt your soul like that? Butter just tastes better, let’s be honest.
Final Thoughts
Phew! You made it. And now, you’re armed with the knowledge (and probably a rumbling stomach) to create a Chocolate Donut Cake that will make people swoon. This isn’t just a cake; it’s a statement. A statement that says, “I’m amazing, and I just whipped this up without breaking a sweat.” Now go forth and conquer your kitchen. You’ve earned those bragging rights (and that delicious slice of cake!). Enjoy every single crumb!

