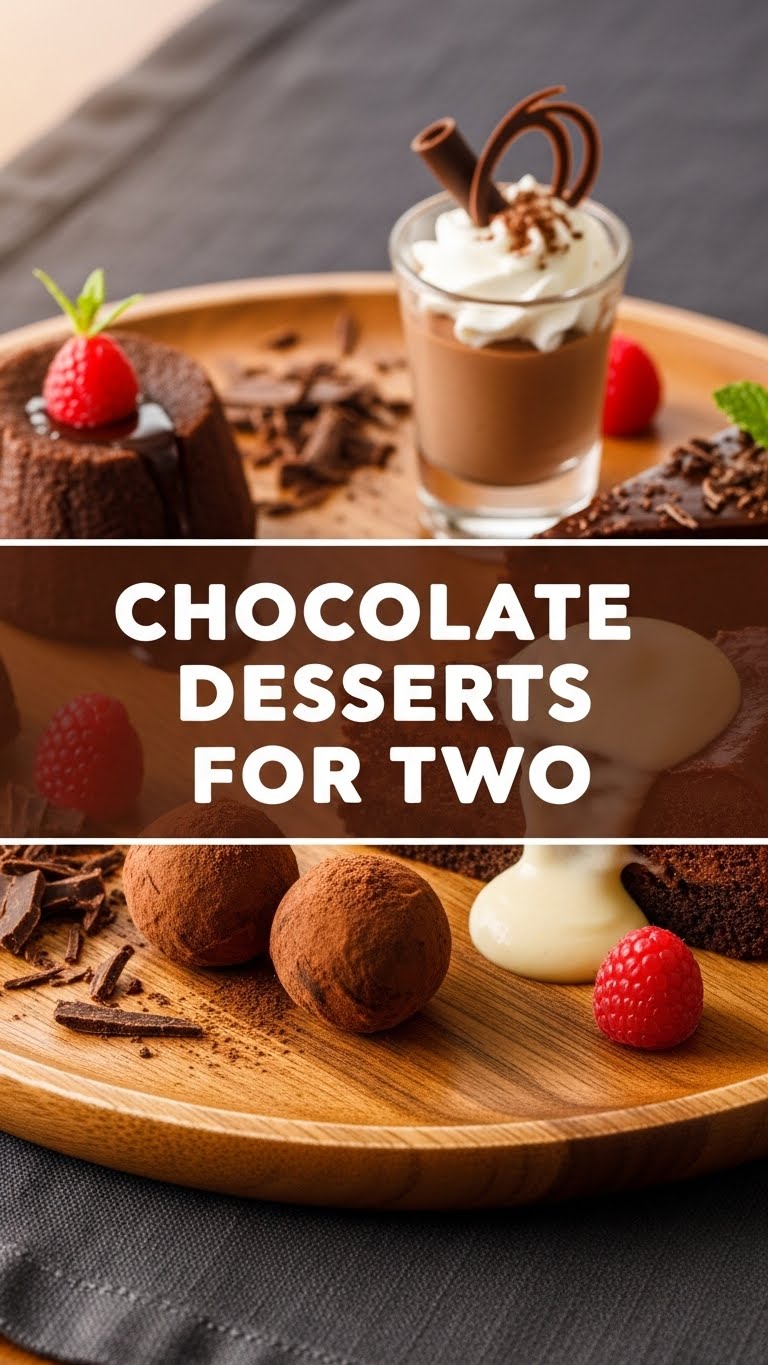
So, you’re looking for a chocolate fix but don’t want to make enough to feed a small army, huh? And ideally, something that doesn’t require a culinary degree or, like, a full day in the kitchen? My friend, you’ve come to the right place. We’re talking about a ridiculously decadent, surprisingly simple Chocolate Lava Cake for two. Because sometimes, you just want to share a moment (and a dessert) without having a week’s worth of leftovers staring at you from the fridge.
Why This Recipe is Awesome
Let’s be real, lava cakes sound fancy, right? Like something only a Michelin-star chef could pull off. **Spoiler alert: they’re not!** This recipe is literally designed for maximum impact with minimum effort. It’s quick, requires super basic ingredients, and looks like you spent hours slaving away when you probably just binged another episode of your favorite show while stirring chocolate.
Plus, it actually serves two! No awkward half-eaten cake chilling in the fridge, judging your life choices. This is pure, unadulterated, **perfectly portioned bliss**. And yes, it’s pretty much idiot-proof. Even I, with my sometimes questionable kitchen judgment, haven’t managed to mess this one up. That’s saying something.
Ingredients You’ll Need
Gather ’round, my sweet-toothed companions. Here’s what you’ll need for your chocolatey adventure. Keep it simple, keep it quality!
- Unsalted Butter (3 tablespoons): The good stuff. We’re not cutting corners on flavor, are we?
- Good Quality Dark Chocolate (2.5 ounces/70g): This is the star of the show. Please, for the love of all that is holy, don’t use chocolate chips unless they’re high-quality baking chips. Your taste buds will thank you.
- Large Egg (1): Just one, we’re not baking a whole cake here, remember?
- Large Egg Yolk (1): Adding that extra richness, because we’re feeling a bit fancy.
- Powdered Sugar (2 tablespoons): Also known as confectioners’ sugar. It’s fine and dandy, ensuring no gritty bits in your smooth batter.
- All-Purpose Flour (1 tablespoon): Just a tiny bit to hold it all together, like that one friend who keeps the group from falling apart.
- Pinch of Salt: Seriously, don’t skip this! It magically enhances the chocolate flavor. It’s like a secret weapon.
- Vanilla Extract (1/2 teaspoon): Adds a warm, comforting hug to the chocolate.
Step-by-Step Instructions
Alright, apron on (or not, we don’t judge!), let’s get baking!
- Preheat & Prep: First things first, crank that oven to 400°F (200°C). Grab two 4-ounce ramekins. Lightly butter them, then dust with cocoa powder, tapping out any excess. This is crucial for easy release, trust me.
- Melt the Magic: In a microwave-safe bowl (or over a double boiler if you’re feeling extra), melt your butter and chopped dark chocolate together. Heat in 30-second intervals, stirring until smooth and glorious. Let it cool a bit.
- Whisk It Good: In another medium bowl, whisk the whole egg, egg yolk, powdered sugar, and vanilla extract until light, fluffy, and pale yellow. This usually takes about a minute or two of enthusiastic whisking.
- Combine Forces: Pour the slightly cooled chocolate mixture into the egg mixture. Fold them gently together until just combined. Don’t go crazy here; we want to keep that lovely airy texture.
- Fold in Flour & Salt: Sift the flour and salt over the chocolate mixture. Gently fold until just incorporated. Remember, **overmixing is the enemy of tenderness!**
- Fill ‘Em Up: Divide the batter evenly between your two prepared ramekins. They should be about two-thirds full.
- Bake to Perfection: Place the ramekins on a baking sheet and bake for 12-14 minutes. You’re looking for the edges to be set, but the center should still be jiggly. This is where the “lava” comes from!
- Serve & Devour: Let them cool in the ramekins for just 1-2 minutes. Then, carefully invert each onto a serving plate. A sprinkle of powdered sugar, a scoop of vanilla ice cream, or some fresh berries are highly recommended. Dig in immediately!
Common Mistakes to Avoid
We’ve all been there, staring at a culinary disaster thinking, “What went wrong?!” Here are a few pitfalls to steer clear of:
- The Overbake Blunder: This is the biggest lava cake sin. You want gooey, molten centers, not a solid chocolate puck. **Keep an eye on that oven!** If you’re nervous, pull them out at 12 minutes.
- Skimping on Ramekin Prep: Thinking you can skip buttering and cocoa-dusting those ramekins? Rookie mistake! You’ll end up with a stuck, sad lava cake. Don’t do it to yourself.
- Using Crappy Chocolate: Seriously, this recipe has so few ingredients that each one truly shines. If you use sub-par chocolate, your cake will taste sub-par. Why hurt your soul like that?
- Impatience is Not a Virtue: Waiting that tiny 1-2 minutes before flipping them out of the ramekins is crucial. It allows the edges to firm up just enough. Don’t rush perfection!
Alternatives & Substitutions
Feeling creative? Or just missing an ingredient? No worries, we can tweak this a bit:
- Chocolate Variety: While dark chocolate gives that classic lava cake punch, you can totally experiment. Use milk chocolate for a sweeter profile (though you might want to slightly reduce the sugar). Or, if you’re a white chocolate fan, go for it! Just be aware white chocolate melts a bit differently.
- Topping Fun: The world is your oyster! Vanilla ice cream is a classic, but how about a dollop of whipped cream, a handful of fresh raspberries or strawberries, a sprinkle of sea salt (a total game-changer, FYI!), or even a drizzle of caramel sauce?
- Flour Power: If you’re gluten-intolerant, a good quality gluten-free all-purpose flour blend usually works perfectly as a 1:1 substitute.
- Boozy Kick: Want to adult it up? A tiny splash (like, half a teaspoon) of Kahlua, Grand Marnier, or even a good quality rum added with the vanilla extract can elevate the flavor. Just don’t overdo it!
FAQ (Frequently Asked Questions)
Got questions? I’ve got answers. Probably.
- Q: Can I make these ahead of time? A: You can prep the batter and keep it covered in the fridge for up to 24 hours. Just give it a quick whisk before pouring into ramekins and add a minute or two to the baking time. But for the ultimate lava effect, bake them just before serving!
- Q: What if I don’t have ramekins? A: No ramekins, no problem! You can use oven-safe mugs (just make sure they’re not too big) or even a well-greased muffin tin. If using a muffin tin, fill the cups higher and adjust baking time as needed.
- Q: My lava cake isn’t ‘lava-y’! What happened? A: Ah, the classic overbake. It happens! Next time, pull them out a minute or two sooner when the edges are set but the center is still visibly jiggly. It’s a fine line, but worth it!
- Q: Can I use regular granulated sugar instead of powdered sugar? A: Well, technically yes, but why hurt your soul like that? Granulated sugar might make your batter a bit gritty. Powdered sugar gives that super smooth, silky texture we’re aiming for. IMO, it’s worth the extra step.
- Q: What’s the best kind of chocolate to use? A: Opt for a high-quality baking bar (60-70% cocoa for dark chocolate). Brands like Ghirardelli, Callebaut, or Valrhona are great. Skip the cheap chocolate chips, they often have stabilizers that affect melting.
- Q: Can I freeze these? A: You *can* freeze the baked cakes and reheat them, but the “lava” effect won’t be as dramatic. They’re definitely best enjoyed fresh from the oven.
Final Thoughts
See? I told you it was easy! Now you’ve got a secret weapon in your dessert arsenal – a truly impressive, ridiculously delicious chocolate lava cake that will have everyone thinking you’re a culinary wizard. Go forth and conquer your chocolate cravings… or someone else’s. You’ve earned this win. And maybe a second one. 😉


