Ever have one of those days where your brain just screams ‘DESSERT!’ but your body is firmly glued to the couch? Yeah, me too. And honestly, who has the energy for a multi-layered soufflé when a good binge-watching session is calling? So, if you’re looking for something ridiculously easy, super satisfying, and looks like you actually put in effort (shh, our secret!), you’ve stumbled into the right corner of the internet. Let’s make some magic – the lazy kind.
Why This Recipe is Awesome
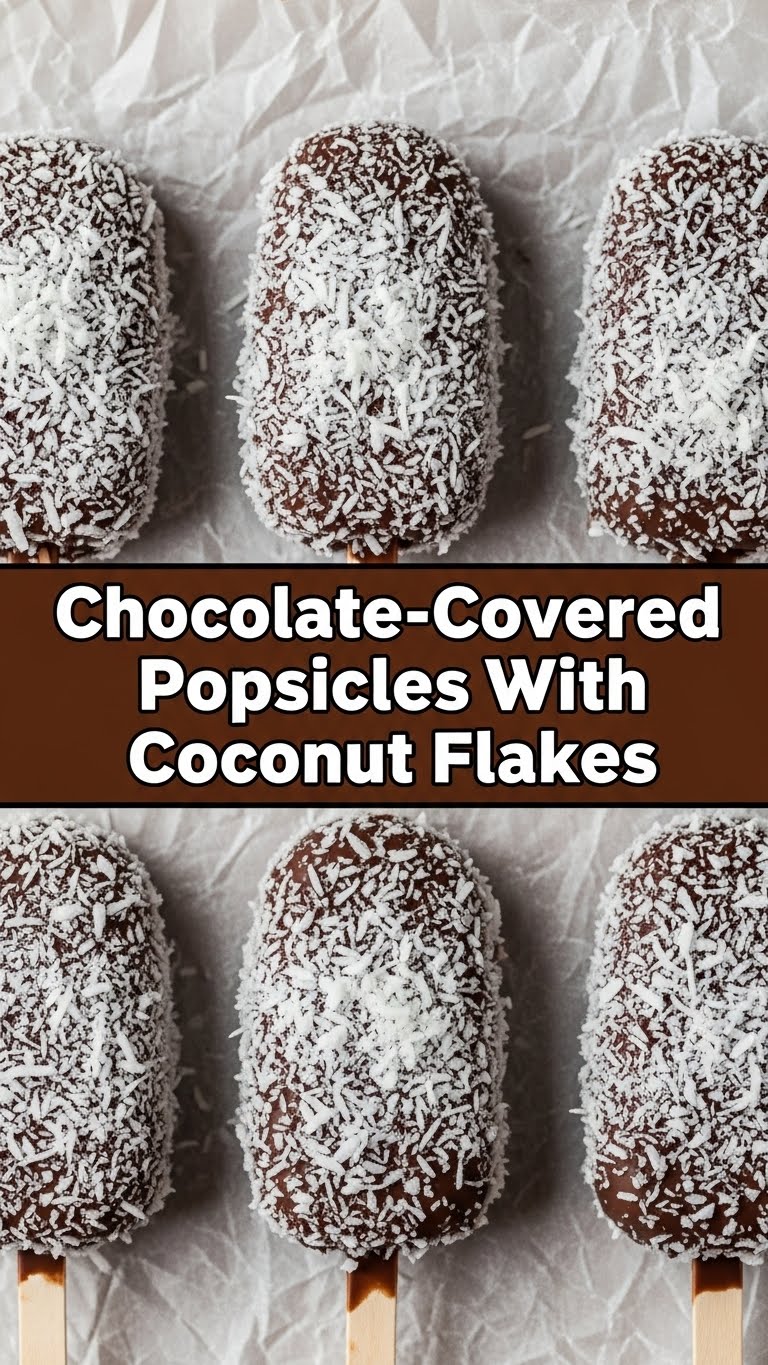
Okay, so why should you bother with these chocolate-covered coconut flake popsicles? Well, first off, they’re practically guaranteed to make you feel like a fancy pastry chef without any actual pastry-chef-level skills. Seriously, it’s pretty much idiot-proof. You just need to melt, dip, and chill. If you can use a microwave (or a double boiler, if you’re feeling fancy-schmancy), you’re basically halfway there.
Plus, it’s cold, it’s chocolate, it’s coconut… what’s not to love? It’s the perfect treat for a hot day, a bad day, or any day ending in ‘y’. Trust me on this one.
Ingredients You’ll Need
- Your favorite popsicles: (About 6-8, store-bought is totally fine, no judgment here!) Pick something creamy, like vanilla, chocolate, or even a fruit flavor if you’re feeling wild.
- 2 cups chocolate chips: (Semi-sweet, milk, dark – whatever makes your heart sing. Or just whatever you have lurking in the pantry.)
- 2 tablespoons coconut oil: (The secret to that perfect, snappy chocolate shell! Don’t skip this unless you like crumbly chocolate and a sad face.)
- 1 cup shredded coconut flakes: (Unsweetened or sweetened, depending on your sugar tolerance. We’re going for a tropical vibe here, people!)
- Parchment paper: (Because nobody likes scraping chocolate off a counter.)
Step-by-Step Instructions
- Prep Your Station: First things first, get your coconut flakes ready in a shallow dish. Line a baking sheet or tray with parchment paper. This will be your popsicle parking lot.
- Melt That Chocolate: Grab a microwave-safe bowl (or a double boiler, if you’re feeling ambitious). Dump in your chocolate chips and coconut oil. Microwave in 30-second bursts, stirring really well after each, until it’s super smooth and glossy. Don’t overheat it, or it’ll get clumpy and sad – no one wants sad chocolate.
- The Dip! Working quickly, take one popsicle out of the freezer. Hold it by the stick and dunk it into the melted chocolate, twirling it around to get an even coat. Let any excess chocolate drip off.
- Flake It Up: Immediately after dipping, gently roll or sprinkle the chocolate-covered popsicle with your coconut flakes. Make sure they stick well!
- Park and Chill: Place your newly adorned popsicle on the parchment-lined tray. Repeat with the rest of your popsicles.
- Back to the Freezer: Pop the entire tray back into the freezer for at least 15-20 minutes, or until the chocolate is completely hardened and snappy. This is crucial for that satisfying *crack* when you bite into it.
Common Mistakes to Avoid
- Impatience, my friend: Taking the popsicles out too early? You’ll have soft, messy chocolate and a sad lack of crunch. Chill properly!
- Warm popsicles: Dipping a slightly melted popsicle? The chocolate won’t set right, and you’ll get a sloppy mess. Keep them super frozen until you’re ready to dip.
- Skipping the coconut oil: Seriously, don’t. That coconut oil is what makes the chocolate hard and crackly, like a magic shell. Without it, you might get a softer, less satisfying coating.
- Overheating the chocolate: Burnt chocolate is a tragedy. Low and slow (or short bursts) is the way to go. If it seizes, you’re pretty much out of luck, IMO.
Alternatives & Substitutions
- Popsicle Flavors: Vanilla or chocolate ice cream bars work best for a classic feel, but don’t be afraid to experiment! Strawberry or even a basic fruit popsicle can be surprisingly delicious with chocolate and coconut.
- Chocolate Types: Not a fan of semi-sweet? Go dark for a more intense flavor, or milk chocolate for extra sweetness. White chocolate could work too, but I personally think it’s a bit too sweet with the coconut.
- Topping Swap: Don’t like coconut (gasp!)? No problem! Try chopped nuts (peanuts, almonds), sprinkles for a fun twist, crushed graham crackers, or even a drizzle of caramel. The world is your topping oyster!
- Coconut Oil Substitute: If you really don’t have coconut oil, you could try a neutral oil like vegetable or canola, but the texture might not be quite as snappy. The coconut oil also adds a subtle coconut flavor which is a bonus for this recipe!
FAQ (Frequently Asked Questions)
- Q: My chocolate is too thick to dip! What do I do?
A: Did you add the coconut oil? If yes, try warming it very slightly again in 10-second bursts, stirring well. If it’s still too thick, you can add another half teaspoon of coconut oil, but be careful not to thin it too much! - Q: Can I reuse the leftover chocolate?
A: Absolutely! Let it cool completely, then store it in an airtight container at room temperature. You can remelt it next time you need a chocolate fix. Waste not, want not, right? - Q: How long do these last in the freezer?
A: If stored properly in an airtight container or bag, they can last a couple of weeks. But honestly, who are we kidding? They won’t last that long. - Q: Do I *have* to use popsicles? Can I dip fruit?
A: You are the master of your own destiny! While this recipe focuses on popsicles, this chocolate-coconut magic shell works wonders on frozen banana slices, strawberries, or even just a spoon if you’re desperate. - Q: My coconut flakes aren’t sticking! Help!
A: You need to be quick! The chocolate sets fast on the cold popsicle. Make sure your flakes are ready right next to your dipping station. If the chocolate has already started to harden, it’s tougher to get them to stick.
Final Thoughts
There you have it, folks! A ridiculously easy, incredibly satisfying treat that will make you feel like a kitchen wizard without having to do any actual wizardry. Go ahead, whip up a batch, impress your friends (or just yourself, FYI, that’s totally acceptable), and enjoy every single chocolatey, coconutty bite. You deserve it. Now go forth and conquer those cravings!


