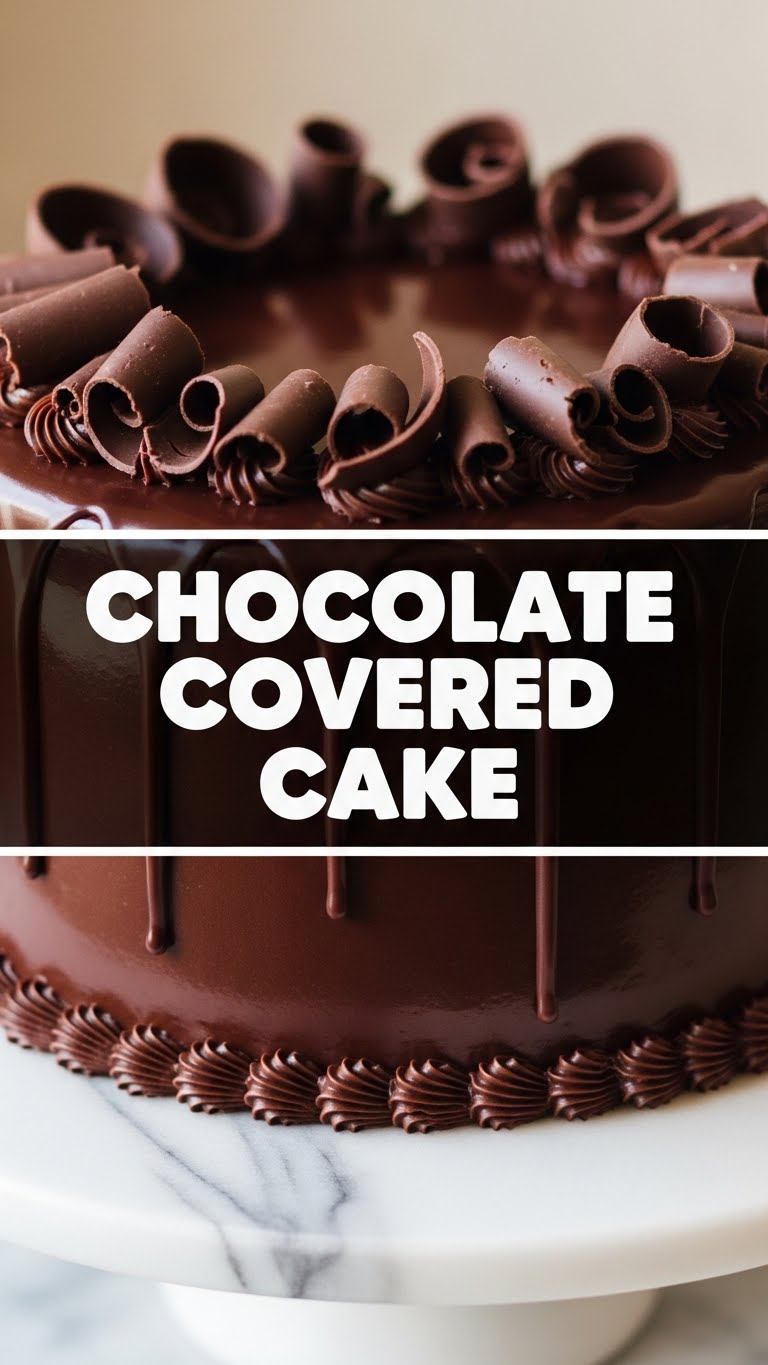
Ever stared into the abyss of your fridge, pondering life’s big questions like, “What can I eat that’s both chocolatey *and* a cake, but also requires minimal effort?” My friend, you’ve found your answer. Prepare yourself for the glorious, ridiculously simple world of Chocolate Covered Cake!
Why This Recipe is Awesome
Because, let’s be real, who has time for complicated bakes anymore? This recipe is basically a magic trick: you do next to nothing, and suddenly you’re a baking genius. Seriously, it’s so forgiving, it practically bakes itself. **No fancy equipment, no crazy techniques, just pure, unadulterated cakey chocolate bliss.** It’s perfect for when you need a dessert that looks impressive but takes minimal brainpower. Plus, it’s chocolate. Enough said, right?
Ingredients You’ll Need
- Your Favorite Boxed Cake Mix: (Yep, we’re going there, no shame in convenience! Choose chocolate, vanilla, or even red velvet if you’re feeling sassy).
- Ingredients for the Cake: (Usually eggs, oil, and water – just follow the box directions, you got this).
- Good Quality Chocolate Chips: (Approximately 10-12 oz, semi-sweet or dark work best. Splurge a little, you deserve it!)
- Heavy Cream: (About 1 cup. This is what makes your ganache silky smooth and oh-so-pourable).
- Optional: Sprinkles, nuts, or sea salt: (For that extra flair, if you’re feeling fancy).
Step-by-Step Instructions
- Bake Your Cake: Prepare your chosen cake mix according to the package directions. Pour the batter into an 8×8 or 9×13 inch pan (depending on your mix) and bake until a toothpick inserted into the center comes out clean. Don’t overthink it!
- Cool Down: This is a non-negotiable step. **Let your cake cool completely** on a wire rack. Seriously, go watch an episode of your favorite show, walk the dog, do anything but rush this part.
- Make the Ganache Magic: While the cake is chilling, grab a microwave-safe bowl. Add your chocolate chips and heavy cream. Microwave on high for 30 seconds, then stir. Repeat in 15-second intervals, stirring vigorously after each, until the mixture is smooth and glossy. No lumps, please!
- Pour and Conquer: Once your cake is totally cool (I mean it!), gently pour the warm ganache over the top. Use an offset spatula or the back of a spoon to spread it evenly, letting it drip down the sides for that rustic-chic look.
- Chill Out: Pop your chocolate-covered masterpiece into the fridge for at least 30 minutes, or until the ganache is set. This makes for clean slices and happy eaters.
- Garnish (Optional): If you’re feeling extra, sprinkle on some sea salt, chopped nuts, or colorful sprinkles before the ganache fully sets. Voila!
Common Mistakes to Avoid
- Pouring Hot Ganache on a Warm Cake: This is the cardinal sin. You’ll end up with a melted, soggy mess instead of a beautifully coated cake. **Patience is a virtue here.**
- Using Low-Quality Chocolate: While I said I won’t judge, a super cheap chocolate can sometimes seize up or taste… well, super cheap. A decent baking chocolate makes all the difference, IMO.
- Not Stirring Your Ganache Enough: You want it smooth, not chunky. Keep stirring until all the chocolate has melted and it’s a homogeneous, luscious river of chocolate.
- Cutting Before Chilling: Trying to cut into a freshly ganached cake is like trying to catch smoke. It’ll be messy and frustrating. Let it set!
Alternatives & Substitutions
Feeling creative? I knew you would be! This recipe is super flexible. Try swapping out your cake flavor – a vanilla cake with dark chocolate ganache is divine, or a red velvet with white chocolate ganache? Pure decadence! You can also infuse your ganache with a splash of espresso, a drop of mint extract, or even a shot of rum for an adult twist. **Don’t be afraid to experiment!** For a nut-free version, just skip the nutty garnishes. Need it dairy-free? Use a dairy-free cake mix and swap the heavy cream for full-fat coconut cream (chilled overnight, scoop out the thick cream only).
FAQ (Frequently Asked Questions)
“Can I use margarine instead of butter in the cake mix?” Well, technically yes, but why hurt your soul like that? Stick to what the box says for best results, or use actual butter for a richer cake if you’re deviating.
“How long does this cake last?” If you somehow manage not to devour it in one sitting, it’ll keep well in an airtight container in the fridge for about 3-4 days. Good luck making it last that long!
“My ganache looks lumpy! Help!” Don’t panic! Gently reheat it in 10-second bursts, stirring well after each. A tiny bit more hot cream can sometimes help, too. A fine-mesh sieve can also save a slightly lumpy ganache in a pinch.
“Can I make this gluten-free?” Absolutely! Just grab your favorite gluten-free boxed cake mix and follow the rest of the steps. Easy peasy!
“What if I don’t have heavy cream for the ganache?” You can try full-fat coconut milk (the canned kind, not the carton) for a similar richness, but it will have a slight coconut flavor. Not a bad thing, FYI!
“Can I use this ganache for other desserts?” Heck yeah! It’s awesome on cupcakes, brownies, or even as a dip for fruit. It’s a versatile star!
Final Thoughts
There you have it, folks! Your new go-to dessert for when you want to impress without breaking a sweat. This Chocolate Covered Cake is proof that you don’t need to be a Michelin-star chef to create something utterly delicious and visually stunning. Now go forth and conquer, you magnificent culinary wizard! **You’ve totally got this.** Enjoy every chocolatey, cakey bite!


