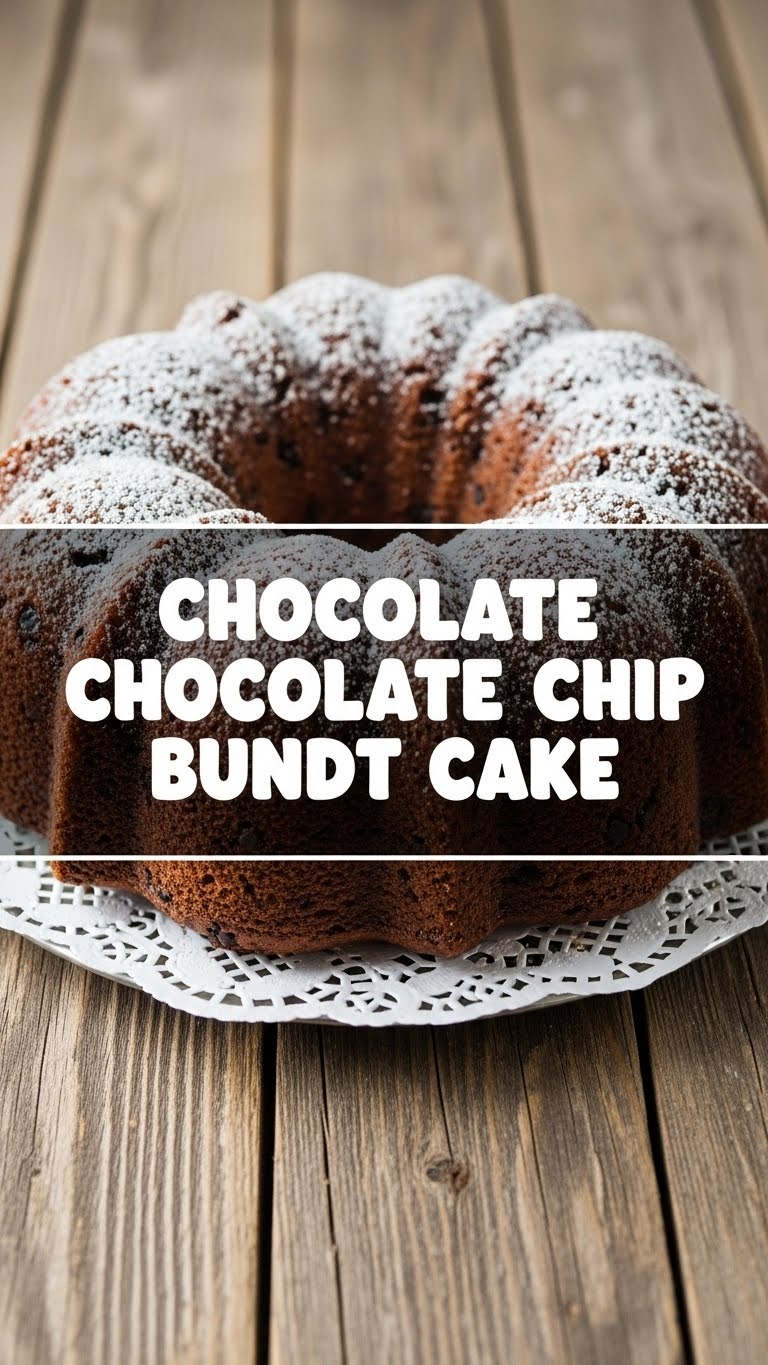
So you’re craving something tasty but too lazy to spend forever in the kitchen, huh? Same. High five! And if that “tasty something” also happens to involve a ridiculous amount of chocolate in a super fancy-looking package that took minimal effort, then you, my friend, are in the right place. Today, we’re diving headfirst into the glorious world of the Chocolate Chocolate Chip Bundt Cake. Get ready to impress everyone (including yourself, obvi) without breaking a sweat.
Why This Recipe is Awesome
Look, I get it. Some recipes demand your firstborn and a blood sacrifice. Not this one. This Chocolate Chocolate Chip Bundt Cake is the culinary equivalent of that super chill friend who’s always up for anything and never judges your questionable life choices. It’s **idiot-proof**, I swear, even I didn’t mess it up. Seriously, it’s pretty hard to mess up unless you’re actively trying to set your kitchen on fire (please don’t). It bakes up into this moist, decadent, chocolatey dream, and because it’s a Bundt cake, it automatically looks like you spent hours sculpting it. Minimal effort, maximum “OMG, you made this?!” vibes. Plus, it uses up a good amount of chocolate chips, which is always a win in my book.
Ingredients You’ll Need
Gather ’round, fellow chocolate enthusiasts! Here’s your shopping list. Don’t worry, nothing too wild here.
- All-Purpose Flour: 2 ½ cups. Just the regular white stuff, nothing fancy, unless you’re feeling adventurous and want to try a cake flour. Your call.
- Unsweetened Cocoa Powder: ¾ cup. Make it good quality, folks! This is where most of our chocolatey magic comes from. No weakling cocoa allowed.
- Granulated Sugar: 2 cups. Sweet, obvs.
- Baking Soda: 1 teaspoon. Our little lift-off agent.
- Baking Powder: 1 teaspoon. More lift-off power! Teamwork makes the dream work.
- Salt: ½ teaspoon. Just a pinch to balance out all that sweetness. Don’t go crazy.
- Unsalted Butter: 1 cup (2 sticks), softened. Unsalted, because we add our own salt, thank you very much. Make sure it’s soft, like “I can poke it easily with my finger” soft, not melted.
- Large Eggs: 3, at room temperature. They’re fancy like that and mix better.
- Buttermilk: 1 cup. If you don’t have buttermilk on hand (who does, really?), just add 1 tablespoon of white vinegar or lemon juice to regular milk and let it sit for 5 minutes. Voila! Instant buttermilk.
- Vanilla Extract: 1 tablespoon. The secret sauce of deliciousness. Don’t skimp!
- Chocolate Chips: 1 ½ cups. Semi-sweet are my go-to, but milk or dark are also fantastic. The more the merrier, duh!
Step-by-Step Instructions
- Get Prepped: First things first, **preheat your oven to 350°F (175°C)**. Then, and this is super important, thoroughly grease and flour a 10-12 cup Bundt pan. Like, every single nook and cranny. You do NOT want your masterpiece to get stuck.
- Dry Mix Fun: In a large bowl, whisk together your flour, cocoa powder, sugar, baking soda, baking powder, and salt. Give it a good whisk until everything is nice and combined, and there are no dusty cocoa lumps.
- Wet Mix Whatchamacallit: In another, separate medium bowl, beat the softened butter until it’s light and fluffy. Add the eggs one at a time, beating well after each addition. Then stir in the buttermilk and vanilla extract. Don’t worry if it looks a little curdled, it’ll be fine!
- Combine Forces: Gradually add the dry ingredients to the wet ingredients, mixing on low speed until *just* combined. **Do not overmix!** Overmixing leads to tough cakes, and we’re aiming for tender chocolatey goodness.
- Chocolate Chip Drop: Gently fold in your chocolate chips. Again, be gentle. We’re not trying to destroy them.
- Pan It Up: Pour the batter evenly into your prepared Bundt pan. Give the pan a couple of gentle taps on the counter to release any air bubbles.
- Bake That Baby: Bake for 50-60 minutes, or until a wooden skewer or toothpick inserted into the center comes out with moist crumbs attached, but not wet batter.
- Cool Down: Let the cake cool in the pan on a wire rack for about 15-20 minutes. **This step is crucial!** Trying to unmold it too soon will result in a crumbled mess. After the cool-down period, carefully invert the cake onto a wire rack to cool completely.
Common Mistakes to Avoid
Listen up, buttercup. We’re all about making glorious cakes, not kitchen disasters. Here are a few traps to sidestep:
- Not Greasing Your Bundt Pan Properly: Oh, the horror! Your beautiful cake, forever stuck to the pan, mocking you. Use shortening or a baking spray with flour (like Baker’s Joy) and get into every crevice. Don’t be lazy here!
- Overmixing the Batter: This is a cardinal sin. Mix until *just* combined. If you keep mixing, you’re developing the gluten, which means a tough, rubbery cake. Sad.
- Not Preheating the Oven: Rookie mistake. A cold oven means uneven baking and a cake that doesn’t rise properly. Give your oven time to get to temperature.
- Opening the Oven Door Too Soon: Resist the urge to peek! Especially during the first 30-40 minutes. This can cause your cake to sink in the middle. Let it bake, impatient chef!
- Unmolding Too Early: Patience, young padawan. If you try to flip that cake out of the pan when it’s still piping hot, it will likely break apart. Give it those 15-20 minutes to firm up.
Alternatives & Substitutions
Feeling a little rebellious? Here are some ways to switch things up:
- Buttermilk Substitute: As mentioned, 1 tablespoon of white vinegar or lemon juice + regular milk. Let it sit for 5 mins. Easy peasy.
- Chocolate Chip Variety: Use dark chocolate chips for an extra rich experience, milk chocolate for sweeter vibes, or even a mix! White chocolate chips would be super pretty too, IMO.
- Add-ins Galore: Want more flavor? Stir in a teaspoon of instant espresso powder with the cocoa for a deeper chocolate note. A sprinkle of orange zest would also be divine. Or, if you’re a nut person, ½ cup of chopped pecans or walnuts would be great.
- Glaze It Up: Feeling extra? A simple ganache (melted chocolate + heavy cream) or a basic powdered sugar glaze (powdered sugar + milk/cream/coffee) drizzled over the top takes it from “amazing” to “OMG, I can’t even.”
FAQ (Frequently Asked Questions)
Got questions? I’ve got (casual and hopefully helpful) answers!
- Can I use margarine instead of butter? Well, technically yes, but why hurt your soul like that? Butter just tastes better, period. It adds richness and flavor that margarine simply can’t replicate. Live a little!
- My cake stuck to the pan, help! What did I do wrong? Ah, the dreaded stuck cake. It’s almost always due to improper greasing and flouring of the pan. **Really get into those grooves next time!** Also, make sure you let it cool for the recommended time before inverting.
- Can I make this gluten-free? You bet! Swap out the all-purpose flour for a good quality 1:1 gluten-free baking flour blend. Make sure it contains xanthan gum for the best results.
- How should I store this chocolatey goodness? Store it at room temperature, tightly covered (or in an airtight container), for up to 3-4 days. It actually gets even more moist the next day!
- Can I freeze the cake? Absolutely! Once completely cooled, wrap the cake tightly in plastic wrap, then in foil. It’ll keep well in the freezer for up to 2-3 months. Thaw at room temperature.
- Do I really need a Bundt pan? What if I don’t have one? While a Bundt pan gives it that fancy look, you can totally bake this in a 9×13 inch baking pan (bake time might be slightly less, around 35-45 mins) or two 8-inch round cake pans (bake time similar to Bundt, but watch it). Just adjust your expectations for the shape!
Final Thoughts
There you have it, folks! A ridiculously easy, unbelievably delicious, and surprisingly impressive Chocolate Chocolate Chip Bundt Cake. This isn’t just a recipe; it’s a ticket to chocolate heaven with minimal fuss. So go on, grab your apron, blast some tunes, and get baking. Now go impress someone—or yourself—with your new culinary skills. You’ve earned it!

