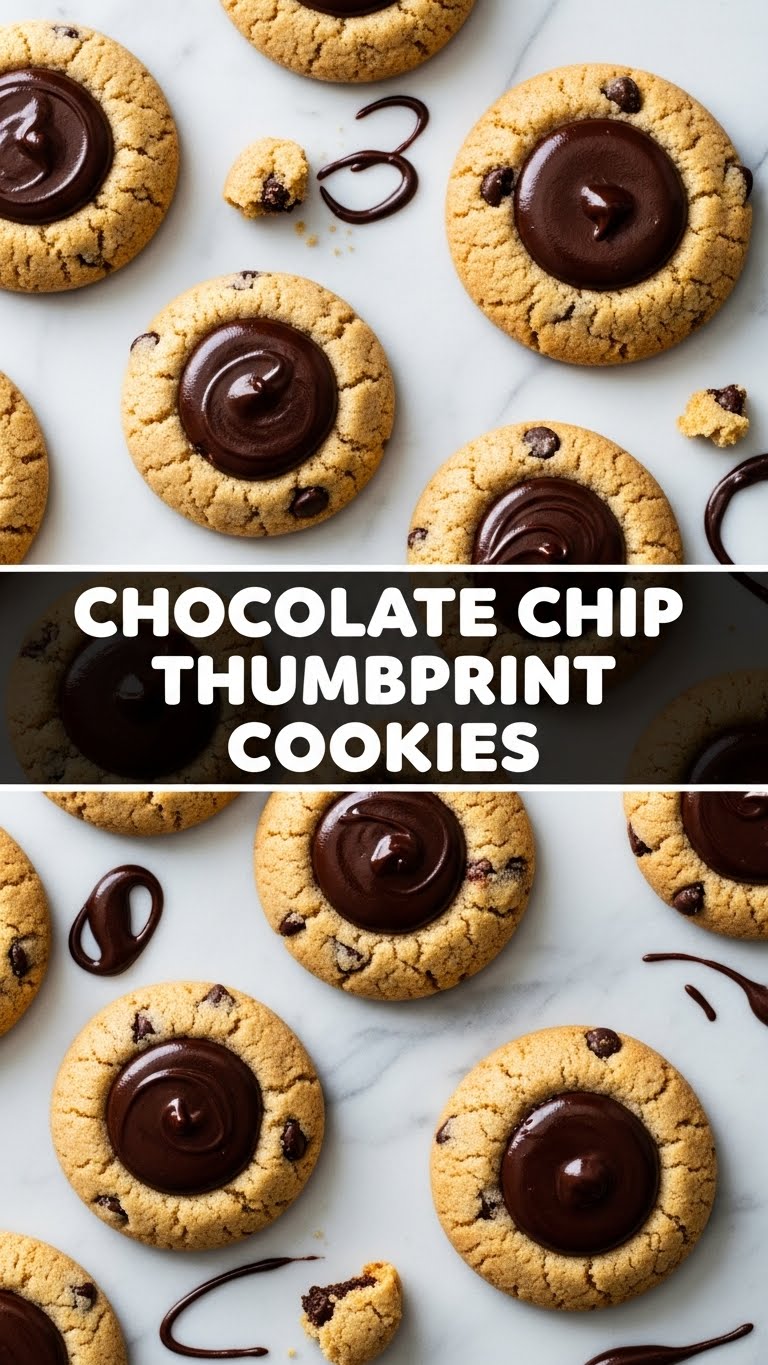
So you’re craving something tasty but too lazy to spend forever in the kitchen, huh? Same. But what if I told you there’s a cookie out there that’s basically a hug in edible form, requires minimal effort, and tastes like pure joy? Enter: Chocolate Chip Thumbprint Cookies, my friend. Let’s get baking without the stress!
Why This Recipe is Awesome
Okay, look. We all have those days where we want to feel like a domestic goddess/god without actually, you know, *cooking*. This recipe is your secret weapon. It’s incredibly forgiving (even if you’re a baking newbie), surprisingly quick, and delivers maximum chocolatey, buttery goodness with minimum fuss. Plus, shaping them is kinda therapeutic. And yes, it’s idiot-proof, even I didn’t mess it up. Seriously, it’s that good.
Ingredients You’ll Need
- **Unsalted Butter:** A stick and a half, softened. Don’t even *think* about margarine; your taste buds will thank you.
- **Granulated Sugar:** Just enough to make things sweet, not sickly sweet.
- **Large Egg:** Your binding agent. Make sure it’s at room temp, for science or something.
- **Vanilla Extract:** The good stuff! Don’t skimp. This is where the magic happens, people.
- **All-Purpose Flour:** The backbone of our cookie empire.
- **Baking Powder:** Our lift-off agent! Gives them that perfect puff.
- **Salt:** Just a pinch, to balance all that sweetness and make it pop.
- **Mini Chocolate Chips:** The stars of the show! Mini ones fit perfectly in that thumbprint like they were born to be there.
- **Optional (but highly recommended!): Extra chocolate chips for melting.** Because more chocolate is always a good idea, right?
Step-by-Step Instructions
- **Prep Your Scene:** Preheat your oven to **350°F (175°C)**. Line a baking sheet with parchment paper. This saves future you from scrubbing, and future you will appreciate it.
- **Cream It Up:** In a large bowl, beat the softened butter and granulated sugar together until light and fluffy. Use an electric mixer if you have one; your arm will thank you.
- **Egg-cellent Addition:** Beat in the egg and vanilla extract. Scrape down the sides of the bowl to make sure everything’s incorporated. We want all that flavor!
- **Dry Mix Fun:** In a separate, smaller bowl, whisk together the flour, baking powder, and salt. Don’t skip this step! It ensures everything is evenly distributed.
- **Combine Forces:** Gradually add the dry ingredients to the wet ingredients, mixing on low speed until *just* combined. **Do not overmix!** Overmixing makes tough cookies, and nobody wants that.
- **Chocolate Time:** Gently fold in the mini chocolate chips. Your dough is ready! It should be soft and pliable.
- **Roll and Press:** Scoop out small amounts of dough (about 1 tablespoon each) and roll them into balls. Place them on your prepared baking sheet. Using your thumb (or the back of a small spoon), make a little indentation in the center of each ball. Don’t be shy; make a proper dent!
- **Bake ‘Em Up:** Bake for **10-12 minutes**, or until the edges are lightly golden. The centers might look a little soft, but they’ll firm up as they cool.
- **Chocolate Filling (Optional but awesome):** While cookies cool on a wire rack, melt some extra mini chocolate chips (microwave in 30-second intervals, stirring in between). Spoon or pipe a small amount of melted chocolate into each thumbprint.
- **Cool and Conquer:** Let the cookies cool completely. This is the hardest part, I know. The waiting is torture. But it’s worth it, promise!
Common Mistakes to Avoid
- **Rock-hard Butter:** Trying to cream cold butter is like trying to reason with a toddler – it just won’t work. **Always soften your butter!**
- **Overmixing the Dough:** We’ve been over this! Seriously, stop when it’s just combined. Tough cookies are a no-go, and nobody likes a sad, chewy cookie.
- **Skimping on the Thumbprint:** Don’t be afraid to make a decent dent. Otherwise, where will all that glorious chocolate go? Give that chocolate a cozy home!
- **Thinking you don’t need to preheat the oven:** Rookie mistake. Consistent oven temp = consistently good cookies. Always preheat!
- **Eating them all hot off the tray:** I mean, I get it. The temptation is real. But let the chocolate set, trust me. It’ll be even better.
Alternatives & Substitutions
- **Chocolate Chip Swap:** Not feeling mini chips? Use regular chocolate chips, white chocolate, or even butterscotch chips! **FYI**, you can also use jam or caramel for a more traditional thumbprint. Get wild with it!
- **Flour Power:** Gluten-free flour blends work well here, though the texture might be slightly different. Just make sure it’s a 1:1 baking blend.
- **Vanilla Vibes:** Can’t get enough? Add a tiny dash of almond extract for an extra layer of flavor. Just don’t overdo it, almond is strong!
- **Nutty Twist:** Want some crunch? Finely chop some pecans or walnuts and fold them into the dough. Texture party!
FAQ (Frequently Asked Questions)
- **”Can I use margarine instead of butter?”** Well, technically yes, but why hurt your soul like that? Butter provides the best flavor and texture. Stick with butter, IMO. Your cookies will thank you.
- **”My cookies flattened out too much! What happened?”** Your butter might have been too warm, or you might have overmixed the dough. Chill the dough for 20-30 minutes before baking next time!
- **”How do I store these beauties?”** In an airtight container at room temperature for up to 3-5 days. If they last that long, you’re stronger than I am!
- **”Can I freeze the dough?”** Absolutely! Roll into balls, make the indentations, and freeze on a baking sheet. Once solid, transfer to a freezer bag. Bake from frozen, adding a couple of minutes to the baking time.
- **”What if I don’t have mini chocolate chips for the filling?”** Melt down any chocolate you have! A chocolate bar, regular chips, whatever. Just chop it finely for even melting and a smooth finish.
- **”Is chilling the dough necessary?”** Not strictly necessary for this recipe if your butter is firm and your kitchen isn’t a sauna. But if your dough feels sticky or you want to prevent spreading, **a quick chill never hurts!**
Final Thoughts
See? That wasn’t so hard, was it? You just whipped up a batch of deliciousness that looks fancy but was secretly super easy. Go ahead, pat yourself on the back. You deserve it! Now go impress someone—or yourself—with your new culinary skills. You’ve earned it! Share them (or don’t, I won’t judge). Happy baking, my friend!


