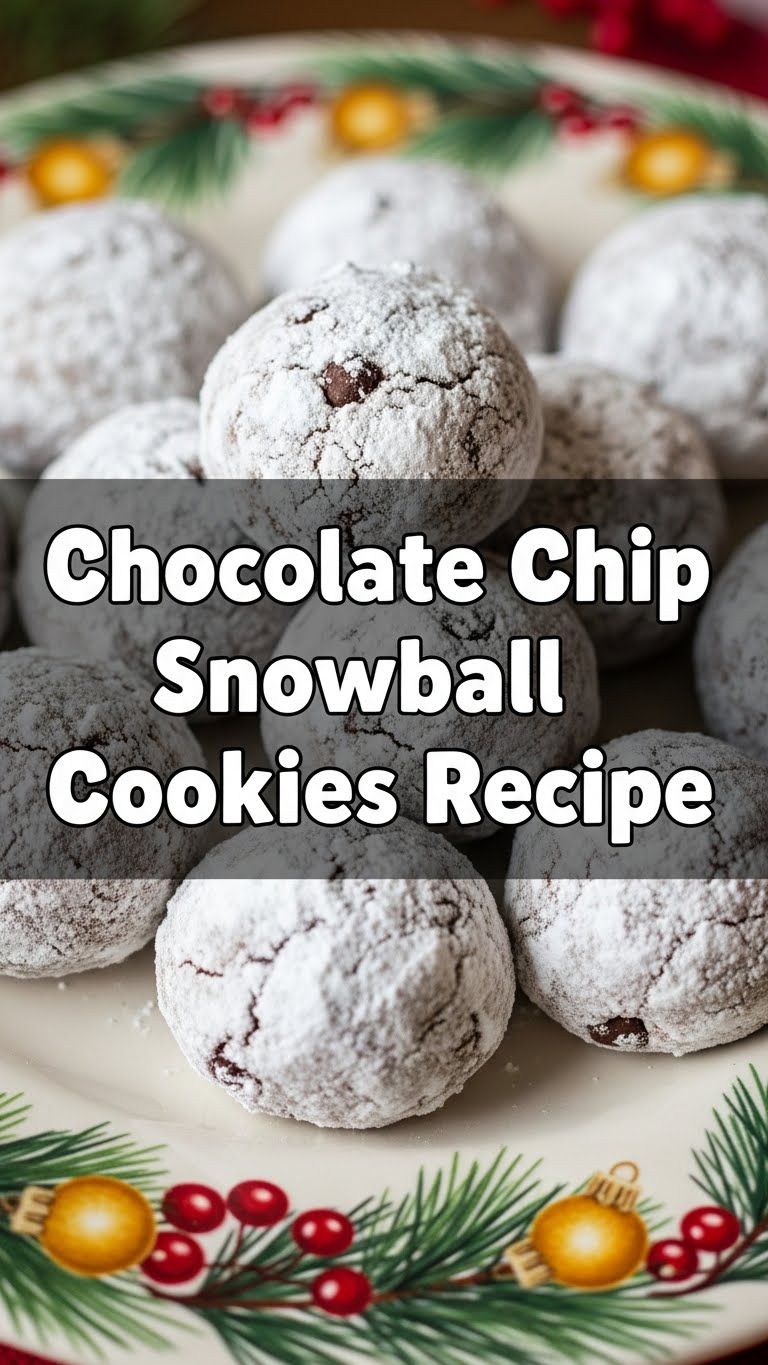
So, your sweet tooth is doing a little jig, but the thought of a complicated recipe makes you wanna take a nap? Been there, baked that. What if I told you there’s a cookie that’s ridiculously easy, super satisfying, and basically melts in your mouth like a snowy dream? Get ready for Chocolate Chip Snowball Cookies, my friend. It’s time to get our bake on, without breaking a sweat!
Why This Recipe is Awesome
Look, I’m not gonna lie, I’ve had my share of baking fails that looked more like kitchen disasters than desserts. But these? These little spheres of joy are practically impossible to mess up. Seriously. You get all the comfort of a classic cookie with a fun, festive twist. Plus, they look fancy without any actual effort – a total win-win for impressing guests (or just yourself, no judgment here!). It’s the kind of recipe that makes you feel like a master chef even if your last culinary triumph was perfectly microwaving popcorn.
Ingredients You’ll Need
- Unsalted Butter (1 cup, softened): The good stuff. Not that rock-hard block you just pulled from the fridge, okay? Softened means ‘leave it out for a bit’ not ‘nuke it into oblivion.’
- Powdered Sugar (1/2 cup, plus more for rolling): Also known as confectioners’ sugar. This is what gives them that “snowball” magic. Don’t skimp on the extra for rolling, trust me.
- Vanilla Extract (1 teaspoon): A hug in a bottle. Don’t even *think* about imitation stuff unless you want sad cookies.
- All-Purpose Flour (2 cups): The sturdy backbone of our cookie empire.
- Mini Chocolate Chips (1 cup): Mini is key here, big chips just throw off the whole ‘snowball’ vibe. We’re going for subtle surprises, not chocolate boulders.
- Pinch of Salt: Just to balance all that sweet goodness. Every good recipe needs a little salt, it’s science.
Step-by-Step Instructions
- Preheat Your Oven & Prep Your Sheet: Get that oven heating to 350°F (175°C). While it’s warming up, line a baking sheet with parchment paper. This prevents sticking and makes cleanup a breeze.
- Cream the Butter & Sugar: In a large bowl, or your stand mixer (if you’re fancy), beat the softened butter until it’s light and fluffy. Then, gradually add the 1/2 cup powdered sugar and keep beating until everything is well combined and even fluffier.
- Add the Vanilla: Stir in the vanilla extract. Make sure it’s fully incorporated, we want that flavor evenly distributed!
- Mix in Flour & Salt: Slowly add the flour and salt to the wet ingredients. Mix on low speed until *just* combined. Don’t overmix! Overmixing develops gluten and can make your cookies tough.
- Fold in Chocolate Chips: Gently fold in those mini chocolate chips. Use a spatula for this part; we want them evenly spread throughout the dough.
- Chill (Optional, but Recommended): If your dough feels a little too soft to handle, pop it in the fridge for about 15-20 minutes. This makes rolling a lot easier.
- Roll ‘Em Up: Scoop out small amounts of dough (about 1 tablespoon each) and roll them into neat little balls. Place them about an inch apart on your prepared baking sheet.
- Bake Time! Bake for 10-12 minutes, or until the edges are *just* starting to turn a light golden color. They won’t look super brown, so don’t wait for that!
- The Snowfall: While the cookies are still warm (but cool enough to handle), roll them generously in the extra powdered sugar. Repeat this step once they’ve cooled completely for maximum snow effect.
- Devour: Let them cool completely on a wire rack (if you have the patience, I usually don’t) and then enjoy your snowy, chocolaty masterpieces!
Common Mistakes to Avoid
- Hard Butter: Trying to cream cold, hard butter is like trying to convince a cat to take a bath. It won’t work well, and you’ll end up with lumps. Always use softened butter!
- Overmixing the Dough: I know, the mixer is fun! But overdoing it after adding flour makes for tough cookies. Mix until *just* combined, then stop.
- Underbaking/Overbaking: Snowball cookies are delicate. Underbaked means they’ll fall apart; overbaked means dry and crumbly. Watch for those lightly golden edges.
- Skipping the Second Powdered Sugar Roll: Rookie mistake! That double coating is what gives them their signature look and extra melt-in-your-mouth texture. Don’t be lazy!
- Using Big Chocolate Chips: It’s “mini” for a reason. Bigger chips can tear the delicate dough and just don’t feel right in these small, elegant bites.
Alternatives & Substitutions
- Nutty Snowballs: Not a chocolate chip fan? Or just feeling extra? Swap out the mini chocolate chips for finely chopped pecans or walnuts. Toast them first for an even deeper flavor! (IMO, pecans are superior here.)
- Vanilla Bean Paste: If you’re feeling fancy AF, use vanilla bean paste instead of extract. It gives a more intense vanilla flavor and those cute little specks.
- Dairy-Free Delight: For my dairy-free friends, you can totally use dairy-free butter alternatives. Just make sure it’s a good quality one that bakes well.
- Gluten-Free Flour: You can usually substitute 1:1 gluten-free flour blend for the all-purpose flour. Just make sure it contains xanthan gum or add a tiny pinch yourself.
- Spiced Up: Want to get festive? Add a 1/4 teaspoon of cinnamon or a pinch of nutmeg to the flour mixture for a subtle warming spice.
FAQ (Frequently Asked Questions)
- Q: My cookies spread too much! What happened?
- A: Did you use too much butter? Was your butter too warm? Or did you skip chilling the dough? Next time, make sure your butter is just softened, not melted, and give that dough a quick chill!
- Q: Can I use regular granulated sugar instead of powdered sugar?
- A: Well, technically you *could*, but why would you want to? The powdered sugar is crucial for that super tender, melt-in-your-mouth texture these cookies are famous for. Granulated sugar will give you a totally different, much crunchier cookie. Just don’t do it.
- Q: How long do these cookies last?
- A: In my house? About 24 hours if I’m lucky. Kidding! Stored in an airtight container at room temperature, they’re good for about 3-5 days. They also freeze beautifully before or after baking.
- Q: Can I make the dough ahead of time?
- A: Absolutely! You can keep the dough in the fridge for up to 3 days, wrapped tightly. Just let it come to room temperature a bit before rolling if it’s too firm. Or, even better, roll the balls and freeze them, then bake from frozen (add a couple extra minutes to bake time).
- Q: Why are they called “Snowball Cookies”?
- A: Because they look like little snowballs, obviously! That generous coating of powdered sugar gives them their signature frosty appearance. Plus, they taste like a winter wonderland in your mouth. FYI.
- Q: My chocolate chips sank to the bottom! Help!
- A: This usually happens if your dough is too soft or if you added the chips too early in a very wet dough. Try chilling the dough a bit more before adding chips, or lightly dust your mini chips with a teaspoon of flour before folding them in.
Final Thoughts
So there you have it, my friend! Your new go-to recipe for when you need something sweet, simple, and seriously impressive. These Chocolate Chip Snowball Cookies are pretty much guaranteed to make you feel like a baking superstar, even if your biggest ambition was just getting through Monday. Now go forth, bake, and perhaps share a few (or don’t, I won’t tell). You’ve totally got this!


