So you’re scrolling through Instagram, seeing all those perfect, decorated cookies and thinking, “Yeah, I could totally do that… if I had 3 extra hours and a pastry degree.” Am I right? Well, guess what, buttercup? We’re about to make those fancy-pants chocolate chip cookies, but with minimal fuss and maximum chocolatey goodness. Because who has time for sadness when there’s chocolate?
Why This Recipe is Awesome
Okay, let’s be real. This isn’t just *any* chocolate chip cookie recipe. This is the **level-up** version. We’re talking chocolate chip cookies that dress up for a party but are secretly still super chill. It’s idiot-proof, honestly. Even *I* haven’t managed to mess this up, and my track record with anything involving ‘delicate’ is… spotty.
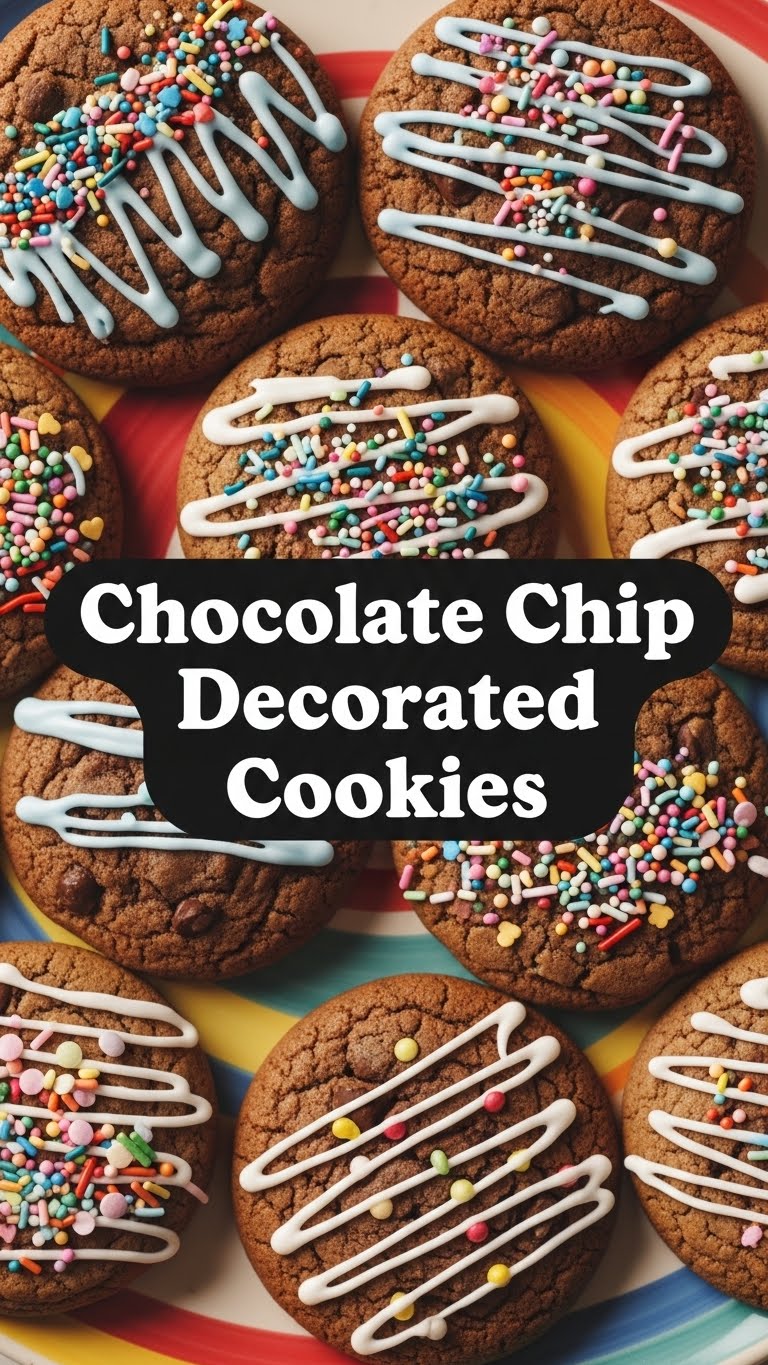
Plus, they look impressive enough to fool everyone into thinking you spent hours, but **spoiler alert: you didn’t!** They’re soft, chewy, chocolatey, and just begging for some sprinkles. You’ll be a cookie hero, I swear.
Ingredients You’ll Need
- **Unsalted Butter (1 cup, softened)**: Not melted! Unless you’re aiming for flat, sad disks.
- **Granulated Sugar (3/4 cup)**: For that sweet, sweet magic.
- **Packed Light Brown Sugar (1 cup)**: The secret to chewiness, don’t skimp!
- **Large Eggs (2)**: Room temp, please. They blend better, trust me on this.
- **Vanilla Extract (2 tsp)**: Good quality, please. It makes a HUGE difference, FYI.
- **All-Purpose Flour (2 1/4 cups)**: The foundation of all deliciousness.
- **Baking Soda (1 tsp)**: Our little lift-off agent.
- **Salt (1/2 tsp)**: Balances all that sweetness. Crucial!
- **Chocolate Chips (1 1/2 cups)**: Semi-sweet, milk, dark – pick your poison! Or mix ’em up for extra fun.
- **For Decorating**:
- **White Candy Melts or Royal Icing (store-bought is totally fine, no judgment!)**: The canvas for your edible art.
- **Sprinkles! (lots of them!)**: Go wild. Rainbow, metallic, themed, whatever makes your heart sing.
- **Optional**: Food coloring, edible glitter, mini M&Ms – whatever else your creative heart desires!
Step-by-Step Instructions
- **Preheat & Prep:** First things first, preheat your oven to **375°F (190°C)**. Line those baking sheets with parchment paper. This is non-negotiable for easy cleanup and no-stick cookies.
- **Cream It Up:** In a large bowl, cream together the softened butter, granulated sugar, and brown sugar until it’s light and fluffy. Like a cloud of sweet dreams! This usually takes about 2-3 minutes with an electric mixer.
- **Egg-cellent Addition:** Beat in the eggs, one at a time, making sure each is fully incorporated before adding the next. Then stir in that glorious vanilla extract.
- **Dry Mix Fun:** In a separate medium bowl, whisk together the flour, baking soda, and salt. Give it a good whisk to make sure everything’s evenly distributed.
- **Combine Forces:** Gradually add the dry ingredients to the wet ingredients, mixing on low speed until *just* combined. **Do not overmix!** Overmixing leads to tough cookies, and no one wants a tough cookie.
- **Chocolate Time:** Fold in those glorious chocolate chips. Use a spatula for this part, gently coaxing them into the dough.
- **Scoop & Bake:** Drop rounded spoonfuls (or use a cookie scoop for perfectly uniform cookies) onto your prepared baking sheets, leaving a couple of inches between each. Bake for **8-10 minutes**, or until the edges are golden and the centers are still soft.
- **Cool Down:** Let them cool on the baking sheets for 5 minutes before transferring them to a wire rack to cool completely. Patience, young padawan! **Seriously, they need to be completely cool before decorating.**
- **Decorate!** Once completely cool, melt your candy melts according to package directions (or prep your royal icing). Dip half of each cookie, drizzle, or spread a thin layer over the top. Immediately shower with sprinkles while the coating is still wet. Get creative!
- **Set & Enjoy:** Let the decorated cookies set until the coating is firm. This might take 15-30 minutes, depending on what you used. Then, boom! You’ve got fancy cookies.
Common Mistakes to Avoid
- **Skipping the softening butter:** Seriously, cold butter won’t cream properly, leading to a denser, less airy cookie. Don’t be that person.
- **Overmixing the dough:** We talked about this! **Tough cookies are sad cookies.** Mix until *just* combined, then stop.
- **Baking on an unlined sheet:** Hello, stuck cookies and scrubbing disaster! Parchment paper or silicone mats are your BFFs here.
- **Decorating warm cookies:** Rookie mistake! Your beautiful melted coating will just melt *into* the warm cookie, creating a sad, greasy mess. **Patience, my friend, patience.**
- **Not preheating the oven:** **It’s important!** A cold oven means your cookies spread weirdly or don’t bake evenly.
Alternatives & Substitutions
Can you use margarine instead of butter? Well, technically yes, but why hurt your soul like that? Butter just tastes better, IMO. But if you *must* for dietary reasons, go for it.
Feeling adventurous with your chocolate? Mix it up! Dark, milk, white chocolate chips, even chopped chocolate bars work wonderfully. Peanut butter chips? Caramel bits? Get wild!
Gluten-free all-purpose flour blends can often be swapped 1:1, but results may vary slightly. Read the package directions, you rebel.
No candy melts? A simple powdered sugar glaze (powdered sugar + a tiny bit of milk/water + vanilla) works too! Or just drizzle with melted chocolate. The world is your oyster! Or, you know, your cookie.
FAQ (Frequently Asked Questions)
1. **Can I make the dough ahead of time?** Absolutely! **This dough loves a good chill.** You can keep it in the fridge for up to 3 days. Just bring it closer to room temp before scooping, or add a couple of extra minutes to baking time.
2. **My cookies spread too much! What happened?** Usually, this means your butter was too soft (or melted), your oven wasn’t hot enough, or your dough wasn’t chilled. **A little chill time for the dough helps prevent excessive spreading.**
3. **How do I store these beauties?** In an airtight container at room temperature for up to 3-5 days. If you want them to last longer, you could freeze them for up to 3 months (undecorated or decorated, just layer with parchment paper).
4. **Can I add nuts or other mix-ins?** You betcha! Walnuts, pecans, shredded coconut – go for it. Just keep the total amount of mix-ins to about 1 1/2 to 2 cups.
5. **Why do my cookies look flat?** See question 2! Also, make sure your baking soda isn’t expired. **Old baking soda has no power!**
6. **I don’t have parchment paper. What can I use?** A lightly greased baking sheet will work, but be prepared for a bit more effort getting them off. Silicone baking mats are also fantastic!
Final Thoughts
See? Told you it wasn’t rocket science! You’ve just whipped up a batch of delicious, party-ready chocolate chip cookies without breaking a sweat (or your sanity). Now go impress someone—or yourself—with your new culinary skills. You’ve earned those extra sprinkles. **Go forth and conquer that cookie craving!**


