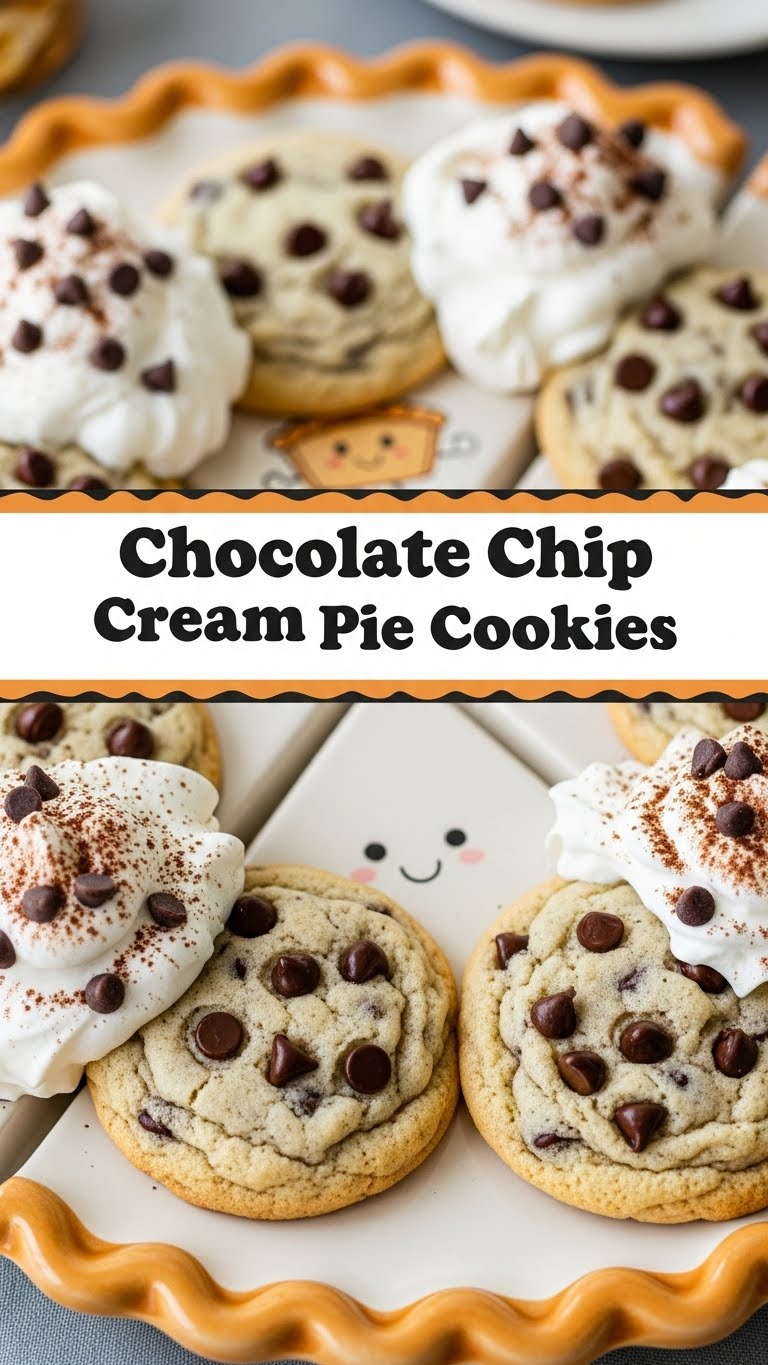
So you’re craving something ridiculously tasty but also kinda-sorta-too-lazy to spend forever in the kitchen, huh? Same. What if I told you we could whip up something so magically delicious, it tastes like a chocolate chip cookie eloped with a cream pie and had a delicious, creamy, chewy baby? Prepare yourself, friend, because you’re about to meet the legend: **Chocolate Chip Cream Pie Cookies.** Get ready to have your mind blown (and your taste buds doing a happy dance).
Why This Recipe is Awesome
Listen up, buttercup. This isn’t just *another* cookie recipe. This is the “I-look-like-a-culinary-genius-but-it-took-me-30-minutes” kind of awesome. It’s practically idiot-proof, honestly; I even managed to pull it off without setting off the smoke detector. Plus, it’s got the chewy, chocolatey goodness of a perfect chocolate chip cookie married to the cool, dreamy fluffiness of a pie. You get the best of both dessert worlds, *IMO*. It’s impressive enough for company but easy enough for a Tuesday night treat-yourself moment. And let’s be real, who doesn’t need more of those?
Ingredients You’ll Need
Gather your troops! Here’s what you’ll need to create this masterpiece. Most of these are probably chilling in your pantry already.
- Unsalted Butter (the good stuff): 1 cup (2 sticks), softened. No cheap imitation, please.
- Granulated Sugar: ¾ cup. For that classic sweetness.
- Brown Sugar (packed): ¾ cup. For chewiness and a hint of caramel magic.
- Large Eggs: 2, at room temperature. They just mix better, trust me.
- Vanilla Extract: 2 teaspoons. The secret sauce that makes everything taste better.
- All-Purpose Flour: 2 ¼ cups. Your kitchen’s best friend.
- Baking Soda: 1 teaspoon. The tiny hero that makes things rise.
- Salt: ½ teaspoon. Balances all that sweetness.
- Chocolate Chips: 1 ½ cups (or more, I won’t judge!). Semi-sweet is classic, but hey, mix it up if you’re feeling wild.
- Cream Cheese: 8 ounces, softened. Not from the freezer block, please!
- Powdered Sugar: 1 cup. For that dreamy, smooth creaminess.
- Whipped Topping (like Cool Whip): 8 ounces, thawed. The fluffy cloud on top.
Step-by-Step Instructions
Alright, apron on, game face ready! Let’s get baking!
For the Cookies:
- Preheat your oven to 375°F (190°C). Line two baking sheets with parchment paper. This helps with even baking and easy cleanup.
- Cream the butter and sugars: In a large bowl or stand mixer, beat the softened butter with both granulated and brown sugars until it’s light, fluffy, and looks like a cloud. This usually takes about 2-3 minutes.
- Add eggs and vanilla: Beat in the eggs, one at a time, making sure each is fully incorporated before adding the next. Stir in the vanilla extract until just combined. Don’t overmix!
- Combine dry ingredients: In a separate bowl, whisk together the flour, baking soda, and salt. Give it a good swirl to distribute everything evenly.
- Mix wet and dry: Gradually add the dry ingredients to the wet ingredients, mixing on low speed until just combined. Stop as soon as you see no more dry streaks of flour.
- Stir in chocolate chips: Gently fold in those glorious chocolate chips. Don’t go crazy, you just want them evenly distributed.
- Scoop and bake: Drop rounded tablespoons of dough onto your prepared baking sheets, leaving a couple of inches between each cookie. Bake for 9-11 minutes, or until the edges are golden brown and the centers are still slightly soft.
- Cool ’em down: Let the cookies cool on the baking sheets for 5 minutes before transferring them to a wire rack to cool completely. Patience, young padawan!
For the Cream Pie Topping:
- Beat the cream cheese: In a medium bowl, beat the softened cream cheese until it’s super smooth and fluffy. No lumps allowed!
- Add powdered sugar: Gradually beat in the powdered sugar until fully combined and smooth. Taste it – need more sugar? Go for it!
- Fold in whipped topping: Gently fold in the thawed whipped topping until everything is light and airy. Be gentle; we want that fluffy texture.
- Assemble your masterpieces: Once the cookies are completely cool, spread a generous dollop of the cream cheese topping onto the flat side of half the cookies. Top with the remaining cookies, creating a sandwich.
- Chill out: For best results, chill the assembled cookies for at least 30 minutes before serving. This helps the filling set up and makes them even more irresistible.
Common Mistakes to Avoid
Even though this recipe is pretty foolproof, a few things can trip you up. Don’t say I didn’t warn ya!
- Forgetting to preheat the oven: Rookie mistake, friend. Always preheat! Otherwise, your cookies won’t bake evenly, and you’ll end up with flat, sad discs.
- Using cold butter or cream cheese: Trying to beat cold butter is like trying to reason with a grumpy cat – it just won’t go smoothly. Take them out a bit before you start, trust me. **Softened ingredients are key for a smooth texture.**
- Overmixing the dough: Once you add the flour, mix *just* until combined. Overmixing develops the gluten, leading to tough cookies. We want chewy, not rubbery!
- Overbaking the cookies: Keep an eye on them! Cookies are often still soft in the middle when they come out of the oven but will set as they cool. Overbaking leads to dry, crumbly sadness.
- Assembling on warm cookies: This is a big no-no. That beautiful cream cheese topping will melt and slide right off. **Wait until your cookies are completely cool!**
Alternatives & Substitutions
Feeling creative? Here are a few ways to tweak this recipe and make it your own:
- Chocolate Chip Variety: Not a fan of semi-sweet? Go for milk chocolate, dark chocolate, white chocolate, or even a mix! Peanut butter chips or butterscotch chips would also be divine.
- Add-ins: Throw in a handful of chopped nuts (pecans or walnuts, anyone?), shredded coconut, or even some sprinkles for a festive touch.
- Extracts: Swap out half the vanilla extract for almond extract for a different flavor profile. Or a dash of peppermint extract around the holidays!
- Homemade Whipped Cream: If you’re feeling fancy, you can totally whip up your own heavy cream with a touch of powdered sugar instead of using store-bought whipped topping. It’s a bit more effort, but oh-so-worth-it sometimes.
- Gluten-Free: You can absolutely use a 1:1 gluten-free flour blend in place of all-purpose flour. Just make sure it’s a blend designed for baking.
FAQ (Frequently Asked Questions)
- Can I use margarine instead of butter? Well, technically yes, but why hurt your soul like that? Butter provides a richer flavor and better texture. If you must, use a high-quality stick margarine, but I’m giving you the side-eye.
- How long do these cookies last? Stored in an airtight container in the fridge, they’re best for 3-4 days. But let’s be real, they rarely last that long.
- Can I make the cookie dough ahead of time? You bet! You can chill the dough for up to 3 days in the fridge, or even freeze it for a month (thaw overnight before baking). Freshly baked cookies are always a good idea!
- Can I freeze the assembled cookies? I wouldn’t recommend it. The cream cheese filling might get a bit weird after thawing. Better to freeze just the baked cookies and assemble them fresh.
- My cream cheese filling is lumpy. Help! Did you soften your cream cheese? That’s usually the culprit. Beat it longer on its own first, or give it a quick zap in the microwave (like, 10 seconds!) to soften it up more if you’re in a pinch.
- What if I don’t have parchment paper? Foil will work in a pinch, but spray it liberally with non-stick spray. Otherwise, just greasing the pan works, but cleanup might be a tad tougher.
Final Thoughts
And there you have it, folks! Your new favorite dessert that proves you can be both incredibly lazy and incredibly impressive in the kitchen. These Chocolate Chip Cream Pie Cookies are pure joy, combining the best textures and flavors into one magnificent bite. So go ahead, whip up a batch, take a glorious photo (don’t forget to tag me, haha!), and then devour them with abandon. You’ve earned it!


