So you’re craving something tasty but too lazy to spend forever in the kitchen, huh? Same. We’ve all been there, staring into the pantry, wishing a magical cookie fairy would just appear. Well, consider me your slightly less magical, but equally cookie-obsessed, friend here to guide you. Forget basic, boring chocolate chip cookies. We’re talking about upgrading those bad boys to superstar status with a secret weapon: SPRINKLES! Because life’s too short for dull desserts, amirite?
Why This Recipe is Awesome
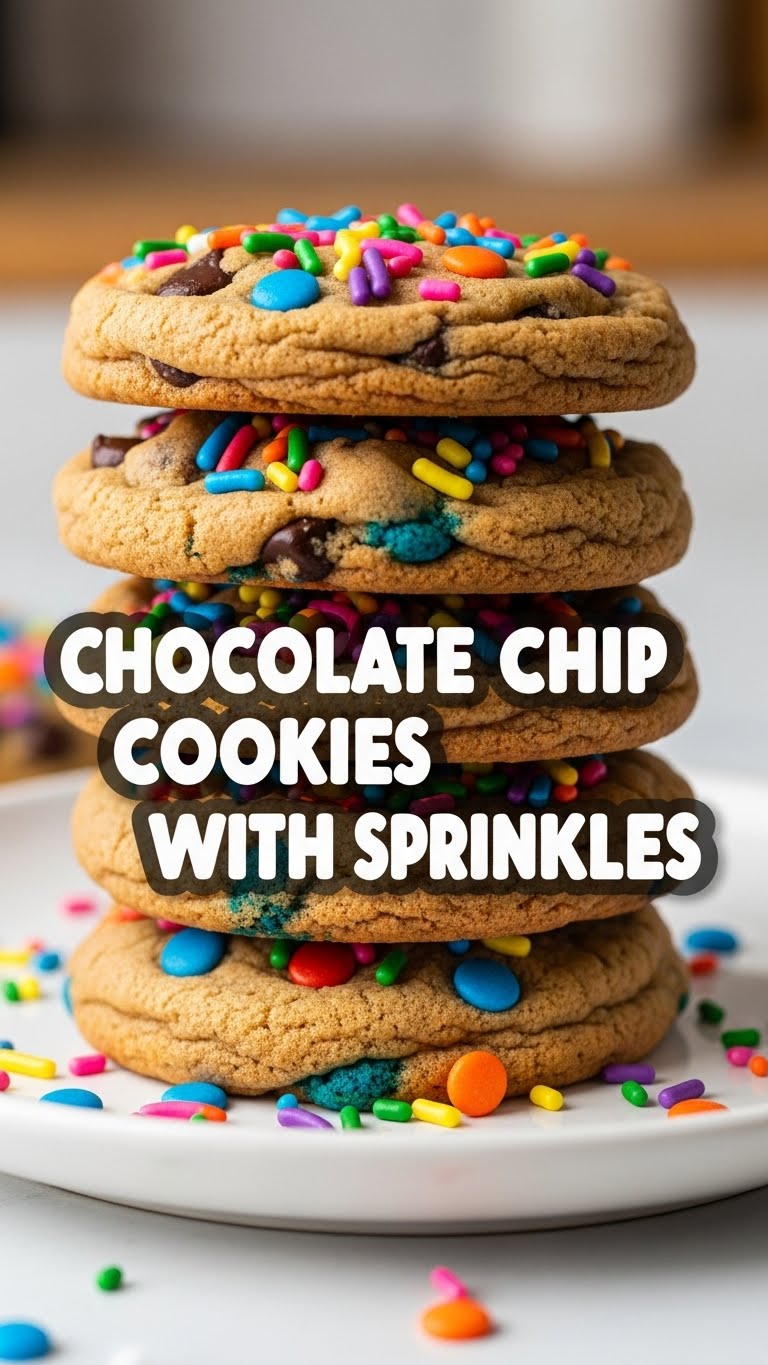
Okay, let’s be real. There are a million chocolate chip cookie recipes out there. But this one? This one is *the one*. Why? Because it’s practically idiot-proof. Seriously, even I, a person who once set off the fire alarm microwaving popcorn, can nail these. They come out perfectly chewy, delightfully soft in the middle, and crispy on the edges. Plus, the sprinkles add that pop of color and unexpected joy that makes everyone go “ooooh!” It’s comfort food, a mood booster, and a party in your mouth, all rolled into one glorious, sprinkle-studded disk. It’s basically happiness, baked.
Ingredients You’ll Need
Get ready to gather your culinary comrades. Here’s what you’ll need to make magic happen:
- 1 cup (2 sticks) Unsalted Butter: Softened, but not melted. This is the foundation of all cookie greatness.
- ¾ cup Granulated Sugar: The classic sweet stuff.
- ¾ cup Packed Light Brown Sugar: For that extra chewiness and depth of flavor. Don’t skip it!
- 2 Large Eggs: Room temperature, please! They mix better that way.
- 2 tsp Vanilla Extract: Use the good stuff. It makes a difference, trust me.
- 2 ¼ cups All-Purpose Flour: The binder, the holder, the essential.
- 1 tsp Baking Soda: Our leavening agent. Makes ’em puff up nicely.
- ½ tsp Salt: Don’t forget it! Balances all that sweetness.
- 1 ½ cups Semi-Sweet Chocolate Chips: Or milk, or dark, your choice! Go wild.
- ½ cup Sprinkles: Jimmies work best here (they hold their color better than nonpareils). The more colorful, the better!
Step-by-Step Instructions
- Preheat & Prep: First things first, preheat your oven to 375°F (190°C). Line two baking sheets with parchment paper. This is key for easy cleanup and preventing stickage. Don’t be a rookie and skip this!
- Cream the Goodness: In a large bowl, or the bowl of your stand mixer, cream together the softened butter, granulated sugar, and brown sugar until it’s light and fluffy. This usually takes about 2-3 minutes.
- Egg-cellent Addition: Beat in the eggs, one at a time, mixing well after each addition. Then stir in the vanilla extract. Scrape down the sides of the bowl to make sure everything’s incorporated.
- Dry Mix Time: In a separate, medium bowl, whisk together the flour, baking soda, and salt. Make sure it’s fully combined.
- Combine & Conquer: Gradually add the dry ingredients to the wet ingredients, mixing on low speed until *just* combined. Do not overmix! Overmixing leads to tough cookies, and nobody wants that.
- Chip & Sprinkle Party: Fold in the chocolate chips and, drumroll please… the sprinkles! Gently mix until they’re evenly distributed.
- Scoop ‘Em Out: Drop rounded tablespoons of dough onto your prepared baking sheets, leaving about 2 inches between each cookie.
- Bake Away! Bake for 9-11 minutes, or until the edges are golden brown and the centers are still slightly soft.
- Cool Down: Let the cookies cool on the baking sheets for about 5 minutes before transferring them to a wire rack to cool completely (or, you know, eat them warm. Your call. I won’t judge).
Common Mistakes to Avoid
Listen, we all make mistakes. But these are the ones that can turn your cookie dreams into a crumbly nightmare. Learn from my past kitchen mishaps!
- Overmixing the Dough: I said it once, I’ll say it again: **STOP MIXING once the flour is just combined!** You’re not making bread; you’re making tender cookies. Overmixing develops the gluten too much, leading to tough, hockey-puck-like results.
- Skipping the Parchment Paper: Rookie mistake! Your cookies will stick, possibly burn, and definitely be a pain to clean up. Don’t do it.
- Not Chilling the Dough (Sometimes): While this recipe can go straight into the oven, if you find your cookies spreading too much, a 30-minute chill in the fridge can work wonders. It helps the butter firm up and prevents excessive spreading.
- Using Cold Eggs/Hard Butter: Room temperature ingredients mix better and create a smoother, more emulsified dough. Plan ahead!
- Eyeballing Ingredients: Baking is a science, people! Especially with flour. **Measure precisely, especially with flour.** Too much flour means dry, crumbly cookies.
- Not Preheating the Oven: Just like you wouldn’t jump into a cold shower, your cookies don’t want to go into a cold oven. Preheating ensures even baking from the start.
Alternatives & Substitutions
Feeling adventurous? Or maybe you’re just out of one thing (it happens!). Here are some easy swaps:
- Chocolate Chips: Swap ’em for white chocolate chips, dark chocolate chunks, M&M’s, peanut butter chips, or even chopped nuts (pecans or walnuts are great!). Just make sure the total amount stays around 1 ½ cups.
- Sprinkles: Any kind of sprinkles work, but **jimmies generally hold their shape and color better** than nonpareils, which can sometimes bleed a bit. If you’re feeling extra fancy, try seasonal sprinkles!
- Butter: Technically, you *can* use margarine, but why hurt your soul like that? Butter truly makes the best cookies. If you need a dairy-free option, use a good quality plant-based butter alternative.
- Flour: For a gluten-free version, a 1:1 gluten-free baking flour blend usually works well, though the texture might be slightly different.
- Vanilla Extract: If you’re out, a little almond extract can be a fun (but strong!) substitution, or even a dash of espresso powder can enhance the chocolate flavor.
FAQ (Frequently Asked Questions)
- Can I use margarine instead of butter? Well, technically yes, but why hurt your soul like that? Butter gives these cookies their unparalleled flavor and texture. If you must, use a high-quality margarine, but temper your expectations slightly.
- Do I *have* to chill the dough? Not strictly for this recipe if your butter is at the right consistency and your kitchen isn’t super hot. However, **a 30-minute chill can lead to thicker, chewier cookies and prevent spreading,** so if you have the time, it’s a nice bonus!
- My cookies are flat! What happened? Oh, the dreaded flat cookie! Common culprits include: butter too soft/melted, over-creaming butter and sugar, not enough flour, or old/inactive baking soda. Make sure your butter is softened, not melted!
- Can I make the dough ahead of time? Absolutely! You can store the dough in an airtight container in the fridge for up to 3 days, or freeze scooped balls of dough for up to 3 months. Just bake from frozen, adding a few extra minutes to the baking time.
- What kind of sprinkles are best for not bleeding into the dough? Jimmies (the long, cylindrical ones) are your best bet. Nonpareils (the tiny round ones) are super cute but can sometimes bleed their color, especially if the dough is warm or you overmix.
- How do I get that perfect “gooey” center? Bake them until the edges are golden brown but the centers still look slightly underdone and soft. They’ll continue to cook a bit on the hot baking sheet as they cool.
Final Thoughts
So there you have it, folks! Your new go-to recipe for the most delightful, sprinkle-tastic chocolate chip cookies this side of delicious town. These aren’t just cookies; they’re a statement. They’re a promise of joy, a burst of color, and proof that a little bit of fun in the kitchen can go a long way. So go on, get baking! Share them with friends (if you can bear to), impress your family, or just hoard them all for yourself. You’ve earned it!


