So you’re craving something tasty but too lazy to spend forever in the kitchen, huh? Same. Like, seriously, who has the time for elaborate culinary adventures when there are perfectly good streaming services and comfy couches? But what if I told you that you could whip up a batch of chocolate chip cookies, featuring those adorable mini chips, in practically no time at all, and have them taste like they came straight from a fancy bakery? Yep, I thought that might get your attention. Let’s bake some magic, shall we?
Why This Recipe is Awesome
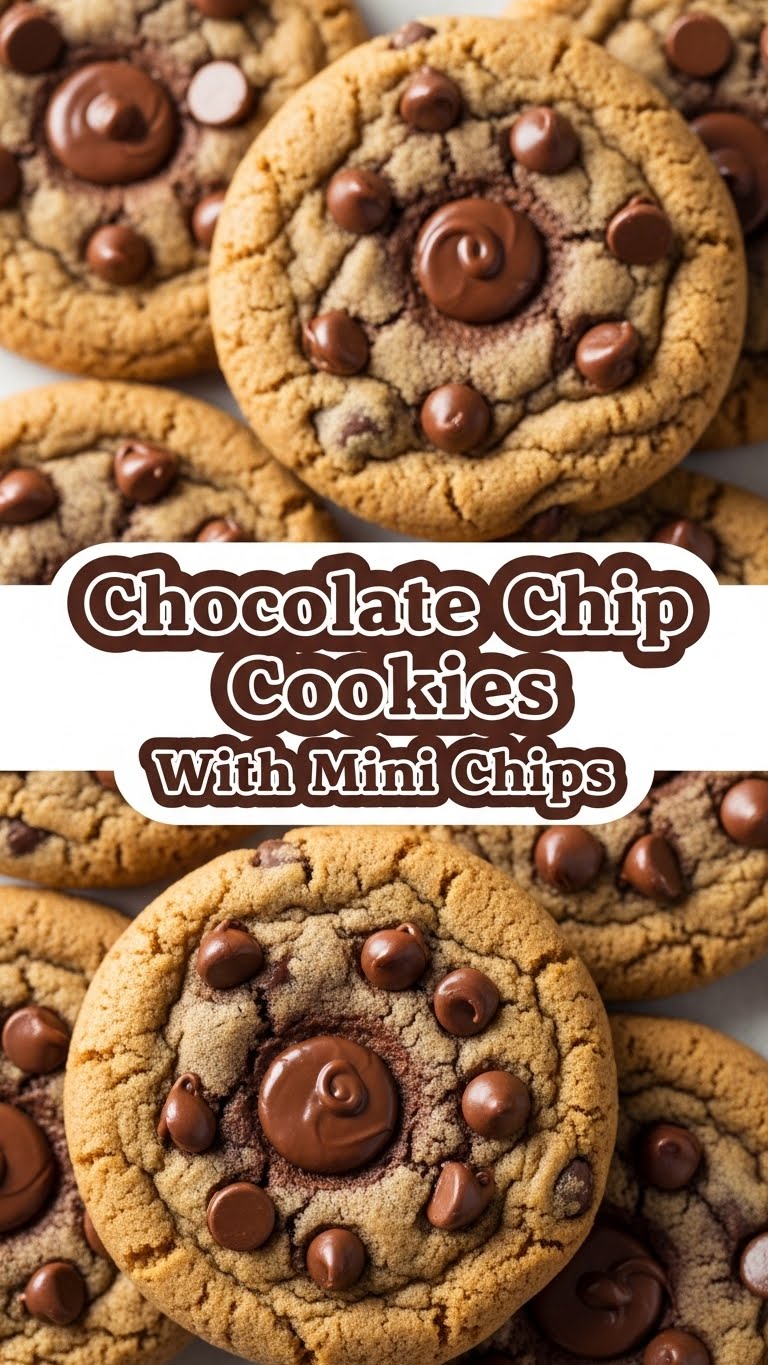
Okay, so why should you bother with *these* mini chip cookies and not, say, a complicated sourdough starter or a seven-layer cake? First off, they’re ridiculously easy. I’m talking “I can do this while half-asleep and still watch that one scene again” easy. Second, the mini chips! They’re like the bite-sized best friends of regular chocolate chips, ensuring you get a little chocolatey goodness in *every single bite*. No more sad, chip-less mouthfuls. Plus, they bake up perfectly – slightly chewy on the inside, a little crisp around the edges. It’s basically cookie perfection, and I say that as someone who has historically been more of a cookie *taster* than a cookie *maker*.
Ingredients You’ll Need
- 1 cup (2 sticks) unsalted butter, softened (not melted! This is important, people!)
- 3/4 cup granulated sugar (for that classic sweetness)
- 3/4 cup packed brown sugar (hello, chewy texture and caramel vibes!)
- 2 large eggs (the glue that holds it all together, don’t use tiny bird eggs)
- 1 teaspoon vanilla extract (the secret weapon of deliciousness)
- 2 1/4 cups all-purpose flour (the main event, the backbone of the cookie)
- 1 teaspoon baking soda (for that little lift, don’t skip it!)
- 1/2 teaspoon salt (balances the sweet, trust me)
- 2 cups (or a whole bag!) mini chocolate chips (the stars of our show!)
Step-by-Step Instructions
- First things first, **preheat your oven to 375°F (190°C)**. And grab a couple of baking sheets, line ’em with parchment paper if you’re feeling fancy, or just embrace the potential for a little cookie char (adds character, right?).
- In a big ol’ bowl, cream together that softened butter, granulated sugar, and brown sugar until it’s all light and fluffy. Think of it as giving your butter a spa day.
- Beat in the eggs one at a time, then stir in the vanilla extract. Don’t overmix here, we’re not training for a baking Olympics.
- In a separate, less exciting bowl, whisk together the flour, baking soda, and salt. This is the dry stuff.
- Now, gradually add the dry ingredients to the wet ingredients. Mix until *just* combined. Seriously, **don’t overmix!** We want tender cookies, not hockey pucks.
- Gently fold in those adorable mini chocolate chips. Make sure they’re evenly distributed. It’s like scattering tiny treasures.
- Drop rounded spoonfuls of dough onto your prepared baking sheets. Leave a little space between them, because these guys spread out like they’re sunbathing.
- Bake for 8-10 minutes, or until the edges are golden brown and the centers are still slightly soft. They’ll continue to cook a bit on the baking sheet, so don’t overdo it.
- Let them cool on the baking sheets for a couple of minutes before transferring them to a wire rack to cool completely. Or, you know, just eat them warm. No judgment here.
Common Mistakes to Avoid
Let’s talk about the slip-ups that can turn your cookie dreams into dusty nightmares. First, **using melted butter instead of softened butter.** It’s like trying to build a house with soup – it just doesn’t work. Softened butter gives you that perfect texture. Second, **overmixing the dough.** Once the flour is in, you just want to combine things. Overmixing develops gluten, which leads to tough cookies. Nobody wants a tough cookie. And finally, **not preheating your oven.** Baking cookies in a lukewarm oven is like starting a race without a running start. It’s just sad.
Alternatives & Substitutions
Feeling adventurous? Or just happened to run out of something vital? No worries! If you don’t have mini chocolate chips, regular ones work just fine, though you might get fewer chips per bite. You can also get wild and throw in some nuts – walnuts or pecans are my jam. For the flour, **all-purpose is king**, but a 1:1 gluten-free baking blend usually does the trick. As for the butter, if you absolutely *must*, you can use margarine, but IMO, butter is the way to go for the best flavor and texture. It’s worth the splurge, folks!
FAQ (Frequently Asked Questions)
Q: Can I make these ahead of time?
A: Absolutely! You can totally make the dough ahead and store it in the fridge for up to 3 days, or even freeze it for a cookie emergency. Just let it soften slightly before baking.
Q: My cookies spread out way too much! What did I do wrong?
A: This is usually because your butter was too soft (or melted!), you added too much sugar, or you didn’t chill the dough. A slightly chilled dough is your best friend for thicker cookies.
Q: Can I use margarine instead of butter?
A: Well, technically yes, but why hurt your soul like that? Butter provides superior flavor and texture. It’s the backbone of a good cookie, people!
Q: How do I store these delicious creations?
A: Store them in an airtight container at room temperature. They’re usually best within 3-4 days, but let’s be real, they won’t last that long.
Q: What if I don’t have brown sugar?
A: You can try using all granulated sugar, but your cookies will be a bit crispier and less chewy. If you have regular sugar and a bit of molasses, you can mix them to create your own brown sugar!
Q: Do I really need to measure the flour so precisely?
A: YES! Too much flour makes for dry, crumbly cookies. **Spoon your flour into the measuring cup and level it off**, don’t scoop directly from the bag.
Final Thoughts
And there you have it! A foolproof, fun, and fantastically tasty recipe for mini chocolate chip cookies. So go forth and bake! Whether you’re sharing them with friends, family, or just treating yourself (which you absolutely should), these little gems are guaranteed to bring smiles. Now go impress someone—or yourself—with your new culinary skills. You’ve earned it!

