So you’re craving something tasty but too lazy to spend forever in the kitchen, huh? Same. 🙂
Let’s be honest, sometimes the siren song of the oven calls, but the thought of measuring out a gazillion ingredients makes us want to just… not. What if I told you there’s a magical shortcut that leads to warm, gooey, chocolatey perfection with minimal fuss? Enter the humble cake mix box. Yep, you read that right. We’re about to turn that innocent box of fluff into cookie heaven. Get ready to have your mind blown (and your taste buds singing).
Why This Recipe is Awesome (Like, Seriously Awesome)
Okay, let’s talk brass tacks. Why should you ditch your usual complicated cookie recipe for this hack? First off, it’s borderline idiot-proof. Seriously, I’ve made these when I was half-asleep and they still turned out amazing. Secondly, the texture? Divine. You get that satisfyingly chewy center with just the right amount of crisp around the edges. It’s like a secret handshake for your sweet tooth. And the biggest win? **Minimal cleanup.** We’re talking one bowl, maybe two if you’re feeling fancy and separate your wet and dry. It’s practically a miracle.
Ingredients You’ll Need (The “Wait, That’s It?” Edition)
Get your aprons ready, but honestly, even without one, you’re probably fine.
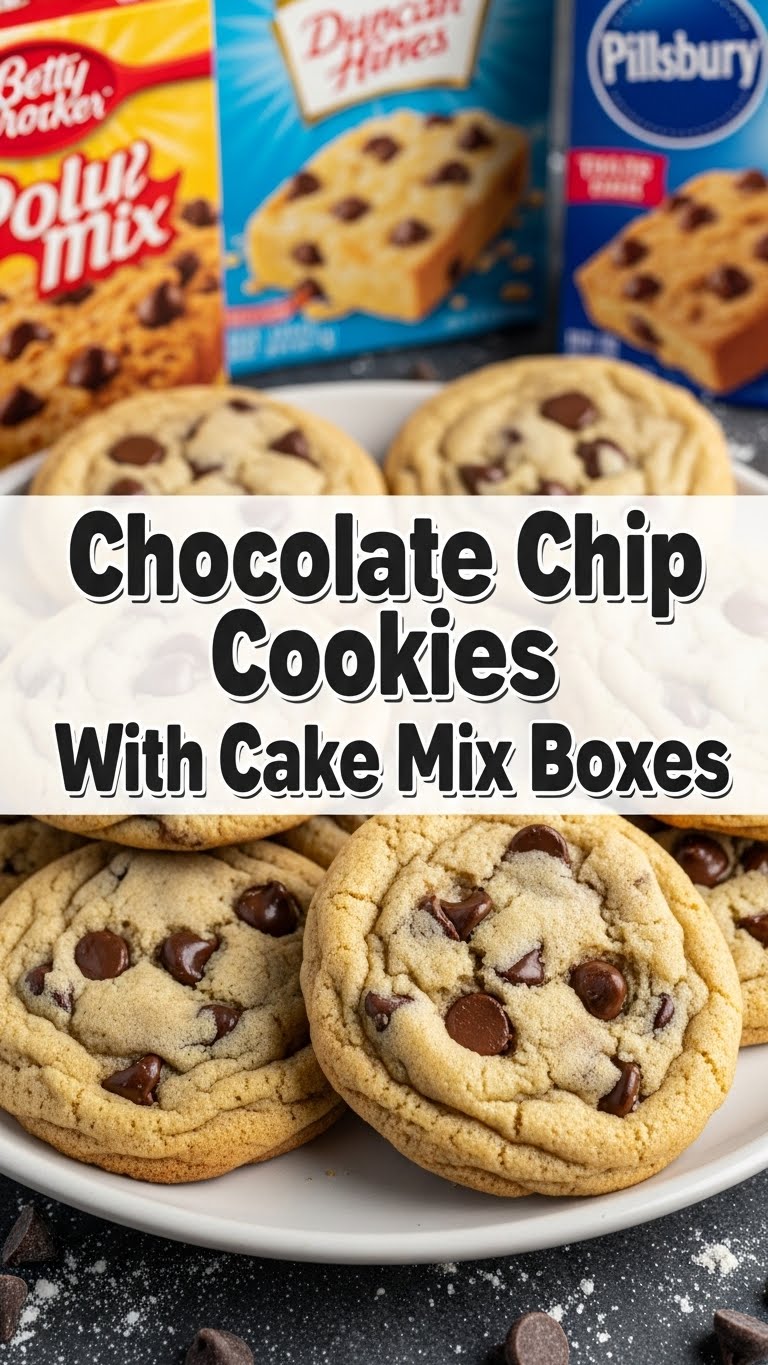
- 1 box (about 15.25 oz) yellow or white cake mix: Don’t overthink it. The generic brand works just as well, trust me.
- 2 large eggs: Make sure they’re not the mini ones you find rolling around in the back of the fridge.
- 1/2 cup vegetable oil (or melted butter): Oil gives you chewiness, butter gives you a richer flavor. Your call, boss.
- 1 teaspoon vanilla extract: This is for *fancy* flavor. You can skip it if you’re feeling rebellious, but why would you do that to yourself?
- 1 cup (about 6 oz) chocolate chips: Or more. Who am I to judge your chocolate intake? Semi-sweet, milk, dark, white – go wild!
Step-by-Step Instructions (The “Can It Really Be This Easy?” Edition)
Deep breaths. You’ve got this.
- Preheat your oven to 350°F (175°C). This is non-negotiable, my friends. Don’t be that person who puts dough in a cold oven.
- Grab a large bowl and dump in your cake mix. Yes, the whole box. No need to follow those confusing instructions on the side. We’re rebels.
- Crack in your eggs, pour in the oil (or melted butter), and add the vanilla extract. It might look a little… clumpy at first. Don’t panic.
- Stir it all together. Use a spoon, a spatula, or even your (clean!) hands. Mix until it’s just combined. Don’t go crazy overmixing; nobody likes a tough cookie.
- Fold in your chocolate chips. Be generous! This is where the magic happens.
- Scoop the dough onto a baking sheet lined with parchment paper. Use a cookie scoop or two spoons. Aim for balls about 1-inch in diameter. Give them some space; they like to spread out and mingle.
- Bake for 8-10 minutes. You want the edges to be golden brown and the centers to look slightly underbaked. They’ll firm up as they cool. Trust the process!
- Let them cool on the baking sheet for a few minutes before transferring them to a wire rack. This is the hardest part: waiting.
Common Mistakes to Avoid (Unless You’re Feeling Adventurous)
Let’s save you some heartache (and possibly a burnt batch).
- Ignoring the preheat: Like I said, don’t do it. It affects the rise and texture.
- Overmixing the dough: It’s not bread dough, people! Mix until *just* combined.
- Baking them for too long: The biggest crime! They’ll go from chewy to cardboard in seconds. Keep an eye on those edges.
- Putting them too close together: They need personal space, okay?
- Not letting them cool enough: Seriously, resist the urge. You’ll end up with a melty mess.
Alternatives & Substitutions (Because We Love Options)
Feel like tweaking things? I get it.
- Different Cake Mix Flavors: Chocolate cake mix with extra chocolate chips? Yes, please. Red velvet with white chocolate chips? Divine. Lemon cake mix with blueberries? Might be weird, but go for it!
- Add-ins: Nuts, M&Ms, toffee bits, sprinkles – if it fits in a cookie, throw it in!
- Butter vs. Oil: As mentioned, oil gives you that classic chewy cookie. Melted butter adds a richer, slightly crispier texture. Pick your poison!
- Egg Whites: Some people swear by using just egg whites for a chewier cookie. I haven’t personally tested this extensively, but if you’re feeling experimental, give it a whirl!
FAQ (Your Burning Questions, Answered Casually)
Q: Can I really just use cake mix? Isn’t that cheating?
A: “Cheating” is such a strong word. I prefer “innovative” or “efficient.” Plus, who are you trying to impress? Your taste buds will thank you, and that’s all that matters.
Q: What if I don’t have vegetable oil?
A: Melted butter is your next best friend. It’ll give them a slightly different, but equally delicious, flavor profile. Canola oil works too, if you have that lurking in the pantry.
Q: My cookies spread out like crazy! What happened?
A: This usually happens if your dough is too warm or you used melted butter and it got too hot. Also, sometimes cake mixes are just… eager. Giving them a little chill time in the fridge before baking can help!
Q: Can I make them gluten-free?
A: Absolutely! Just grab a gluten-free cake mix (most brands have one these days) and follow the recipe. Easy peasy!
Q: How long do these cookies last?
A: In an airtight container at room temperature, they’re usually good for about 3-4 days. But let’s be real, they won’t last that long. 😉
Q: Can I freeze the dough?
A: Yep! Scoop them into balls, freeze them on a tray until solid, then pop them into a freezer bag. Bake them straight from frozen, just add a couple of extra minutes to the baking time.
Final Thoughts (Go Forth and Bake!)
See? Baking doesn’t have to be a full-blown culinary expedition. With a little help from your friendly neighborhood cake mix box, you can whip up a batch of ridiculously good chocolate chip cookies in no time. They’re perfect for a spontaneous craving, a potluck surprise, or just because you deserve a treat. So, go forth and bake! And hey, if you make a batch, feel free to send some my way. 😉


