Okay, so you’re thinking, “Chocolate chip cookies? Been there, baked that.” But what if I told you we could take your humble cookie game to a whole new level of *adorableness* without, like, adding any extra work? Yeah, I know, my mind was blown too. We’re talking chocolate chip cookies, but with personality!
Why This Recipe is Awesome
Listen, life’s too short for boring cookies. This isn’t just a recipe; it’s a *vibe*. Not only is it **stupid-easy** (seriously, if I can do it, anyone can), but it also lets you unleash your inner artist. Forget perfect circles; we’re making stars, hearts, maybe even a tiny cookie dinosaur if you’re feeling ambitious. It’s the perfect recipe for when you want to impress without actually, you know, *trying* that hard. Plus, cleanup is minimal, which is basically the holy grail of baking, right?
Ingredients You’ll Need
- Unsalted Butter (1 cup, softened): Your main character. Make sure it’s soft enough to smoosh, but not melted. Nobody likes soup cookies.
- Granulated Sugar (3/4 cup): The sweet stuff. Gives that perfect crisp edge.
- Brown Sugar (3/4 cup, packed): The MVP for chewiness and that deep, molasses-y flavor. Don’t skimp, it’s important!
- Large Eggs (2): Your binders. Room temperature, if you’re feeling fancy (it helps with emulsification, blah blah, just trust me).
- Vanilla Extract (1 teaspoon): The soul of the cookie. Use the good stuff; your taste buds will thank you.
- All-Purpose Flour (2 1/4 cups): The backbone. Don’t overmeasure, or your cookies will be bricks.
- Baking Soda (1 teaspoon): Our little leavening friend, gives them that nice puff.
- Salt (1/2 teaspoon): Crucial for balancing all that sweetness. Seriously, don’t skip it.
- Chocolate Chips (1 1/2 cups, your favorite kind): The main event! Semi-sweet, milk, dark, chunky, mini – you do you.
Step-by-Step Instructions
- Preheat Your Oven: Crank that baby up to **375°F (190°C)**. Line your baking sheets with parchment paper or silicone mats. This is non-negotiable for easy cleanup and no-stick-situations.
- Cream the Butter & Sugars: In a large bowl, beat the softened butter with both sugars until it’s light and fluffy. This usually takes about 2-3 minutes. **Don’t rush this step!** It incorporates air, which makes for fluffier cookies.
- Add Eggs & Vanilla: Beat in the eggs one at a time, making sure each is fully incorporated before adding the next. Stir in the vanilla extract. Scrape down the sides of the bowl to ensure everything is mixed.
- Whisk Dry Ingredients: In a separate, medium bowl, whisk together the flour, baking soda, and salt. This ensures even distribution of your leavening agents.
- Combine Wet & Dry: Gradually add the dry ingredients to the wet ingredients, mixing on low speed until *just* combined. **Do not overmix!** Overmixing develops gluten, leading to tough cookies.
- Fold in Chocolate Chips: Gently fold in your glorious chocolate chips with a spatula.
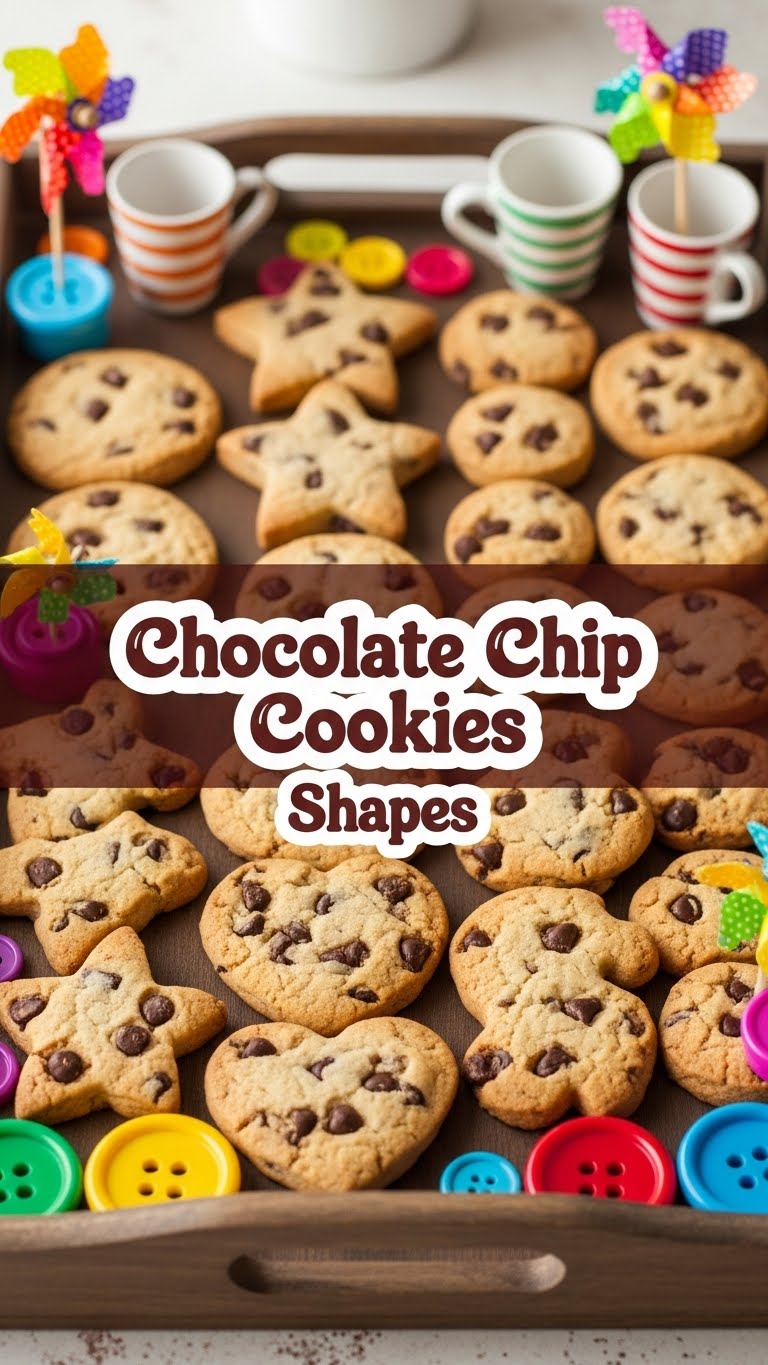
- Shape ‘Em Up: This is where the magic happens! **Instead of scooping balls**, roll out portions of the dough (about 1/4 to 1/2 inch thick) on a lightly floured surface. Use your favorite cookie cutters to cut out shapes. Or, get weird and freehand some abstract art!
- Bake ‘Em Up: Place your beautifully shaped dough onto the prepared baking sheets, leaving a couple of inches between each. Bake for **9-12 minutes**, or until the edges are golden brown and the centers are still slightly soft.
- Cool & Devour: Let them cool on the baking sheet for a few minutes before transferring to a wire rack to cool completely. Or, eat them warm with a glass of milk. I won’t judge.
Common Mistakes to Avoid
- Melting your butter: Softened, not melted. If it’s a puddle, you’re gonna have flat, greasy cookies. Trust.
- Overmixing the dough: We talked about this! Unless you’re aiming for hockey pucks, mix until *just* combined.
- Skipping the chilling step (if your shapes are struggling): For shapes, chilling isn’t strictly necessary if your dough isn’t too sticky, but **if your shapes are losing definition, pop the dough in the fridge for 30 minutes!** It helps them hold their form.
- Not lining your baking sheet: Ever scraped a cookie off a pan? It’s not fun. Parchment paper is your best friend.
- Baking too long: Watch those cookies! They go from perfectly soft to crunchy hockey pucks in a blink. Pull them out when the edges are golden, even if the middle looks a little underdone. They’ll finish baking on the hot sheet.
Alternatives & Substitutions
Feeling adventurous? Here are a few swaps that won’t totally derail your cookie mission:
- Chocolate Chips: Don’t have ’em? **Chopped chocolate bars** work wonders, especially if it’s good quality chocolate. You could also try white chocolate chips, butterscotch chips, or even M&M’s for a burst of color!
- Butter: While butter is king for flavor, in a pinch, you *could* use a good quality baking margarine, but your cookies might lose a little richness and spread differently. **IMO, stick to butter.**
- Flour: All-purpose is the standard, but for a slightly chewier cookie, you could sub in a small amount of bread flour (maybe 1/4 cup). Gluten-free? Use a 1:1 GF baking blend, but results can vary slightly.
- Add-ins: Nuts (walnuts, pecans!), dried cranberries, a sprinkle of sea salt on top before baking for that fancy sweet-and-salty vibe. Get creative!
FAQ (Frequently Asked Questions)
- My cookies are spreading too much and losing their shape! What gives? Oh, the horror! This usually means your butter was too soft/melted, or your oven isn’t hot enough. **Try chilling your shaped dough on the baking sheet for 10-15 minutes before baking.** It really helps them hold their form.
- Can I make the dough ahead of time? Absolutely, you savvy planner! You can make the dough and keep it covered in the fridge for up to 3 days. Just let it come to room temperature a bit (or at least soften enough to roll out) before shaping. Or, roll out, cut shapes, and freeze the raw shapes on a baking sheet. Once solid, transfer to a freezer bag and bake from frozen, adding a minute or two to the bake time.
- Do I *have* to use cookie cutters? “Have to”? No, darling, you’re the boss! You can freehand shapes with a knife, or even just roll them into logs, chill, and slice. But the cutters are pretty fun, just sayin’.
- Why is my dough too sticky to roll out? Humidity, too much butter, or your flour measuring was off. **Add a tablespoon or two of flour at a time** until it’s workable. Or, chill it for 30 minutes; cold dough is easier to handle.
- Can I use a different type of sugar? Sure, but it’ll change the texture. Using all granulated sugar will give you a crispier cookie, while all brown sugar will make it super chewy. The combo is where the magic (and balance) happens, FYI.
- My cookies are hard after cooling, what did I do wrong? You probably overbaked them, my friend. Next time, take them out when the edges are set and golden, even if the center looks a little soft. They firm up as they cool!
Final Thoughts
Alright, superstar baker! You’ve got the lowdown on how to turn basic chocolate chip cookies into a fun, shapely affair. Whether you’re making them for a party, a gift, or just to eat all by yourself (no judgment, we’ve all been there), these shaped cookies are guaranteed to bring a smile. So go forth, wield that cookie cutter like a pro, and enjoy the delicious fruits of your not-so-laborious labor. You’ve earned those sweet, sweet bites!


