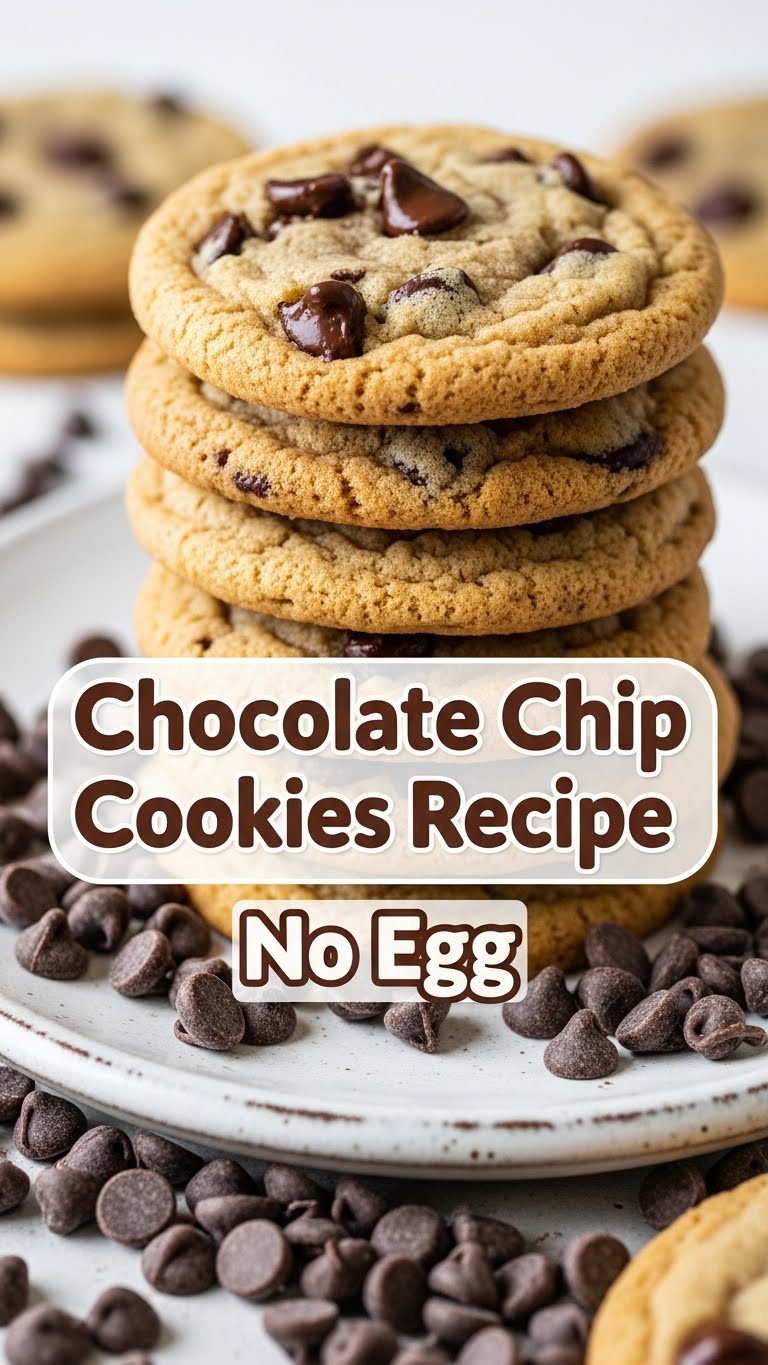
So, you’ve rifled through your fridge, eyeing that lonely stick of butter, but oh, the horror! No eggs in sight. And your cookie cravings? Absolutely off the charts. Been there, friend. Many, many times. Don’t even get me started on the sheer disappointment of realizing your grand baking plans are foiled by a poultry product shortage. But guess what? We’re not letting a few missing eggs stand between us and pure, unadulterated chocolatey bliss. Nope, not today, Satan! We’re making **Chocolate Chip Cookies (No Egg!)** because resilience is a virtue, and so is having warm cookies in your belly.
Why This Recipe is Awesome
First off, it’s a cookie recipe without the whole “oops, I ran out of eggs” panic. This means you can get your cookie fix even when your fridge is looking a bit… minimalist. Secondly, it’s **idiot-proof**. Seriously, if I can pull this off without setting off the smoke alarm, anyone can. It’s quick, it’s simple, and it delivers genuinely delicious, chewy chocolate chip cookies that nobody will ever guess are egg-free. Plus, think of the bragging rights! You just made magic with fewer ingredients. You’re basically a kitchen wizard. You’re welcome.
Ingredients You’ll Need
Get ready to unleash your inner baking beast with these simple treasures:
- 1/2 cup (113g) unsalted butter, softened. Leave it out for a bit, let it chill. Or zap it in the microwave for, like, 10 seconds. Don’t melt it completely unless you want cookie soup.
- 1/2 cup (100g) granulated sugar. The white stuff. Not the fancy raw sugar, unless you’re feeling extra.
- 1/4 cup (50g) packed light brown sugar. This is crucial for that chewy texture. Don’t skip it unless you’re a monster.
- 1 teaspoon vanilla extract. Use the good stuff if you have it. Your cookies deserve it.
- 1 1/2 cups (180g) all-purpose flour. The backbone of our cookie dreams.
- 1/2 teaspoon baking soda. Our leavening MVP, especially since we’re egg-free.
- 1/4 teaspoon salt. Just a pinch, to balance out all that sweetness. Trust me.
- 1-2 tablespoons milk (any kind!) or water. This is our egg substitute for binding. Start with one, add more if the dough is too dry.
- 1 cup chocolate chips. Semisweet, milk chocolate, dark chocolate—your call! Go crazy. More is always more, IMO.
Step-by-Step Instructions
- **Preheat Power-Up:** First things first, get your oven to **375°F (190°C)**. Line a baking sheet with parchment paper. This prevents sticking and makes cleanup a breeze.
- **Cream It Good:** In a large bowl, beat the softened butter, granulated sugar, and brown sugar together until it’s light and fluffy. This usually takes 2-3 minutes with an electric mixer, or a solid arm workout if you’re doing it by hand.
- **Vanilla Vibes:** Stir in the vanilla extract. Give it a good swirl.
- **Dry Mix Magic:** In a separate, medium bowl, whisk together the flour, baking soda, and salt. Make sure it’s all combined so you don’t get weird pockets of salt or baking soda in your cookies. Gross.
- **Combine & Conquer:** Gradually add the dry ingredients to the wet ingredients, mixing until just combined. Don’t overmix; we’re making cookies, not brick-like hockey pucks.
- **Liquid Love:** Now, add 1 tablespoon of milk or water. Mix until the dough comes together. If it still looks a bit crumbly and doesn’t hold when squeezed, add the second tablespoon. The dough should be soft but not sticky.
- **Chocolate Time!:** Fold in your glorious chocolate chips. Get them evenly distributed so every bite is a chocolatey delight.
- **Scoop & Bake:** Drop rounded tablespoons of dough onto your prepared baking sheet. Leave a couple of inches between them, because these babies like to spread out and get comfy.
- **Golden Goodness:** Bake for **9-11 minutes**, or until the edges are golden brown but the centers still look a little soft. That’s the secret to chewy cookies, FYI.
- **Cool Down:** Let them cool on the baking sheet for about 5 minutes before transferring them to a wire rack to cool completely. Or, you know, eat one (or three) while they’re still warm. Your house, your rules.
Common Mistakes to Avoid
- **Melting the Butter:** Softened is key, melted is a disaster waiting to happen. You’ll end up with flat, greasy cookies. Don’t do it.
- **Overmixing the Dough:** Once the flour is added, mix just until combined. Overmixing develops the gluten, making your cookies tough instead of tender.
- **Skipping Parchment Paper:** Thinking you don’t need to preheat the oven *and* use parchment paper? Rookie mistake. Your cookies will stick, and you’ll cry.
- **Not Chilling the Dough (Optional but Recommended for Thicker Cookies):** While not strictly necessary for this recipe, if you want thicker, chewier cookies, a quick 30-minute chill in the fridge can work wonders. If you’re impatient (like me), just skip it and enjoy them thinner!
- **Baking Too Long:** Watch your oven! Cookies go from perfectly golden to burnt bits in a blink. Err on the side of slightly underbaked for maximum chewiness.
Alternatives & Substitutions
- **Butter:** Can’t do dairy? Use a good quality dairy-free butter substitute. Just make sure it’s the stick kind, not the tub spread, for best results.
- **Brown Sugar:** If you’re in a pinch and only have white sugar, you can still make these. Just know they might be a tad less chewy and a bit crispier. For a quick brown sugar hack, mix 1 cup of granulated sugar with 1 tablespoon of molasses. Mind. Blown.
- **Chocolate Chips:** Feeling adventurous? Swap out some or all of the chocolate chips for white chocolate, toffee bits, chopped nuts (pecans, walnuts!), or even dried cranberries for a festive twist. Live a little!
- **Milk/Water:** If you’re out of milk, water works just fine for binding. You won’t notice a difference in taste.
FAQ (Frequently Asked Questions)
- **”Can I use margarine instead of butter?”** Well, technically yes, but why hurt your soul like that? Butter just tastes better. Margarine often has more water, which can affect the texture. If you must, look for one specifically formulated for baking.
- **”My cookies spread too much! What happened?”** Ah, the dreaded pancake cookie! This usually means your butter was too warm, or your oven temperature is off. Make sure your butter is just softened, not melted, and consider chilling the dough for 15-30 minutes before baking next time.
- **”Can I add anything else to this recipe, like sprinkles?”** Um, YES! Sprinkles make everything a party. Go wild! M&M’s, chopped candy bars, whatever makes your heart sing.
- **”How long do these cookies last?”** If you manage not to eat them all in one sitting, they’ll stay fresh in an airtight container at room temperature for about 3-4 days. But let’s be real, they won’t last that long.
- **”Is this recipe suitable for people with egg allergies?”** Absolutely! That’s the whole point. Just double-check all your other ingredients (like chocolate chips) to ensure they’re egg-free if allergies are a serious concern.
- **”Can I freeze the cookie dough?”** You betcha! Scoop the dough onto a parchment-lined tray and freeze until firm, then transfer to a freezer-safe bag. Bake from frozen, adding a couple of minutes to the baking time. Future you will thank past you.
Final Thoughts
So there you have it, champ! You just conquered the “no egg” dilemma and emerged victorious with a plateful of glorious, chewy, chocolate chip cookies. Give yourself a pat on the back, or better yet, grab another cookie. You’ve earned it. Now go impress someone—or yourself—with your new culinary skills. Who needs eggs when you have this kind of cookie magic?


