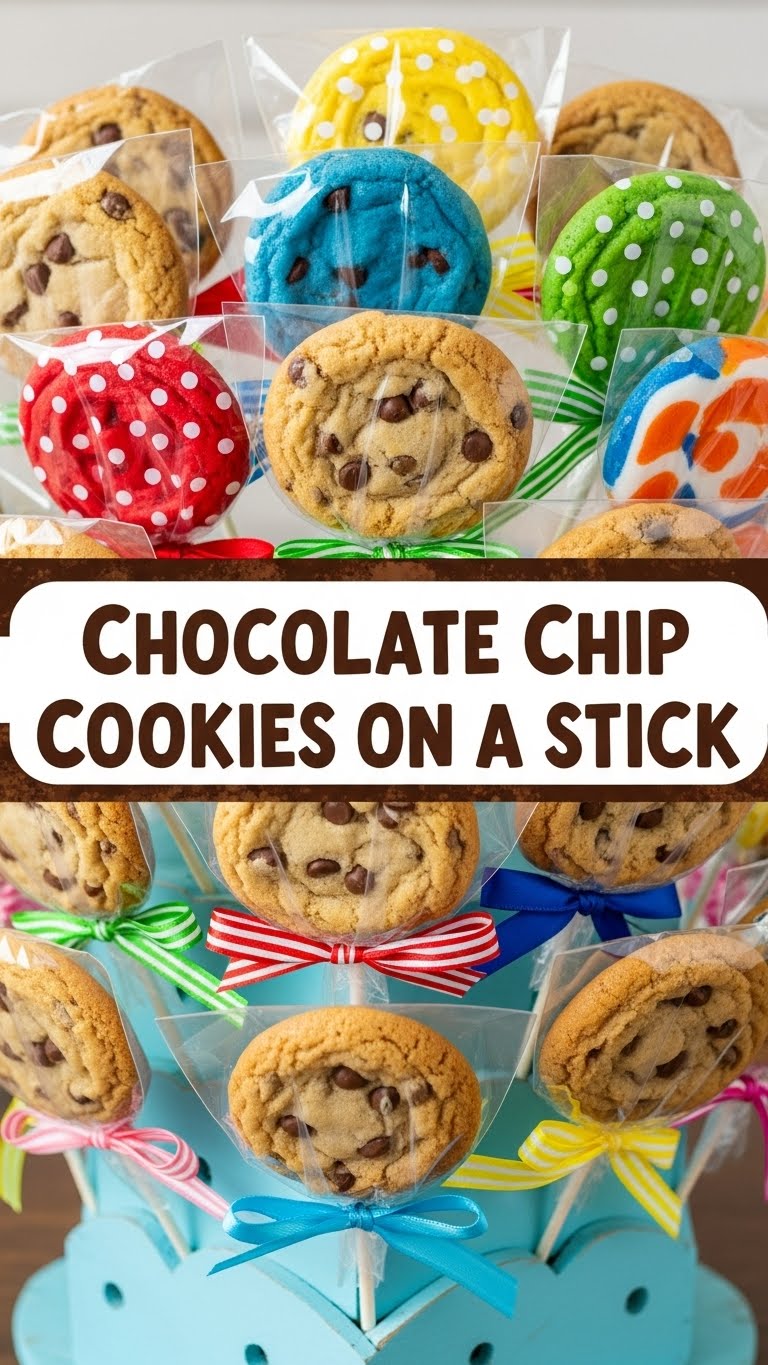
So you’re craving something tasty but too lazy to spend forever in the kitchen, huh? Same. But what if I told you about a magical creation that combines the sheer joy of a chocolate chip cookie with the pure convenience of… well, a stick? Yep, we’re talking **Chocolate Chip Cookies On A Stick!** Get ready to have your mind (and your snack game) totally blown.
Why This Recipe is Awesome
Okay, let’s be real. This isn’t just a recipe; it’s a lifestyle upgrade. First off, it’s a chocolate chip cookie, which is already a win. But putting it on a stick? Revolutionary! It means **no messy crumbs on your shirt**, no need for a plate (hello, less washing up!), and it’s basically the ultimate party trick. Plus, it’s surprisingly **idiot-proof** – even I, a serial burner of toast, have mastered it. It’s the perfect mix of deliciousness and delightful whimsy. Seriously, who doesn’t love food on a stick?
Ingredients You’ll Need
Gather ’round, my fellow kitchen adventurer! Here’s what you’ll need to whip up these handheld delights. Think classic cookie ingredients, with one very important addition.
- **1/2 cup (1 stick) unsalted butter**, softened. Not melted! We need it soft for optimal creaminess.
- **1/2 cup packed light brown sugar**. This is where that chewy magic happens.
- **1/4 cup granulated sugar**. For a little extra sweetness and crispness.
- **1 large egg**. The glue that holds our dreams together.
- **1 teaspoon vanilla extract**. Don’t skimp on this; it’s the soul of the cookie.
- **1 1/4 cups all-purpose flour**. Measure it right, don’t just scoop!
- **1/2 teaspoon baking soda**. Our little cookie lifter.
- **1/4 teaspoon salt**. Because every sweet needs a pinch of savory.
- **1 cup chocolate chips**. Milk, semi-sweet, dark – your kingdom, your rules!
- **12-15 lollipop sticks or popsicle sticks**. The star of our show, obvs.
Step-by-Step Instructions
- **Preheat Your Oven & Prep Your Sticks:** Get your oven humming at **375°F (190°C)**. While it’s heating, line a baking sheet with parchment paper. Now, here’s the fun part: grab your sticks and set them aside.
- **Cream the Butter & Sugars:** In a large bowl, using an electric mixer, beat the softened butter with the brown sugar and granulated sugar until it’s light and fluffy. This usually takes about 2-3 minutes. **Don’t rush this step!**
- **Add Wet Ingredients:** Beat in the egg and vanilla extract until they’re fully combined. Scrape down the sides of the bowl to make sure everything’s incorporated.
- **Whisk Dry Ingredients:** In a separate, smaller bowl, whisk together the flour, baking soda, and salt. This ensures even distribution.
- **Combine & Fold:** Gradually add the dry ingredient mixture to the wet ingredients, mixing on low speed until *just* combined. Be careful not to overmix! Then, gently fold in the chocolate chips.
- **Get Sticking!** Take about 1-2 tablespoons of dough and mold it around the top 2 inches of a lollipop stick. Make sure the dough is **firmly pressed** onto the stick so it won’t fall off during baking. Space them about 2 inches apart on your prepared baking sheet.
- **Bake ‘Em Up:** Bake for **9-12 minutes**, or until the edges are golden brown and the centers are still slightly soft. Keep an eye on them; ovens vary!
- **Cool Down:** Let them cool on the baking sheet for about 5 minutes before carefully transferring them to a wire rack to cool completely. This helps them firm up and ensures they stay on their sticks!
Common Mistakes to Avoid
Even the coolest bakers make mistakes, but you don’t have to! Learn from my mishaps:
- **Forgetting to chill the dough:** Some recipes swear by it for stick cookies, but with this method, just make sure your butter isn’t too warm. If your dough feels super sticky, a quick 15-minute chill can save you.
- **Not pressing the dough firmly enough onto the stick:** This is crucial! If you just lightly pat it on, you’ll end up with a cookie that pulls a disappearing act from its stick in the oven. **Press it like you mean it!**
- **Overbaking:** Nothing worse than a dry, crumbly cookie. Aim for slightly soft centers; they’ll continue to cook a bit after they come out of the oven.
- **Overcrowding the baking sheet:** Give your cookies some space! They need room to spread and bake evenly.
- **Trying to eat them hot off the stick:** Rookie move. Not only will you burn your tongue (don’t ask me how I know), but they’ll be super fragile and likely break. Patience, young grasshopper.
Alternatives & Substitutions
Feeling creative? Here are some ways to jazz up your stick cookies:
- **Chocolate Swap:** Not feeling classic semi-sweet? Go for white chocolate chips, dark chocolate chunks, or even a mix! Add some M&Ms for a pop of color and extra fun.
- **Nutty Additions:** Fold in 1/2 cup of chopped walnuts or pecans with your chocolate chips for a delightful crunch.
- **Spice It Up:** A pinch of cinnamon or nutmeg can add a cozy warmth.
- **Gluten-Free Fun:** You can totally swap the all-purpose flour for a 1-to-1 gluten-free baking flour blend. Just make sure it contains xanthan gum.
- **Dairy-Free Option:** Use a good quality plant-based butter (the stick kind works best) and dairy-free chocolate chips.
- **Decorate!** Once cooled, dip them in melted chocolate and sprinkles for extra flair.
FAQ (Frequently Asked Questions)
Got questions? I’ve got answers! (Mostly.)
- **Can I make the cookie dough ahead of time?** Absolutely! You can store the dough in an airtight container in the fridge for up to 3 days. Just bring it closer to room temp before shaping, as cold dough can be a bit harder to work with.
- **What kind of sticks should I use? Lollipop or popsicle?** Either works, but **lollipop sticks are usually thinner and easier to push through the dough**. Popsicle sticks give you more to hold onto, so it’s a preference thing.
- **My cookies are falling off the stick! What went wrong?** Ah, the dreaded cookie detachment! This usually happens if the dough wasn’t pressed firmly enough around the stick, or if the dough was too warm/soft. Make sure you really mold that dough on there!
- **Can I freeze these cookies?** You bet! You can freeze the shaped dough (on sticks) on a baking sheet, then transfer them to a freezer bag once solid. Bake from frozen, adding a few extra minutes to the bake time. You can also freeze baked cookies in an airtight container for up to 2 months.
- **Why are my cookies flat?** This could be a few things: your butter might have been too warm (melted, not just softened), your baking soda might be old, or you might have overmixed the dough.
- **Do I *have* to chill the dough?** For this specific recipe, it’s not strictly necessary if your butter is at the correct softened (not greasy!) temperature. However, if your kitchen is super warm or your dough feels overly sticky, a quick 15-minute chill can help them hold their shape better.
Final Thoughts
And there you have it, my friend! The ultimate hack for turning a classic treat into a party-ready, mess-free sensation. These Chocolate Chip Cookies On A Stick are guaranteed to make you feel like a culinary genius, even if all you really did was follow some simple steps and add a stick. Now go impress someone—or yourself—with your new skills. You’ve earned it! **Happy baking (and sticking)!**


