So, You Want Cookies But Can’t Be Bothered? Same, Friend.
Ever get that intense, soul-deep craving for a warm, gooey chocolate chip cookie, but the thought of a complicated recipe makes you want to just order takeout instead? Yeah, me too. But guess what? We’re about to dive into the magical world of chocolate chip cookies that are so easy, they practically bake themselves. And the best part? We’re going to jazz them up a few different ways, because who wants boring cookies?
Why This Recipe is Awesome (Besides the Obvious)
Okay, first things first: these aren’t just *any* chocolate chip cookies. This recipe is your new best friend. It’s **idiot-proof**, I swear. Even if your culinary skills usually extend to microwaving popcorn, you can nail these. Plus, it’s super versatile. Think of it as your little black dress of dessert recipes – you can dress it up, dress it down, and it always looks (and tastes) amazing. We’re talking minimal effort, maximum deliciousness. Your taste buds will thank you, and your future self will high-five you for not ordering a dozen from that expensive bakery again. Just sayin’.
Ingredients You’ll Need (The Good Stuff)
Gather ’round, baking buddies! Here’s what you need to whip up some serious cookie magic. No fancy stuff, just your regular pantry heroes:
- 1 cup (2 sticks) unsalted butter, softened: Don’t even *think* about melting it. Softened means “left on the counter for a bit,” not “nuked until it’s liquid.” This is key, people!
- ¾ cup granulated sugar: The white stuff. For that classic sweetness.
- ¾ cup packed light brown sugar: This is where the magic happens, giving your cookies that chewy, caramel-y goodness. Don’t skimp!
- 2 large eggs: Room temperature, if you’re feeling fancy (and want even better results).
- 1 teaspoon vanilla extract: Go for the good stuff. It makes a difference, IMO.
- 2 ¼ cups all-purpose flour: No need to sift unless you’re feeling extra.
- 1 teaspoon baking soda: The lift-off agent!
- ½ teaspoon salt: Balances all that sweetness. Don’t skip it!
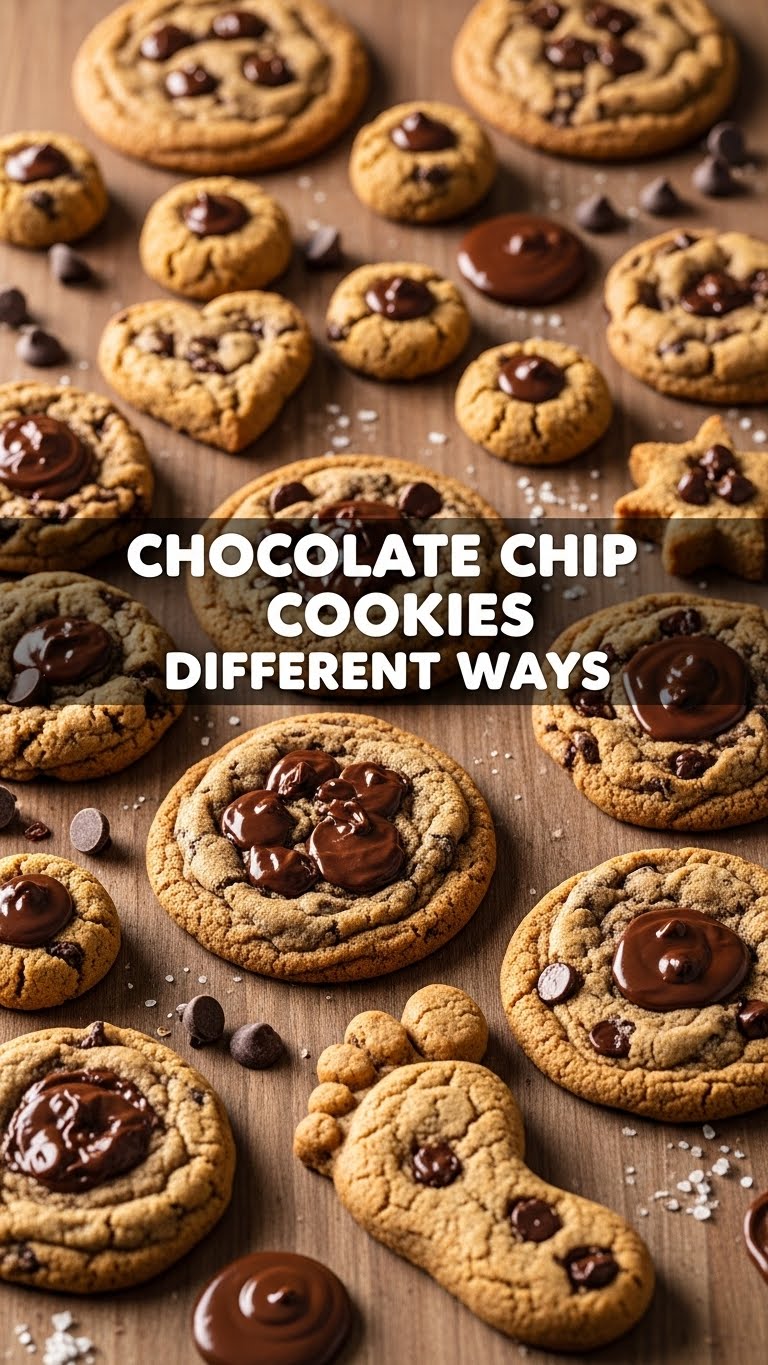
- 2 cups chocolate chips: Your choice! Semisweet, milk, dark, a mix – go wild! This is where the “different ways” start.
Step-by-Step Instructions (Easy Peasy Lemon Squeezy)
- **Preheat Power-Up:** First, get your oven ready. Preheat it to **375°F (190°C)**. Line a couple of baking sheets with parchment paper because nobody likes sticking.
- **Cream Dream:** In a large bowl, or your stand mixer (if you’re feeling fancy), cream together the softened butter, granulated sugar, and brown sugar. Beat them until they’re light, fluffy, and look like a delicious cloud. This usually takes about 2-3 minutes.
- **Egg-cellent Addition:** Crack in one egg and mix until just combined. Then add the second egg and the vanilla extract. Scrape down the sides of the bowl to make sure everything gets mixed in evenly.
- **Dry Mix Magic:** In a separate, smaller bowl, whisk together the flour, baking soda, and salt. Make sure it’s well combined; you don’t want a salty patch in one cookie and a bland one in another.
- **Combine & Conquer:** Gradually add the dry ingredients to the wet ingredients, mixing on low speed until *just* combined. **Do not overmix!** Overmixing develops gluten, which leads to tough cookies, and nobody wants a tough cookie.
- **Chocolate Time!:** Stir in your chocolate chips. This is where you can start customizing. We’ll talk about different mix-ins soon, but for now, just get those chocolatey bits evenly distributed.
- **Scoop & Bake:** Drop rounded tablespoons of dough onto your prepared baking sheets. Leave some space between them – these beauties will spread!
- **Golden Goodness:** Bake for 9-11 minutes, or until the edges are golden brown but the centers still look a little soft. **This is crucial for chewy cookies!**
- **Cool Down:** Let them cool on the baking sheet for 5 minutes before transferring them to a wire rack to cool completely. Or, you know, eat one (or three) while they’re still warm. I won’t tell.
Common Mistakes to Avoid (Learn from My Fails)
Listen up, buttercup. Save yourself some grief (and some cookies) by sidestepping these common rookie errors:
- Not softening your butter: Trying to cream cold butter is like trying to herd cats – messy and ineffective. It needs to be soft, but not melted!
- Overmixing the dough: I said it once, I’ll say it again: **DO NOT OVERMIX!** Mix until just combined, then back away from the mixer.
- Skipping the parchment paper: Unless you love scraping cookies off a pan, use parchment. Seriously.
- Baking too long: Resist the urge to wait until they look super golden all over. They’ll continue to cook slightly on the hot pan. Take them out when the edges are set and the centers look slightly underdone for that perfect chew.
- Ignoring the salt: It’s not just for savory dishes, folks. A pinch of salt makes all the difference in balancing the sweetness and enhancing the chocolate flavor.
Alternatives & Substitutions (Let’s Get Creative!)
Here’s where the “different ways” really come into play. This base recipe is your canvas, so let’s get artsy!
- Different Chocolates: Instead of just semisweet, try a mix of **dark chocolate chunks and white chocolate chips** (my personal fave!). Or go all milk chocolate for a sweeter profile. Feeling daring? Add some chopped bittersweet chocolate.
- Nutty Nibblers: Fold in **½ cup chopped walnuts or pecans** with your chocolate chips. Adds a lovely crunch and depth of flavor. Toast them lightly beforehand for an extra oomph!
- Spice it Up: A **½ teaspoon of cinnamon or a pinch of nutmeg** can add a wonderful warmth, especially if you’re using milk chocolate.
- Oatmeal Boost: Replace ¼ cup of flour with **¼ cup of old-fashioned oats** for a slightly chewier, heartier cookie. Don’t go overboard, or you’ll have an oatmeal cookie, which is a different (though also delicious) beast entirely.
- Salted Caramel Swirl: After scooping the dough, make a small indent and add a **small dollop of soft caramel** (or a Rolo candy!). Sprinkle with a touch of flaky sea salt before baking. Game changer, trust me.
- Espresso Kick: Add **1 teaspoon of instant espresso powder** to your dry ingredients. It won’t make your cookies taste like coffee, but it will seriously deepen the chocolate flavor. It’s like magic!
FAQ (Because You Might Have Questions, Smarty Pants)
- Can I use margarine instead of butter? Well, technically yes, you *can*. But why hurt your soul like that? Butter provides superior flavor and texture. For the best cookies, **stick with butter**.
- Do I really need to chill the dough? For this recipe, no! It’s designed to be bake-ready. However, if you want thicker, chewier cookies with a more developed flavor, **chilling the dough for 30 minutes to an hour** never hurts. It’s totally optional for this recipe, though.
- My cookies spread too much! What happened? Usually, this means your butter was too soft (or melted!), or you didn’t measure your flour correctly (too little). Also, ensure your baking soda is fresh!
- Can I freeze the dough? Absolutely! Scoop the dough onto a parchment-lined tray, freeze until solid, then transfer to a freezer-safe bag or container. Bake from frozen, adding a couple of minutes to the baking time. Fresh cookies anytime? Yes, please!
- How long do these cookies last? If you manage not to devour them all in one sitting (good luck!), they’ll stay fresh in an airtight container at room temperature for up to 3-4 days. But let’s be real, they’re usually gone by day 2, if that!
- What if I don’t have brown sugar? You can substitute with all granulated sugar, but your cookies won’t be as chewy or have that lovely caramel note. You *can* make your own brown sugar by mixing granulated sugar with a tiny bit of molasses, FYI.
Final Thoughts (Go Forth and Bake!)
Alright, superstar baker, you’re officially equipped to make some seriously amazing chocolate chip cookies. Whether you stick to the classic or get wild with your mix-ins, you’re in for a treat. This recipe is all about having fun in the kitchen and enjoying the delicious results. So go on, crank up some tunes, get your apron on (or don’t, I’m not your mom), and whip up a batch. You deserve it! Now go impress someone—or just yourself—with your new culinary skills. You’ve earned it!


