So, you’ve scrolled past one too many aesthetically pleasing food blogs and thought, “Ugh, I wish I could make something that looks *and* tastes amazing without, you know, selling a kidney for fancy ingredients or spending my entire weekend doing it?” Yeah, me too. But guess what? We’re about to dive into the glorious world of **Chocolate Chip Cookies, but Make It Fashion** (aka, decorated!). No stress, just deliciousness and a sprinkle of personal flair. Let’s get baking, friend!
Why This Recipe is Awesome
Because it’s the Beyoncé of cookie recipes: universally loved, always a crowd-pleaser, and surprisingly easy to make look fabulous. Seriously, this isn’t some fussy, pretentious cookie. It’s the classic chocolate chip cookie you adore—chewy in the middle, slightly crisp at the edges, bursting with chocolatey goodness—but with an optional glow-up. It’s **idiot-proof**, I swear. Even if your culinary adventures usually involve burning toast, you’ll nail these. Plus, decorating them is like adult finger painting, but you get to eat your art. Win-win, IMO!
Ingredients You’ll Need
Get ready to raid your pantry! Here’s what we’re rounding up for these beauties:
- Unsalted Butter (1 cup, softened): The good stuff. Make sure it’s soft, not melted, unless you’re aiming for cookie pancakes.
- Granulated Sugar (3/4 cup): The sweet talker.
- Packed Light Brown Sugar (3/4 cup): The secret to that glorious chewiness. Don’t skimp!
- Large Eggs (2): Your binding agents. Room temp is ideal, but don’t sweat it too much if you forget.
- Vanilla Extract (2 teaspoons): Liquid gold. Use the good stuff if you have it; it makes a difference.
- All-Purpose Flour (2 1/4 cups): The structural integrity of our cookies.
- Baking Soda (1 teaspoon): The little lift agent.
- Salt (1 teaspoon): Balances all that sweetness and makes everything pop. Essential!
- Chocolate Chips (2 cups, semi-sweet or your fave): The star of the show! Feel free to mix types.
- For Decorating (Optional, but fun!):
- Powdered Sugar (1 cup): For a quick drizzle icing.
- Milk (1-2 tablespoons): To mix with the powdered sugar.
- Sprinkles: Rainbow, chocolate, holiday-themed—whatever makes your heart sing!
- Melted Chocolate (milk, dark, or white): Another drizzle option.
Step-by-Step Instructions
- Preheat & Prep: Preheat your oven to 375°F (190°C). Line a couple of baking sheets with parchment paper or silicone mats. Trust me, it makes cleanup a breeze.
- Cream It Up: In a large bowl, cream together the softened butter, granulated sugar, and brown sugar until light and fluffy. This usually takes about 2-3 minutes with an electric mixer. **Don’t rush this step!** It incorporates air, which helps with texture.
- Egg-cellent Addition: Beat in the eggs one at a time, mixing well after each addition. Stir in the vanilla extract.
- Dry Mix Magic: In a separate bowl, whisk together the flour, baking soda, and salt. Gradually add the dry ingredients to the wet ingredients, mixing on low speed just until combined. **Be careful not to overmix!** Overmixing develops gluten, making tough cookies.
- Chocolate Time: Fold in the chocolate chips. A spatula works great here.
- Scoop ‘n’ Drop: Drop rounded tablespoons of dough onto your prepared baking sheets, leaving about 2 inches between them. These babies spread.
- Bake ‘Em: Bake for 9-11 minutes, or until the edges are golden brown and the centers are still slightly soft. They’ll firm up as they cool.
- Cool Down: Let the cookies cool on the baking sheet for 5 minutes before transferring them to a wire rack to cool completely. Patience, young grasshopper.
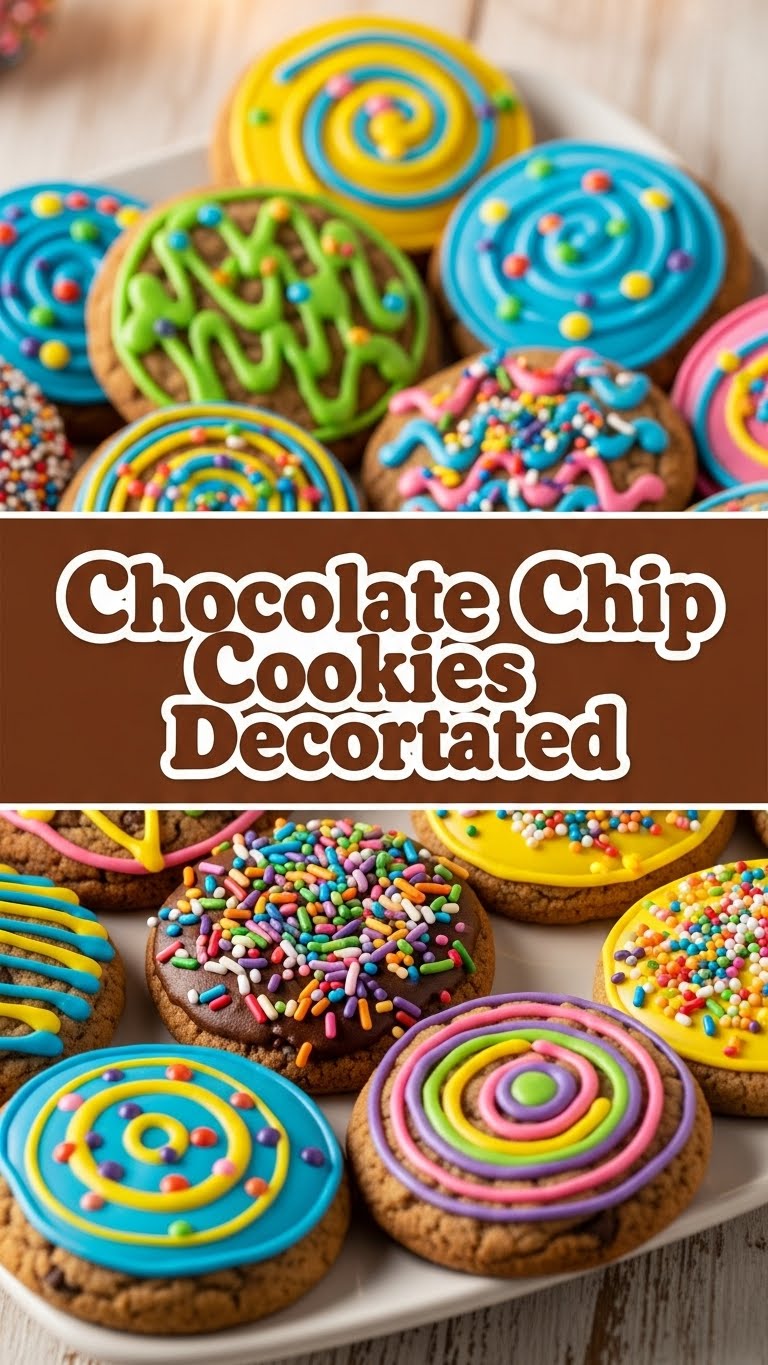
- Time to Decorate! (Optional, but highly encouraged): Once your cookies are completely cool, it’s play time!
- Simple Drizzle Icing: Whisk powdered sugar with 1 tablespoon of milk until smooth. If it’s too thick, add more milk a tiny bit at a time. If it’s too thin, add more powdered sugar. Drizzle over cookies using a spoon or a small zip-top bag with the corner snipped off.
- Melted Chocolate Drizzle: Melt your favorite chocolate in a microwave-safe bowl (30-second intervals, stirring) or over a double boiler. Drizzle away!
- Sprinkle Fiesta: Add sprinkles right after you drizzle with icing or melted chocolate, before it sets. Go wild!
Common Mistakes to Avoid
- Not Preheating Your Oven: Rookie mistake! A hot oven ensures cookies start baking immediately and spread correctly.
- Overmixing the Dough: Seriously, stop mixing once the flour is just incorporated. Tough cookies are no fun.
- Baking on Warm Pans: Reusing a hot baking sheet without letting it cool first means your cookies will melt and spread too much before they even get into the oven. Cool your pans or use multiple.
- Overbaking: You want soft, chewy centers, not crunchy hockey pucks. Pull them out when the edges are set and the centers look slightly underdone. They keep cooking on the hot pan.
- Decorating Hot Cookies: Unless you want a melty, streaky mess, wait until those cookies are COMPLETELY cool. Nobody wants soup cookies.
- Eyeballing Ingredients: Baking is a science, people! Precision matters, especially with flour. Use a kitchen scale if you’re fancy, or at least level off your cups properly.
Alternatives & Substitutions
Hey, life happens, sometimes you’re out of something, or you just wanna jazz things up. Here are some ideas:
- Chocolate Types: Don’t have semi-sweet? Use milk chocolate, dark chocolate, white chocolate chips, or even chopped chocolate bars. A mix is always fun! Feeling rebellious? Throw in some M&Ms or chopped nuts.
- Butter Substitute: Ghee or a good quality plant-based butter (like Miyoko’s Kitchen) can work, but for the best flavor and texture, stick to real butter if you can. Margarine? Well, technically yes, but why hurt your soul like that?
- Flour Power: You *can* substitute up to half of the all-purpose flour with whole wheat pastry flour for a slightly healthier, nuttier vibe. Gluten-free all-purpose flour blends usually work well too, but results might vary slightly.
- No Brown Sugar? You can make your own by mixing 1 cup of granulated sugar with 1 tablespoon of molasses. Mind blown, right?
- Decorating Fun: If drizzling isn’t your jam, how about a simple dusting of powdered sugar? Or make a quick batch of buttercream frosting and pipe little swirls on top. Edible glitter? Go for it!
FAQ (Frequently Asked Questions)
- “Do I *really* need to chill the dough?” For this recipe, nope! We’re going for instant gratification. If you want thicker, chewier cookies, a 30-minute chill won’t hurt, but it’s not a deal-breaker here.
- “My cookies spread too much! What happened?” Could be your butter was too soft (or melted), your oven wasn’t preheated enough, or your baking soda isn’t fresh. Also, make sure your baking sheets aren’t warm.
- “Can I make these ahead of time?” Absolutely! You can scoop the dough onto a parchment-lined tray and freeze the balls. Once frozen, transfer to an airtight bag. Bake from frozen, adding a couple of extra minutes to the bake time.
- “How do I store these decorated masterpieces?” Store them in an airtight container at room temperature for up to 3-5 days. If your icing is super delicate, a single layer might be best, or separate layers with parchment paper.
- “My sprinkles are melting/bleeding into the icing!” This usually happens if your icing isn’t fully set before you add sprinkles, or if there’s too much moisture. Make sure your icing is firm before adding more decorations.
- “Can I use less sugar?” You can try, but reducing sugar too much can affect the texture and spread of the cookie. It’s best to stick to the recipe for optimal results. These are treats, after all!
Final Thoughts
There you have it! Delicious, easy-to-make, and utterly adorable chocolate chip cookies that you can proudly present (or, let’s be real, devour yourself). Whether you go full sprinkle explosion or just a simple drizzle, you’ve just whipped up a batch of happiness. Now go impress someone—or yourself—with your new culinary skills. You’ve earned it!


