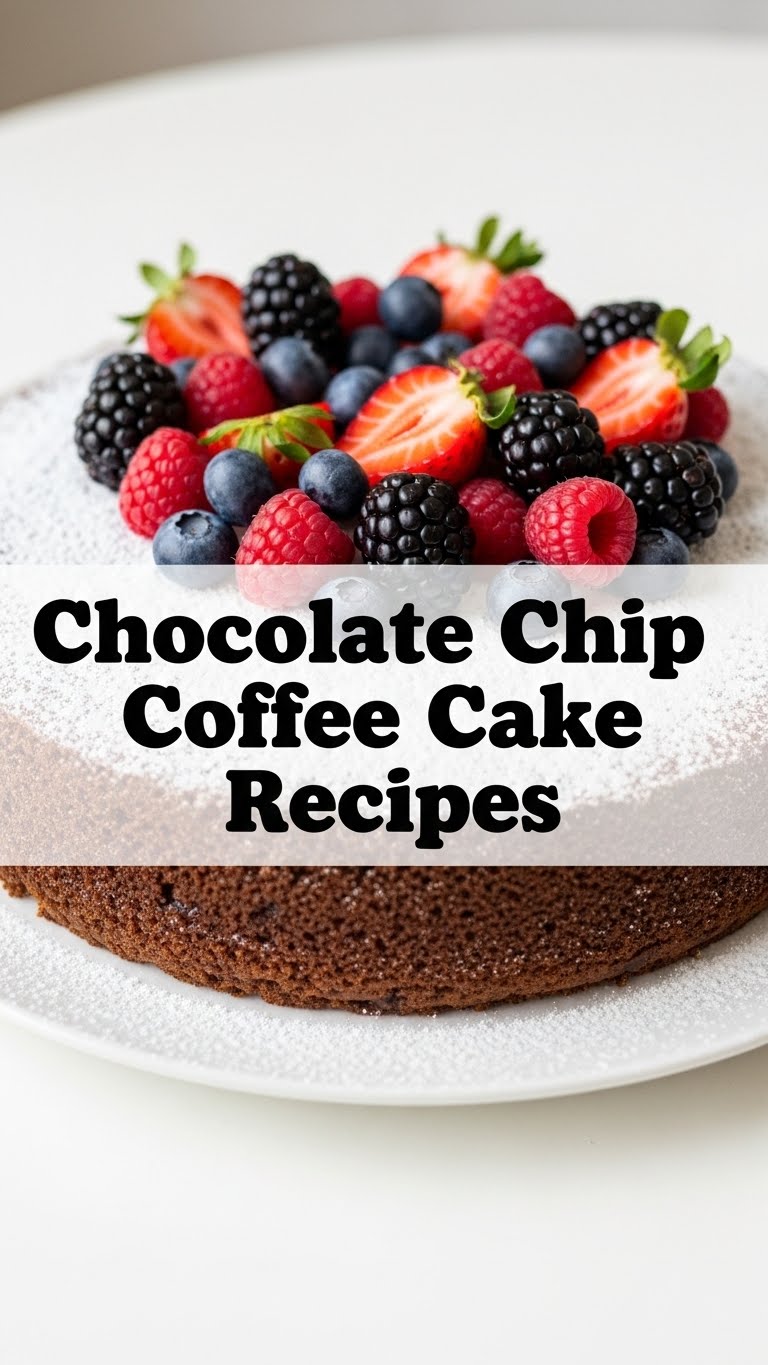
So you’re staring at your screen, craving something warm, cozy, and utterly delicious, but the thought of a complicated recipe makes you want to crawl back into bed? Been there, my friend, been there. You want tasty, but you also want *easy*. You want fancy-ish, but with minimal fuss. Good news: I’ve got your back with a chocolate chip coffee cake recipe that’s basically a warm hug for your soul, all wrapped up in a crumbly, chocolatey package.
Why This Recipe is Awesome
Listen, this isn’t just any old coffee cake. This is a *chocolate chip* coffee cake. Meaning, it’s got all the comforting, cinnamony goodness of your favorite coffee cake, plus the undeniable joy of melty chocolate chips in every single bite. It’s the kind of treat that screams “I tried!” but secretly took minimal effort. It’s so straightforward, even if your culinary skills usually involve calling for takeout, you’ll nail this. Seriously, it’s pretty idiot-proof. Even I didn’t mess it up, and that’s saying something.
Plus, it’s versatile. Breakfast? Dessert? A 3 PM pick-me-up because, why not? This cake fits every occasion. It’s perfect for impressing guests (or just yourself, IMO, which is equally important).
Ingredients You’ll Need
Gather ’round, my budding baker! Here’s what you’ll need for this masterpiece. Nothing too wild, I promise.
For the Crumb Topping (The Best Part, Let’s Be Honest)
- 1/2 cup (1 stick) unsalted butter, melted. Yes, melted. Less fuss.
- 1/2 cup granulated sugar. Sweet stuff.
- 1/4 cup packed light brown sugar. For that extra caramel-y depth.
- 1 teaspoon ground cinnamon. Don’t skimp on the spice!
- 1 1/2 cups all-purpose flour. The binding agent for all that crumbly goodness.
- 1 cup chocolate chips (semi-sweet or milk, your call). The star of the show.
For the Cake
- 1 1/2 cups all-purpose flour. Again, because we need a cake base.
- 1 1/2 teaspoons baking powder. For lift! No sad, flat cakes here.
- 1/4 teaspoon salt. Balances everything out.
- 1/2 cup (1 stick) unsalted butter, softened. Room temp is key here, don’t rush it.
- 1 cup granulated sugar. Sweeten it up!
- 1 large egg. Binds it all together.
- 1 teaspoon vanilla extract. Pure magic.
- 1/2 cup milk (any kind you have, whole milk is great).
Step-by-Step Instructions
Alright, apron on (or not, we don’t judge). Let’s get baking!
- Get Crumb-y First: In a medium bowl, combine your melted butter, both sugars, and cinnamon. Stir it up. Add the 1 1/2 cups of flour and mix until you have lovely, coarse crumbs. Now, gently fold in the chocolate chips. Set this glorious crumb mixture aside. Resist the urge to eat it all. Seriously.
- Preheat & Prep: Preheat your oven to 350°F (175°C). Lightly grease and flour an 8×8 or 9×9 inch baking pan, or line with parchment paper for easy removal. Trust me on the parchment.
- Dry Mix: In a small bowl, whisk together the cake flour, baking powder, and salt. Set it aside.
- Wet Magic: In a large bowl (or your stand mixer), cream the softened butter and 1 cup of granulated sugar together until they’re light and fluffy. This usually takes 2-3 minutes.
- Egg & Vanilla Time: Beat in the egg until just combined, then stir in the vanilla extract. Scrape down the sides of the bowl to make sure everything gets acquainted.
- Combine ‘Em: Add half of your dry flour mixture to the wet ingredients and mix on low speed until just combined. Pour in the milk and mix again. Finally, add the remaining dry ingredients and mix until just barely combined. Don’t overmix! Lumps are okay. Overmixing leads to tough cake, and nobody wants that.
- Layer Up: Pour about half of your cake batter into the prepared pan and spread it evenly. Sprinkle about half of your crumb topping mixture over the batter. Now, carefully spoon the remaining cake batter over the crumb layer, gently spreading it to cover as much as possible. Top with the rest of that beautiful crumb mixture.
- Bake It Off: Pop your pan into the preheated oven and bake for 35-45 minutes. You’ll know it’s done when a wooden skewer or toothpick inserted into the center comes out clean (or with just a few moist crumbs).
- Cool & Devour: Let the cake cool in the pan on a wire rack for at least 15-20 minutes before slicing. This helps it set. Then, cut yourself a generous piece and enjoy your masterpiece!
Common Mistakes to Avoid
We’ve all been there. Here’s how to sidestep those pesky baking blunders:
- Overmixing the Batter: This is probably the number one culprit for dry, tough cake. Mix until just combined, no more. Your batter isn’t a smoothie, so step away from the high-speed setting!
- Forgetting to Preheat the Oven: Rookie mistake! A cold oven means your cake won’t rise properly and will bake unevenly. Patience is a virtue, especially when it comes to preheating.
- Eating All the Crumb Topping: I know, it’s tempting. But save some for the actual cake! Self-control, people!
- Not Greasing or Lining the Pan: Ever had a cake stuck to the pan? It’s soul-crushing. Take the extra minute to properly prep your pan.
- Opening the Oven Door Constantly: Every time you peek, you let out heat, which messes with the baking process. Trust the timer, trust the process.
Alternatives & Substitutions
Feeling creative? Or maybe you’re missing an ingredient? No stress, here are some ideas:
- Butter: For a dairy-free version, you can try using a plant-based butter substitute or coconut oil. The texture might be slightly different, but it’ll still be delicious!
- Milk: Almond milk, oat milk, or soy milk work perfectly fine if you’re avoiding dairy.
- Chocolate Chips: Mix it up! Try white chocolate chips, dark chocolate chunks, or even a mix of different chocolates. Nuts (like pecans or walnuts) are also a fantastic addition to the crumb topping or batter.
- Spices: If cinnamon isn’t your jam, try a pinch of nutmeg or cardamom in the crumb topping for a different flavor profile.
- Add Coffee: Want a more pronounced “coffee” flavor? Add a teaspoon of instant espresso powder to the cake batter with the dry ingredients. It deepens the chocolate flavor too!
FAQ (Frequently Asked Questions)
Got questions? I’ve got answers, mostly:
- Can I make this ahead of time? Absolutely! This cake actually tastes even better the next day. Store it in an airtight container at room temperature for up to 3 days.
- Can I freeze this coffee cake? You bet! Wrap individual slices or the whole cooled cake tightly in plastic wrap, then foil. Freeze for up to 2-3 months. Thaw at room temperature.
- What if I don’t have buttermilk? No worries! You can make your own: add 1 tablespoon of white vinegar or lemon juice to a measuring cup, then fill the rest with regular milk to equal 1/2 cup. Let it sit for 5 minutes before using.
- My crumb topping seemed to disappear into the cake! What happened? This can happen if your cake batter is too thin or if the crumb topping pieces are too small. Make sure your butter for the crumb topping is just melted, and your crumbs are nice and distinct. Also, gently layer!
- Can I use margarine instead of butter? Well, technically yes, but why hurt your soul like that? Butter just tastes better, period. But if that’s all you’ve got, go for it.
- Why is my cake dry? Usually, this means it’s overbaked. Keep a close eye on it during the last 10-15 minutes of baking and test for doneness promptly. Your oven might also run hotter than mine, FYI.
- Can I add more chocolate chips? Is that even a question? The limit does not exist! Add as many as your heart desires.
Final Thoughts
There you have it, folks! Your new go-to recipe for a comforting, chocolatey, crumbly coffee cake. It’s simple, it’s delicious, and it’s guaranteed to make your kitchen smell absolutely divine. Whether you’re making it for a lazy Sunday brunch, an afternoon treat, or just because you deserve something nice, this cake delivers.
Now go forth and conquer your cravings! You’ve basically just graduated to master baker status in my book. Go impress someone—or yourself—with your new culinary skills. You’ve earned it!

