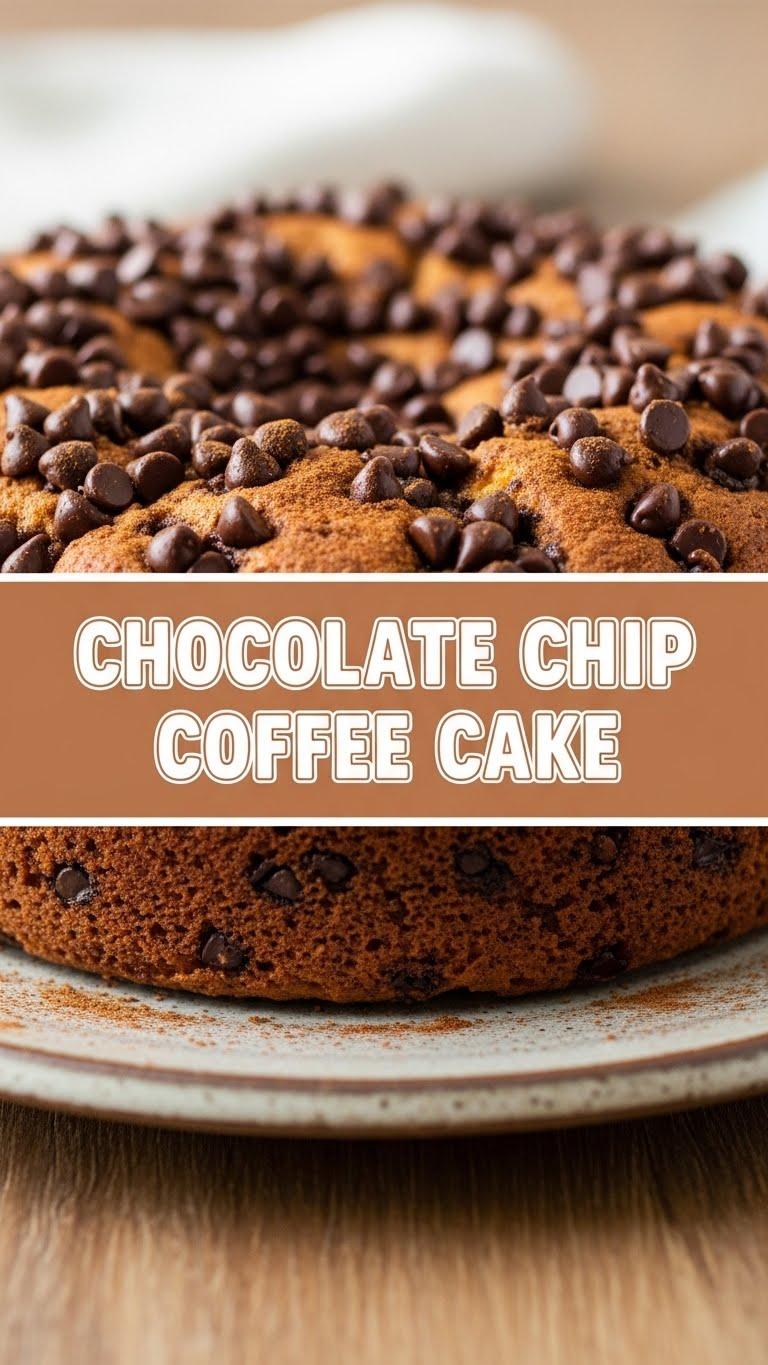
Ever woken up with that specific, gnawing craving for something sweet, comforting, and just a *little* bit fancy, but without the commitment of a full-on baking marathon? Yeah, me too. And let’s be real, sometimes a plain old chocolate chip cookie just doesn’t cut it. You need *more*. You need… Chocolate Chip Coffee Cake, my friend.
Why This Recipe is Awesome
Okay, so why this recipe, specifically? Because it’s the culinary equivalent of a hug in a mug, but for your entire kitchen. It’s stupid simple to make, even if your baking skills usually peak at toast. Plus, it brings together two of life’s greatest joys: chocolate and coffee cake (which, spoiler alert, doesn’t actually have coffee *in* it, just goes *with* coffee. Mind. Blown.). It’s also incredibly versatile, and you’ll look like a baking guru with minimal effort. Win-win-win!
Ingredients You’ll Need
- For the Cake Batter:
- All-purpose flour: The backbone of all things cakey. Don’t skip it!
- Granulated sugar: For that sweet, sweet goodness.
- Baking powder & baking soda: Our trusty leavening agents, making sure your cake isn’t a brick.
- Salt: Don’t underestimate a pinch of salt to balance the sweetness.
- Unsalted butter: Melted, because who has time to soften? (If you only have salted, just reduce the added salt a smidge.)
- Large egg: Binder extraordinaire.
- Milk: Whole milk for richness, but whatever you have will probably work in a pinch.
- Vanilla extract: Liquid gold for flavor.
- Semi-sweet chocolate chips: The star of the show. Or milk, or dark, you do you.
- For the Streusel Topping (aka the best part):
- All-purpose flour: Again, for structure.
- Brown sugar: Adds a lovely caramelly depth.
- Granulated sugar: Sweetness and crunch.
- Cinnamon: Because coffee cake without cinnamon is just… cake.
- Unsalted butter: Melted, for binding that streusel goodness.
Step-by-Step Instructions
- Preheat & Prep: First things first, get your oven ready! Preheat it to 350°F (175°C). Grab an 8×8 or 9×9 inch baking pan and give it a good spray with non-stick spray, or butter and flour it. No sticking allowed!
- Streusel Time: In a medium bowl, whisk together the flour, brown sugar, granulated sugar, and cinnamon for the topping. Pour in the melted butter and mix with a fork until crumbly. Set aside, trying not to eat it all yet.
- Dry Ingredients: In a large bowl, whisk together the flour, granulated sugar, baking powder, baking soda, and salt for the cake batter. Make sure there are no lumpy bits.
- Wet Ingredients: In another bowl, whisk the melted butter, egg, milk, and vanilla extract until well combined. This is where the magic happens!
- Combine & Fold: Pour the wet ingredients into the dry ingredients. Mix with a spatula or spoon until *just* combined. Don’t overmix! A few lumps are totally fine; overmixing makes a tough cake. Gently fold in most of the chocolate chips, saving a few for the very top.
- Assemble the Layers: Pour half of the cake batter into your prepared pan and spread it evenly. Sprinkle about half of your glorious streusel topping over this layer. Now, spoon the remaining cake batter on top, spreading it gently (it’s okay if it’s not perfectly smooth). Finish by sprinkling the rest of the streusel and the reserved chocolate chips on top.
- Bake It Up: Pop that beauty into your preheated oven. Bake for 30-35 minutes, or until a wooden skewer inserted into the center comes out clean. The top should be golden brown and smell absolutely heavenly.
- Cool & Devour: Let it cool in the pan on a wire rack for at least 15-20 minutes. Trying to cut it too soon will result in crumbly chaos. Then, slice it up and enjoy your masterpiece!
Common Mistakes to Avoid
- Overmixing the batter: Seriously, don’t. A tough cake is a sad cake. Mix until *just* combined, then stop. Walk away from the spoon!
- Not preheating the oven: Rookie move! An oven that isn’t up to temperature won’t bake evenly and can mess with your rise. Plan ahead, friend.
- Cutting it too soon: I get it, the smell is intoxicating. But patience, young padawan! Let it cool a bit to set properly, otherwise, your streusel might decide to abandon ship.
- Forgetting to grease the pan: Unless you enjoy chiseling cake out of a pan, give it a good spray or butter-and-flour treatment. Your future self will thank you.
Alternatives & Substitutions
- Chocolate Chips: Not a semi-sweet fan? Use milk chocolate, dark chocolate, white chocolate, or even a mix! You could also swap them for chopped nuts (pecans or walnuts are divine) or dried cranberries for a different vibe.
- Milk: Any milk will do the trick – almond, soy, oat. Whole milk just gives a richer texture, IMO.
- Butter: Coconut oil (melted) can work as a dairy-free alternative for the cake, but butter really shines in the streusel. Margarine? Well, technically yes, but why hurt your soul like that?
- Add-ins: Feeling spicy? Add a pinch of nutmeg to the streusel. Zest from an orange or lemon could also brighten up the cake batter.
FAQ (Frequently Asked Questions)
- “Can I make this ahead of time?” Absolutely! It’s actually fantastic the next day. Just store it covered at room temperature. A quick zap in the microwave can warm it up beautifully.
- “What if I don’t have an 8×8 pan?” A 9×9 inch pan will work, but your cake might be a little thinner and bake a few minutes faster. Just keep an eye on it! A round 9-inch cake pan could also work.
- “My streusel isn’t crumbly enough, what gives?” Too much melted butter, perhaps? Add a tiny bit more flour until it resembles wet sand. Or, if it’s too dry, a tiny drip more butter. It’s an art, not a science!
- “Can I freeze this coffee cake?” Yep! Once completely cooled, wrap individual slices or the whole cake tightly in plastic wrap, then foil. It’ll keep for up to 3 months. Thaw at room temp.
- “Is coffee cake supposed to have coffee in it?” Hilarious! No, not typically. It’s meant to be eaten *with* coffee. Think of it as a coffee’s best buddy. Though, if you *really* wanted, you could add a teaspoon of instant espresso powder to the batter for a subtle coffee kick.
Final Thoughts
See? That wasn’t so scary, was it? You just whipped up a masterpiece that’s going to make your kitchen smell like a dream and your taste buds sing. Whether you’re sharing it with friends, bringing it to a brunch, or (my personal favorite) devouring it solo with a big mug of actual coffee, you totally crushed it. Now go impress someone—or yourself—with your new culinary skills. You’ve earned it! And maybe save a slice for me, K? 😉


