So, you’ve stared into the fridge abyss one too many times today, contemplating whether cereal counts as dinner… again. Don’t worry, I’ve got you. Sometimes, you just need a dessert that screams “I tried hard!” but whispers “I barely lifted a finger.” Enter the majestic, yet shockingly simple, Chocolate Cherry Upside Down Cake. It’s like a magic trick, but instead of a rabbit, you get a show-stopping cake. Ready to impress yourself (and maybe some actual humans)? Let’s dive in!
Why This Recipe is Awesome
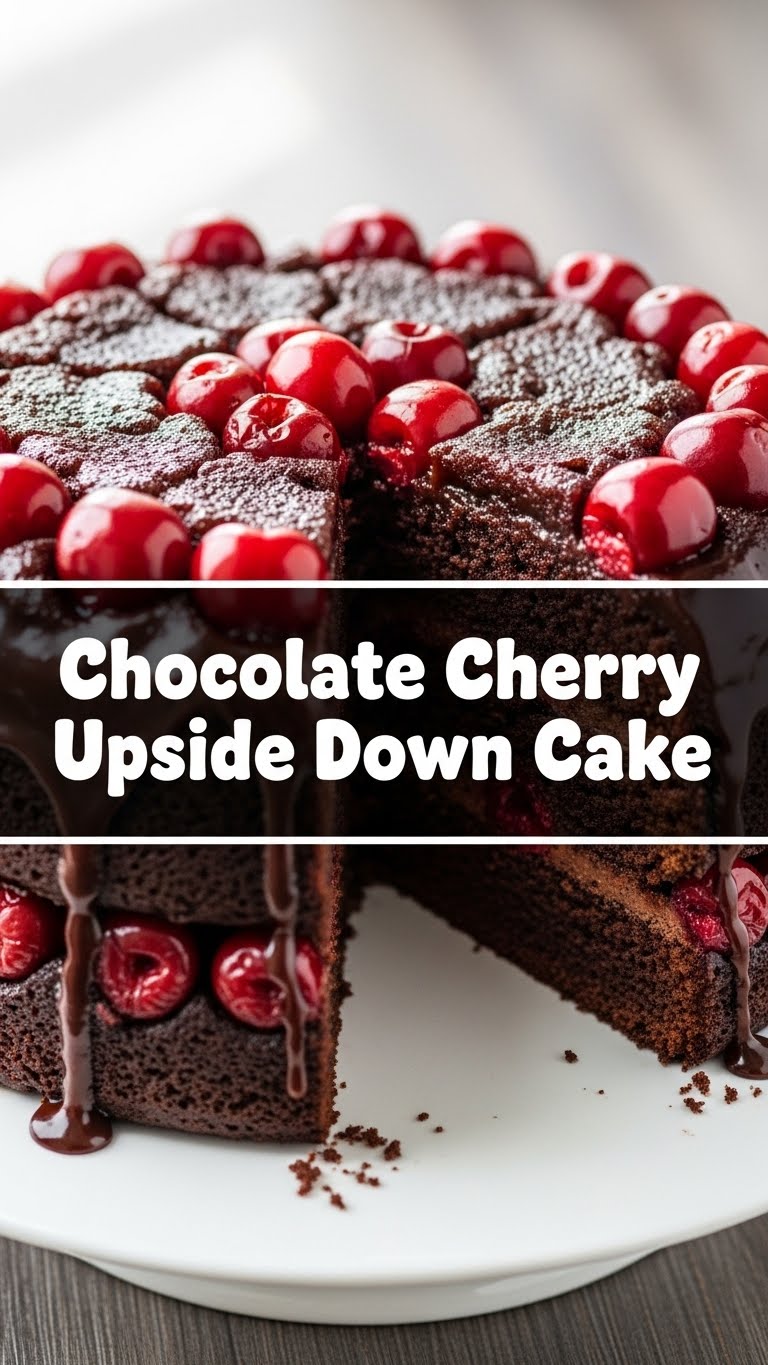
Okay, let’s be real. We want delicious, we want impressive, but we definitely don’t want to spend all day on it. This cake ticks all those boxes and then some. First off, it’s an upside-down cake, which automatically makes it look super fancy because who doesn’t love a dramatic reveal? All the pretty cherries and the sticky, sweet caramel topping end up on top, ready for their close-up.
Secondly, it’s chocolate and cherry. Is there a more iconic duo? Probably not. It’s rich, fruity, and just the right amount of decadent. Plus, it’s pretty much **idiot-proof**. Seriously, I made it, and I’m generally better at eating cake than baking it. No intricate frosting, no delicate piping bags, just pure, unadulterated deliciousness. It’s basically a hug in cake form.
Ingredients You’ll Need
Gather your troops! Don’t worry, it’s nothing too exotic. You probably have most of this stuff lurking in your pantry already.
For the Cherry Topping of Dreams (aka the bottom, for now):
- 1/4 cup unsalted butter: The good stuff. Melted.
- 1/2 cup packed light brown sugar: For that sticky, caramelly goodness.
- 1 (15-oz) can pitted dark sweet cherries: Drained *really well*, unless you’re aiming for cherry soup. We want cake.
- 1 tablespoon cherry liqueur or brandy (optional): A little splash for extra “oomph” if you’re feeling fancy. Totally fine to skip if not!
For the Chocolate Cake Batter of Champions:
- 1 1/2 cups all-purpose flour: The base of all great cakes.
- 1/2 cup unsweetened cocoa powder: Because we like our chocolate rich.
- 1 teaspoon baking soda: Our lift-off expert.
- 1/2 teaspoon salt: Just a pinch to make everything else sing.
- 1/2 cup unsalted butter: Softened to room temperature.
- 1 cup granulated sugar: Sweetness for days.
- 2 large eggs: Also at room temperature, because science says it’s better for baking.
- 1 teaspoon vanilla extract: Because vanilla makes everything better, even chocolate.
- 1/2 cup buttermilk: Our secret weapon for moisture and tenderness.
- 1/2 cup hot water or hot brewed coffee: This really activates the cocoa and makes the chocolate flavor pop!
Step-by-Step Instructions
- Preheat & Prep: Get your oven fired up to 350°F (175°C). Grab a 9-inch round cake pan (a springform pan is awesome for this, if you have one!). Grease it thoroughly – and I mean *thoroughly* – with butter or non-stick spray. Don’t skip this; your future self will thank you.
- Cherry Base Magic: In a small bowl, melt your 1/4 cup butter. Stir in the brown sugar until it forms a paste. Spread this glorious mixture evenly over the bottom of your prepared cake pan. Arrange the drained cherries on top of the brown sugar mixture. If you’re using the liqueur, drizzle it over the cherries now.
- Dry Mix Dance: In a medium bowl, whisk together the flour, cocoa powder, baking soda, and salt. Set aside.
- Wet Mix Whiz: In a larger bowl, using an electric mixer, cream together the 1/2 cup softened butter and granulated sugar until light and fluffy (about 2-3 minutes). Beat in the eggs one at a time, making sure each is incorporated before adding the next. Stir in the vanilla extract.
- Combine & Conquer: Now for the fun part! Gradually add the dry ingredients to the wet ingredients, alternating with the buttermilk. Start and end with the dry ingredients. Mix just until combined; **don’t overmix!** Nobody likes a tough cake. Finally, stir in the hot water or coffee until the batter is smooth. It might look a little thin, but that’s okay.
- Pour & Bake: Carefully pour the chocolate cake batter over the cherries in the pan, spreading it gently to cover them completely. Bake for 30-35 minutes, or until a wooden skewer inserted into the center of the cake comes out with only a few moist crumbs.
- The Big Reveal: Let the cake cool in the pan on a wire rack for just 10-15 minutes. This is crucial! Too long and it might stick; too short and it might fall apart. Place your serving plate upside down over the cake pan, then, with confidence and a prayer, flip the whole thing over. Lift the pan slowly. Ta-da! Behold your masterpiece. If any cherries stick, just gently place them back on top.
Common Mistakes to Avoid
- Not Greasing the Pan Properly: Oh, the horror of a stuck cake! Don’t be a hero; use plenty of butter or spray.
- Overmixing the Batter: Remember, we want tender cake, not a rubbery hockey puck. Mix until just combined.
- Not Draining the Cherries: A soggy bottom is a sad bottom. Press out as much liquid as you can.
- Flipping Too Soon or Too Late: This is a delicate balance. 10-15 minutes of cooling is **key**. Too hot, and it’s a sloppy mess. Too cold, and it’s glued to the pan.
- Using Cold Ingredients: Especially the butter and eggs! Room temperature ingredients emulsify better, leading to a smoother, more consistent batter. Trust the process.
Alternatives & Substitutions
Feeling creative? Here are some tweaks you can make:
- Cherry Swap: No canned cherries? No problem! Use **frozen pitted dark sweet cherries** (thaw and drain them well). Or, if you’re not a cherry fan (gasp!), try peaches, mixed berries, or even pineapple for a classic twist.
- Buttermilk Hack: Don’t have buttermilk? Mix 1/2 cup regular milk with 1/2 tablespoon lemon juice or white vinegar. Let it sit for 5 minutes; it will curdle slightly, and boom – instant buttermilk!
- Coffee vs. Water: Hot coffee enhances the chocolate flavor beautifully, but hot water works perfectly fine if you’re not a coffee person. The cake won’t taste like coffee, FYI, it just deepens the cocoa.
- Nuts for Crunch: For an added textural delight, sprinkle some chopped pecans or walnuts over the cherry layer before adding the batter.
FAQ (Frequently Asked Questions)
Got questions? I’ve got answers, mostly humorous ones.
- Can I use fresh cherries instead of canned? Absolutely! Just make sure to pit them first, unless you’re into a little game of dental roulette.
- My cake stuck to the bottom of the pan! What went wrong? Did you *really* grease that pan? And perhaps let it cool a tad too long before flipping? It’s all about that perfect grease and timing, my friend.
- Can I make this gluten-free? Yep! Use a 1:1 gluten-free baking flour blend. Results might vary slightly in texture, but it’s totally doable and still delicious.
- How do I store this masterpiece? Covered, at room temperature for a day or two, or in the fridge for up to 4 days. But let’s be honest, it probably won’t last that long.
- Is it really that easy? Honestly, yes. The hardest part is not eating all the cherries before they make it into the cake. Your willpower will be tested.
- Can I use margarine instead of butter? Well, technically yes, but why hurt your soul (and your cake’s flavor) like that? For optimal taste and texture, butter is king.
Final Thoughts
See? Told you it wasn’t rocket science. You just created a beautiful, delicious, and surprisingly easy Chocolate Cherry Upside Down Cake. You’re practically a pastry chef now! Go forth and impress someone – or just yourself, because you totally deserve it. Slice into that beauty, grab a fork, and enjoy the fruits (and chocolate) of your minimal labor. You’ve earned it!


