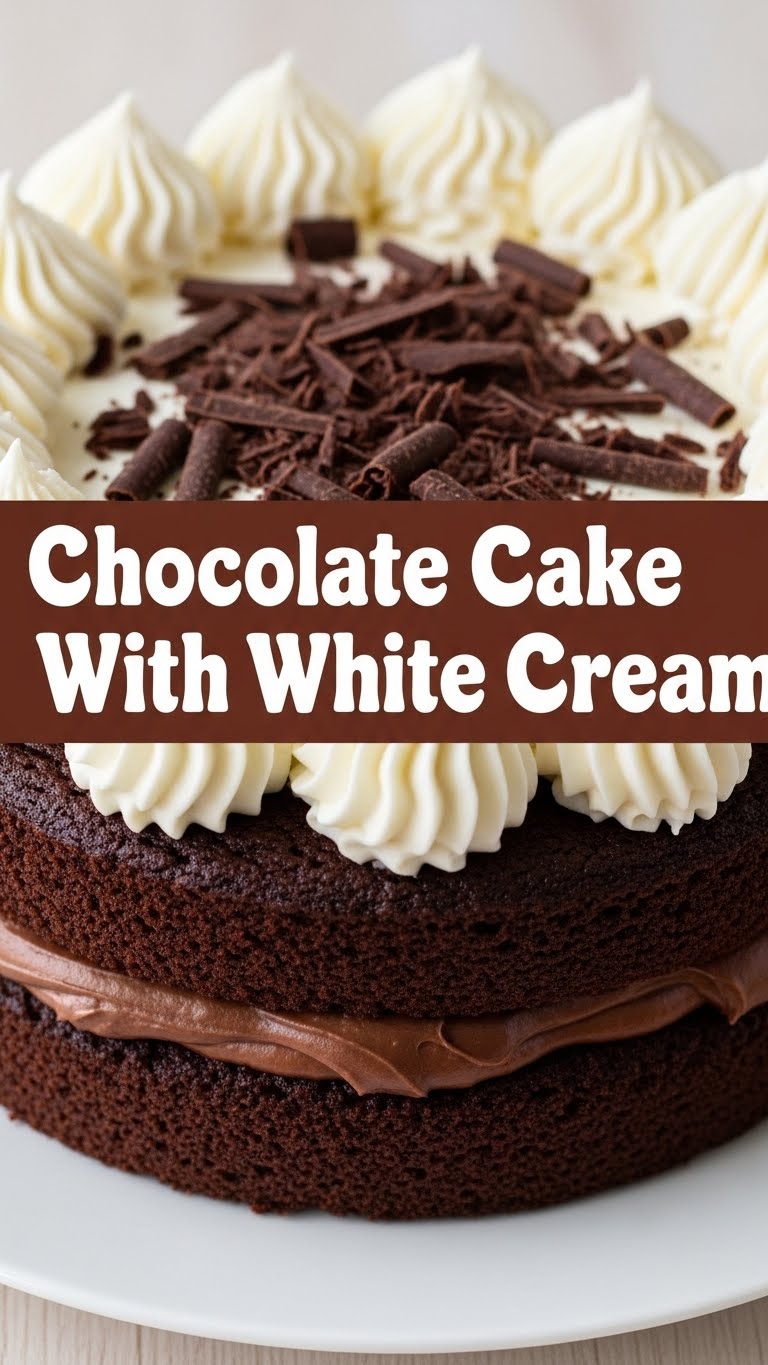
So you’re craving something tasty but too lazy to spend forever in the kitchen, huh? Same. Like, *seriously* same. We’ve all been there, staring into the fridge, wishing a magical dessert would just appear. Well, today, my friend, we’re making that magic happen with a chocolate cake so good, you’ll wonder if you secretly became a pastry chef overnight. Spoiler: You didn’t, it’s just *that* easy. And it comes with a dreamy white cream because balance, right?
Why This Recipe is Awesome
Let’s be real, most chocolate cake recipes sound like they require a science degree and a small army of kitchen assistants. Not this one. This gem is practically
Ingredients You’ll Need
Alright, assemble your culinary arsenal! Most of these are probably chilling in your pantry already. Don’t worry, no obscure ingredients that require a quest to a specialty store.
For the Chocolate Cake:
- All-Purpose Flour: 1 ½ cups. The backbone of our operation.
- Granulated Sugar: 1 ½ cups. Because life is sweet, and so should your cake be.
- Unsweetened Cocoa Powder: ¾ cup. The darker, the better, IMO. Get the good stuff!
- Baking Soda: 1 ½ teaspoons. Our little magic leavener.
- Baking Powder: 1 teaspoon. Its sidekick, making sure things rise perfectly.
- Salt: 1 teaspoon. Don’t skip this! It enhances all those lovely chocolate flavors.
- Large Eggs: 2. Room temperature, if you’re feeling fancy (and want better emulsification).
- Milk: 1 cup. Any kind works, but whole milk gives it that extra lushness.
- Vegetable Oil: ½ cup. Keeps it super moist. Canola or sunflower oil work too.
- Vanilla Extract: 2 teaspoons. A dash of pure happiness.
- Hot Water (or hot coffee!): 1 cup. This is the secret weapon for ultimate chocolatey depth. Trust me on the coffee; it doesn’t make it taste like coffee, just *more* chocolatey.
For the White Cream Frosting:
- Unsalted Butter: ½ cup (1 stick), softened. Don’t be a hero, let it soften!
- Powdered Sugar (Confectioners’ Sugar): 2 cups. The finer, the better for that silky smooth finish.
- Vanilla Extract: 1 teaspoon. More vanilla, more joy.
- Milk or Heavy Cream: 2-3 tablespoons. To get that perfect, spreadable consistency.
Step-by-Step Instructions
Let’s get baking! This is where the magic happens, but don’t overthink it. It’s just cake, not rocket science.
- Preheat & Prep: First things first, get that oven screaming hot to 350°F (175°C). Then, grease and flour a 9×13 inch baking pan (or two 8-inch round pans if you’re feeling ambitious for layers). Set it aside.
- Whisk the Dry Stuff: In a large bowl, whisk together the flour, granulated sugar, cocoa powder, baking soda, baking powder, and salt. Make sure there are no lumpy bits!
- Mix the Wet Stuff: In another medium bowl, whisk the eggs, milk, vegetable oil, and vanilla extract until well combined.
- Combine Forces: Pour the wet ingredients into the dry ingredients. Mix with a whisk or electric mixer on low speed until *just* combined. Don’t overmix, or you’ll end up with a tough cake. We want tender, people!
- Add the Hot Liquid: Carefully pour in the hot water (or coffee). Stir until the batter is smooth. Yes, it will look super thin—that’s normal! It’s called “wacky cake” for a reason.
- Bake It Up: Pour the batter into your prepared pan. Bake for 30-35 minutes for a 9×13, or 25-30 minutes for round pans. How do you know it’s done? A toothpick inserted into the center should come out clean.
- Cool Down: Let the cake cool in the pan for about 10-15 minutes before inverting it onto a wire rack to cool completely.
This part is CRUCIAL. Do NOT frost a warm cake unless you want a melted, sad mess. - Make the Cream: While the cake chills, grab your softened butter and beat it with an electric mixer until light and fluffy (about 2-3 minutes).
- Sweeten the Deal: Gradually add the powdered sugar, one cup at a time, mixing on low speed until fully incorporated. Then crank it up to medium and beat for another minute or two.
- Add Flavor & Consistency: Stir in the vanilla extract. Then, add the milk or heavy cream, one tablespoon at a time, until you reach your desired frosting consistency. It should be light, fluffy, and easily spreadable.
- Frost & Devour: Once the cake is completely cool, slather on that glorious white cream. Cut yourself a generous slice and enjoy your masterpiece!
Common Mistakes to Avoid
We’ve all made them, probably more than once. Learn from my oopsies so you don’t repeat them!
- Not Preheating the Oven: Rookie move! Always preheat. An oven that’s not hot enough will mess with your cake’s texture and cooking time.
- Overmixing the Batter: Once the flour hits the wet ingredients, mix only until just combined. Overmixing develops the gluten, making your cake tough and chewy instead of tender and moist.
Gentle hands, people! - Frosting a Warm Cake: Unless you’re aiming for a soupy, sugary puddle, let that cake cool completely. I repeat: COMPLETELY. Patience is a virtue here.
- Ignoring the Salt: “Just a teaspoon,” you think. “Can I skip it?” NO! Salt doesn’t make it taste salty; it enhances the chocolate flavor and balances the sweetness. It’s a flavor hero.
- Forgetting to Grease/Flour: Unless you want your cake to become one with the pan, don’t forget this step. There’s nothing sadder than a stuck cake.
Alternatives & Substitutions
Feeling adventurous? Or maybe you just ran out of something? Here are some ideas:
- Milk: Any milk works! Dairy, non-dairy (almond, soy, oat)—they’re all good. Though, IMO, whole milk gives the best richness.
- Oil: Vegetable oil is standard, but you can use melted coconut oil (just make sure it’s liquid when you add it) or even a very light olive oil.
- Coffee: If you don’t do coffee, just use hot water. The coffee just super-charges the chocolate flavor, but it’s not essential.
- Frosting Flavor: Want to jazz up that white cream? Add a dash of almond extract for a marzipan vibe, or lemon zest for a bright, citrusy twist. A tiny splash of rum extract? Oh, behave!
- Cream Cheese Frosting: Feeling extra? Swap half the butter for cream cheese in the frosting recipe (make sure both are softened). You’ll probably need slightly less powdered sugar or more milk to adjust consistency.
- Toppings: Sprinkles, chocolate shavings, fresh berries, or a dusting of cocoa powder. Go wild, it’s your cake!
FAQ (Frequently Asked Questions)
Got questions? I’ve got (casual) answers!
- Can I use margarine instead of butter in the frosting? Well, technically yes, but why hurt your soul like that? Butter just tastes better and gives a superior texture. For a truly great frosting, butter is your friend.
- What kind of cocoa powder should I use? Regular unsweetened cocoa powder (like Hershey’s or Ghirardelli) is perfect. Dutch-processed works too, but it’s less acidic, so it might react slightly differently with the baking soda. For this recipe, regular is great.
- Can I halve this recipe? Absolutely! If you’re baking for one (or two, if you’re feeling generous), just cut all the ingredients in half and bake in an 8×8 inch pan. Adjust baking time accordingly.
- How long does this cake last? Covered at room temperature, it’s usually good for 2-3 days. In the fridge, it can stretch to 5 days, but TBH, it rarely lasts that long!
- Can I make this cake ahead of time? You bet! The cake itself can be baked a day in advance, wrapped tightly in plastic wrap, and stored at room temp. Frost it just before serving for the freshest taste. The frosting can also be made a day ahead and stored in the fridge, then re-whipped before use.
- Why hot water/coffee? Doesn’t that cook the eggs? Nope! The amount of hot liquid isn’t enough to cook the eggs. What it *does* do is help bloom the cocoa powder, intensifying the chocolate flavor, and gives the cake a lovely moist crumb. It’s a secret weapon!
Final Thoughts
So there you have it, your new go-to chocolate cake recipe! See? I told you it wouldn’t be painful. Now you’re armed with the knowledge (and ingredients) to whip up a show-stopping dessert without breaking a sweat. Go forth and impress someone—or yourself, because let’s be honest, you’re the most important critic here—with your new culinary skills. You’ve earned it!


