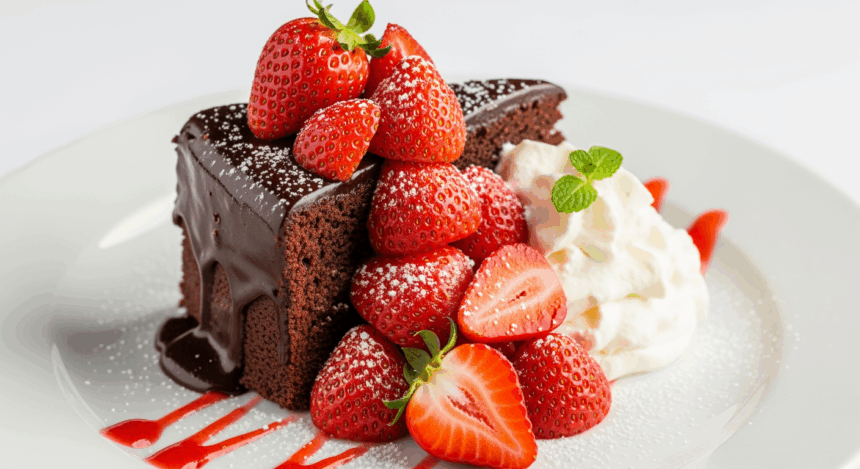
Picture this: a slice of moist chocolate cake sitting on a pristine white plate, crowned with plump, ruby-red strawberries, just begging to be devoured. Is your mouth watering yet? Mine sure is! Whether you’re planning a dinner party or just need to satisfy that midnight chocolate craving (no judgment here), this chocolate cake with strawberry garnish is about to become your new BFF in the kitchen.
Why This Recipe is Awesome
Let’s cut to the chase—this cake is the ultimate crowd-pleaser for approximately zero effort. It’s basically the sweatpants of desserts: comfortable, reliable, and secretly impressive. The contrast between rich chocolate and tangy strawberries creates that perfect sweet-tart balance that makes your taste buds do a little happy dance. Plus, it looks Instagram-worthy without requiring any actual pastry skills. Even if your cooking skills typically max out at microwave popcorn, you can nail this one.
Ingredients You’ll Need
For the cake:
- 2 cups all-purpose flour (the regular boring kind, nothing fancy)
- 2 cups granulated sugar (because we’re not pretending this is health food)
- 3/4 cup unsweetened cocoa powder (the darker, the better—like my soul on Monday mornings)
- 2 teaspoons baking soda (not baking powder, for the love of cake)
- 1 teaspoon salt (just a pinch to make the sweet stuff sing)
- 2 large eggs (room temperature—yes, it actually matters)
- 1 cup buttermilk (regular milk with a tablespoon of lemon juice works if you’re not a buttermilk-keeping kind of person)
- 1/2 cup vegetable oil (keeps it moist, trust me)
- 2 teaspoons vanilla extract (the real stuff, not that imitation nonsense)
- 1 cup hot coffee (don’t skip this—it doesn’t make the cake taste like coffee, it makes it taste like BETTER chocolate)
For the topping:
- 1 pint fresh strawberries (the redder the better, sad pale strawberries need not apply)
- 2 tablespoons granulated sugar (optional, for macerating)
- Whipped cream (store-bought is fine, I won’t tell the food snobs)
- Powdered sugar for dusting (because we eat with our eyes first)
Step-by-Step Instructions
- Prep your battlestation. Preheat your oven to 350°F (175°C). Grease and flour two 9-inch round cake pans, or one 9×13 pan if you’re not feeling the layer cake vibe today.
- Mix the dry team. In a large bowl, whisk together flour, sugar, cocoa, baking soda, and salt. Make a little well in the center like you’re creating a flavor volcano.
- Assemble the wet squad. In another bowl, beat the eggs, then add buttermilk, oil, and vanilla. Mix until they’re all friendly with each other.
- Unite the teams. Pour the wet ingredients into the dry ingredient volcano. Mix with a spatula or mixer on low speed until just combined. No need to beat it to death—we’re making cake, not punishing it.
- Add the secret weapon. Stir in the hot coffee. Yes, the batter will be thin. No, you didn’t mess up. This is how it’s supposed to be!
- Bake it to perfection. Pour into your prepared pan(s) and bake for 30-35 minutes, or until a toothpick inserted in the center comes out with a few moist crumbs. If it comes out completely clean, you’ve overshot the runway, my friend.
- Cool your jets. Let the cake cool in the pan for 10 minutes, then turn out onto a wire rack to cool completely. Patience is a virtue here—hot cake + topping = sad melty mess.
- Prep your berries. While the cake is cooling, slice those strawberries. If they’re not naturally sweet, toss them with a bit of sugar and let them sit for 20 minutes. They’ll get all juicy and wonderful.
- Assemble this beauty. Once the cake is cool, place it on your fanciest plate (or whatever’s clean). Top with a dollop of whipped cream, arrange those gorgeous strawberries on top, and give everything a light dusting of powdered sugar like the first snow of winter.
Common Mistakes to Avoid
Let’s be real—even simple recipes have their pitfalls. Here are the face-palm moments you’ll want to avoid:
- Skipping the coffee because you don’t like coffee. The cake doesn’t taste like coffee! The coffee enhances the chocolate flavor. It’s like how salt makes watermelon taste sweeter—culinary magic.
- Opening the oven every 5 minutes to check. I know it’s tempting, but your cake will sink faster than my motivation on a Monday morning. Use the oven light if you must stare at it.
- Frosting a warm cake. Unless you’re going for the “abstract art” look, wait until that baby is completely cool. Otherwise, you’re just making expensive, delicious glaze.
- Using unripe strawberries. Those hard, white-centered berries have no place here. If your strawberries aren’t sweet, the sugar-macerating step isn’t optional—it’s a rescue mission.
Alternatives & Substitutions
Not everyone’s pantry is stocked like a professional kitchen, and that’s totally fine! Here are some swaps that won’t ruin everything:
- No buttermilk? Regular milk with a tablespoon of lemon juice or vinegar, left to sit for 5 minutes, works in a pinch. Or use plain yogurt thinned with a little milk.
- Caffeine concerns? Decaf coffee works perfectly. In absolute emergencies, hot water will do, but you’ll miss some depth of flavor. IMO, the coffee is worth it.
- Berry flexibility: Raspberries, blackberries, or a mixed berry situation would all be delicious here. Frozen berries are fine too—just thaw and drain them well.
- Make it boozy: Add a splash of Chambord (raspberry liqueur) or Kirsch (cherry brandy) to your strawberries while they macerate. Not for the kids’ version, obviously, unless you want some very chill children.
- Gluten concerns? A good quality 1:1 gluten-free flour blend usually works in chocolate cakes, which are more forgiving than their vanilla cousins.
FAQ (Frequently Asked Questions)
Can I make this cake in advance?
Absolutely! The cake itself can be made 1-2 days ahead—just wrap it well in plastic wrap once completely cool. Add the strawberries and cream right before serving, or they’ll get soggy (sad trombone).
Why did my cake sink in the middle?
Did you open the oven door too early? Slam the kitchen cabinet during baking? Look at the cake with too much intensity? All of these can make a cake sink. Also, check if your baking soda is fresh—old leavening agents are like lazy employees, they just don’t rise to the occasion.
Can I use Dutch-processed cocoa instead of regular?
You can, but you might need to adjust the leavening. Dutch-processed is less acidic, which means it reacts differently with baking soda. For simplicity’s sake, regular unsweetened cocoa is your best bet for this recipe.
Do I really need two 9-inch pans?
Nope! One 9×13 pan works great for a sheet cake version. Just adjust the baking time—it might take a few minutes longer.
Can I freeze leftovers?
Assuming you have leftovers (which, doubtful), yes! Freeze slices individually wrapped in plastic wrap, then foil. Thaw at room temperature when the chocolate emergency strikes. Just add fresh strawberries after thawing.
Is this cake sturdy enough to stack and frost as a layer cake?
It’s relatively moist and tender, so handle with care, but yes! If you want to go full birthday cake with it, cool the layers completely, then chill them for an hour before stacking and frosting. A simple chocolate ganache or vanilla buttercream would be *chef’s kiss*.
Final Thoughts
Listen, we all need a good chocolate cake recipe in our back pocket—one that doesn’t require a culinary degree or ingredients you can only source from a specialty shop in a foreign country. This cake is that reliable friend who always shows up when you need them, looking good and making you look good by association.
Whether you’re baking to impress a date, silence your sugar cravings, or just because it’s Tuesday, this chocolate cake with its crown of strawberries delivers maximum impact for minimal effort. And honestly, isn’t that what we all want out of life?
Now go on and get baking. Your future self—the one with chocolate crumbs on their shirt and a big smile—will thank you.


