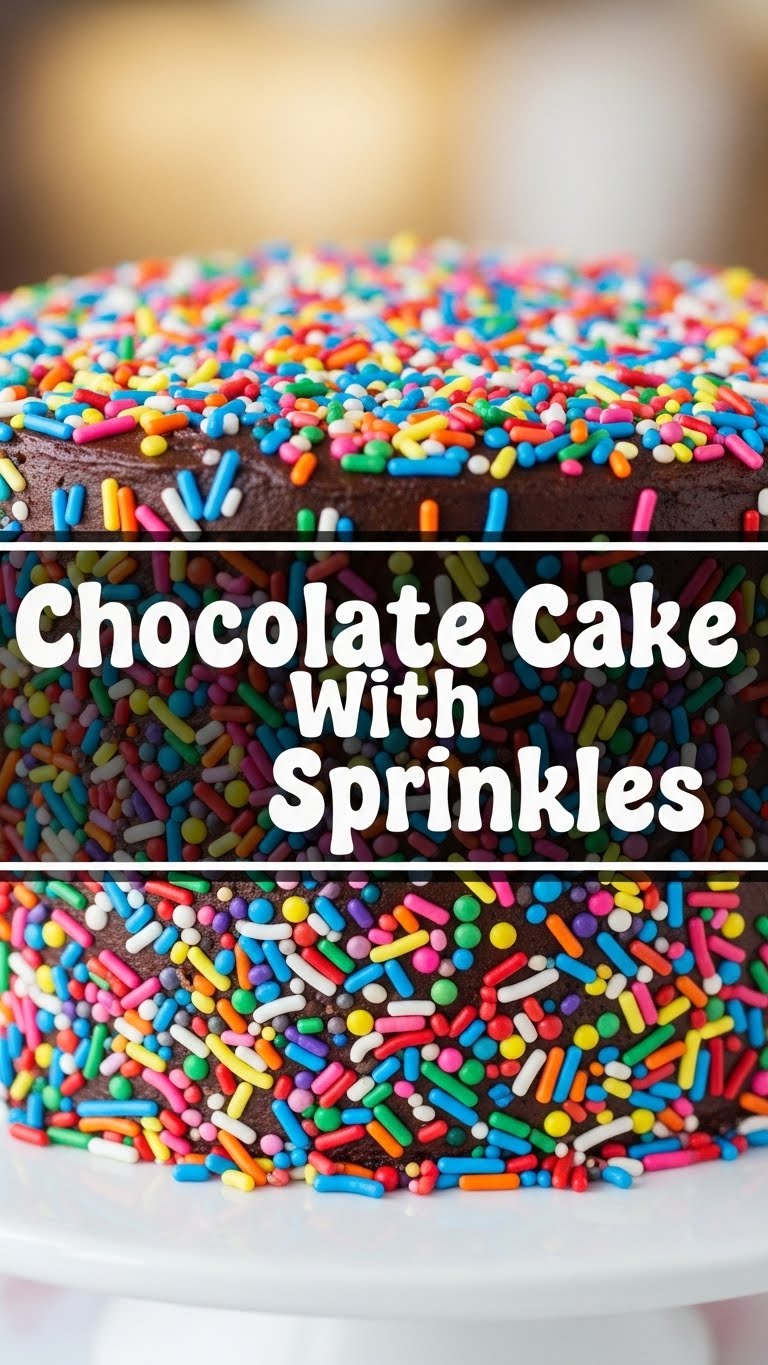
So you’re craving something rich, decadent, and utterly sprinkle-tastic but can’t be bothered with a gazillion steps, huh? Same, friend, *same*. Good news: I’ve got your back with a chocolate cake recipe so easy, it practically bakes itself. Well, almost.
Why This Recipe is Awesome
Okay, so why this particular chocolate cake, you ask? Because it’s basically the culinary equivalent of a warm hug that also happens to be a party in your mouth. Seriously, it’s:
- Idiot-proof: No, really. If I can do it without setting off the smoke alarm, you’re golden.
- Ridiculously moist: We’re talking ‘drink a glass of milk after every bite’ kind of moist.
- Sprinkle-loaded: Because life’s too short for sad, sprinkle-less cake.
- Quick to whip up: Perfect for when you need a dessert fix, like, five minutes ago.
Ingredients You’ll Need
Alright, let’s gather our squad. You probably have most of this lurking in your pantry already. No fancy-pants stuff, promise!
- All-Purpose Flour: 1 ½ cups (aka the backbone of our cakey dreams).
- Granulated Sugar: 1 ½ cups (for that sweet, sweet bliss).
- Unsweetened Cocoa Powder: ½ cup (the darker, the better, IMO).
- Baking Soda: 1 ½ teaspoons (our fluffy secret weapon).
- Salt: 1 teaspoon (don’t skip this, it makes everything pop!).
- Eggs: 2 large (room temp if you’re feeling fancy, but straight from the fridge works too, no judgment).
- Milk: 1 cup (any kind, but whole milk makes it extra luscious).
- Vegetable Oil: ½ cup (or canola, for ultimate moistness).
- Vanilla Extract: 2 teaspoons (the real MVP of flavor).
- Boiling Water: 1 cup (this is where the magic happens, trust me).
For the Frosting:
- Unsalted Butter: ½ cup (softened, because cold butter is the enemy).
- Powdered Sugar: 3-4 cups (sifted, unless you like lumps, weirdo).
- Unsweetened Cocoa Powder: ½ cup (again, dark is good).
- Milk or Cream: ¼ cup (or more, until it’s spreadable perfection).
- Vanilla Extract: 1 teaspoon.
- Sprinkles: ALL OF THEM. (Seriously, at least ½ cup, more if you dare!)
Step-by-Step Instructions
Ready to become a baking superstar? Let’s do this!
- Prep Time! Preheat your oven to 350°F (175°C). Grease and flour a 9×13 inch baking pan. Or line with parchment paper if you’re smart.
- Dry Mix. In a large bowl, whisk together the flour, sugar, cocoa powder, baking soda, and salt. Make sure there are no lumpy bits.
- Wet Mix Part 1. Add the eggs, milk, vegetable oil, and vanilla extract to the dry ingredients. Mix on low speed with an electric mixer until just combined. Don’t overmix, we’re not making glue.
- The Secret Weapon. Carefully pour in the boiling water. Mix on low speed until the batter is smooth. It’ll be thin, but that’s exactly what we want.
- Bake It Up! Pour the batter into your prepared pan. Bake for 30-35 minutes, or until a wooden skewer inserted into the center comes out clean.
- Cool Down. Let the cake cool completely in the pan on a wire rack. Patience, grasshopper, this is crucial for the frosting part.
- Frosting Fun! While the cake cools, make your frosting. Beat the softened butter until creamy. Gradually add the powdered sugar and cocoa powder, alternating with milk/cream and vanilla extract, until smooth and fluffy.
- Sprinkle Time! Once the cake is fully cool, spread that glorious frosting all over it. Then, unleash the sprinkles! Go wild, you deserve it.
Common Mistakes to Avoid
Don’t pull a rookie move, my friend. Learn from my past kitchen disasters!
- Not preheating the oven: Yeah, it matters. Your cake won’t rise properly and will be sad.
- Overmixing the batter: This makes for a tough, chewy cake. Nobody wants that.
- Not letting the cake cool completely: If you frost a warm cake, that frosting will melt into a sad, sticky puddle. Trust me, I’ve been there.
- Forgetting the sprinkles: Is it even a sprinkle cake without sprinkles? A rhetorical question, FYI.
- Eating all the batter before it bakes: I mean, I get it, but save some for the actual cake!
Alternatives & Substitutions
Feeling adventurous? Or just ran out of something? No worries, I got options!
- Dairy-Free? Swap regular milk for almond, soy, or oat milk. Use a dairy-free butter alternative for the frosting too. Easy peasy!
- Oil Swap: Canola oil works perfectly if you don’t have vegetable oil. Coconut oil (melted) can also work for a subtle flavor hint.
- Gluten-Free Flour: You can totally use a 1:1 gluten-free baking blend. Just make sure it has xanthan gum.
- Frosting Flavor: Not a chocolate frosting fan (gasp!)? Make a classic vanilla buttercream instead, then load it with sprinkles.
- Sprinkle Variety: Rainbow sprinkles are iconic, but feel free to use chocolate sprinkles, nonpareils, or even fun shapes! Get creative!
FAQ (Frequently Asked Questions)
Okay, spill, what’s on your mind? I’ve heard it all.
- Q: Can I use margarine instead of butter for the frosting?
A: Well, technically yes, but why hurt your soul like that? Butter just tastes better and gives a richer texture. But if you’re in a pinch, go for it! - Q: My cake sank in the middle! What happened?
A: Oh no! Could be a few things: oven door opened too soon, old baking soda, or perhaps overmixing. Don’t worry, it still tastes good, just call it a “dessert dip.” - Q: How long does this cake last?
A: If it even makes it past day one, it’ll be good for 3-4 days covered at room temperature. But seriously, who keeps cake around that long? - Q: Can I make this as cupcakes?
A: Absolutely! Just line a muffin tin and reduce the baking time to about 18-22 minutes. Keep an eye on them! - Q: What kind of sprinkles are best?
A: Jimmies (the long ones) are my personal fave for texture, but nonpareils are super cute too. Whatever makes your heart happy! - Q: Do I really need boiling water?
A: Yes, it reacts with the cocoa and baking soda to give the cake an amazing texture and deeper chocolate flavor. It’s a key ingredient, don’t skip it!
Final Thoughts
And there you have it, my friend! Your very own, totally awesome, chocolate cake with sprinkles, made with your own two hands. You’ve officially conquered dessert. Now go impress someone—or yourself—with your new culinary skills. You’ve earned it! Don’t forget to take a pic before you devour it all. Happy baking!

