So, you’ve found yourself scrolling, dreaming of something rich, chocolatey, and maybe just a little bit extra? But, like, without the drama of a super complicated recipe? My friend, you’ve come to the right place. We’re about to whip up a chocolate cake that’s so good, so easy, and so ridiculously cute with its pink vibes, you’ll wonder why you ever bought one from a store.
Why This Recipe is Awesome
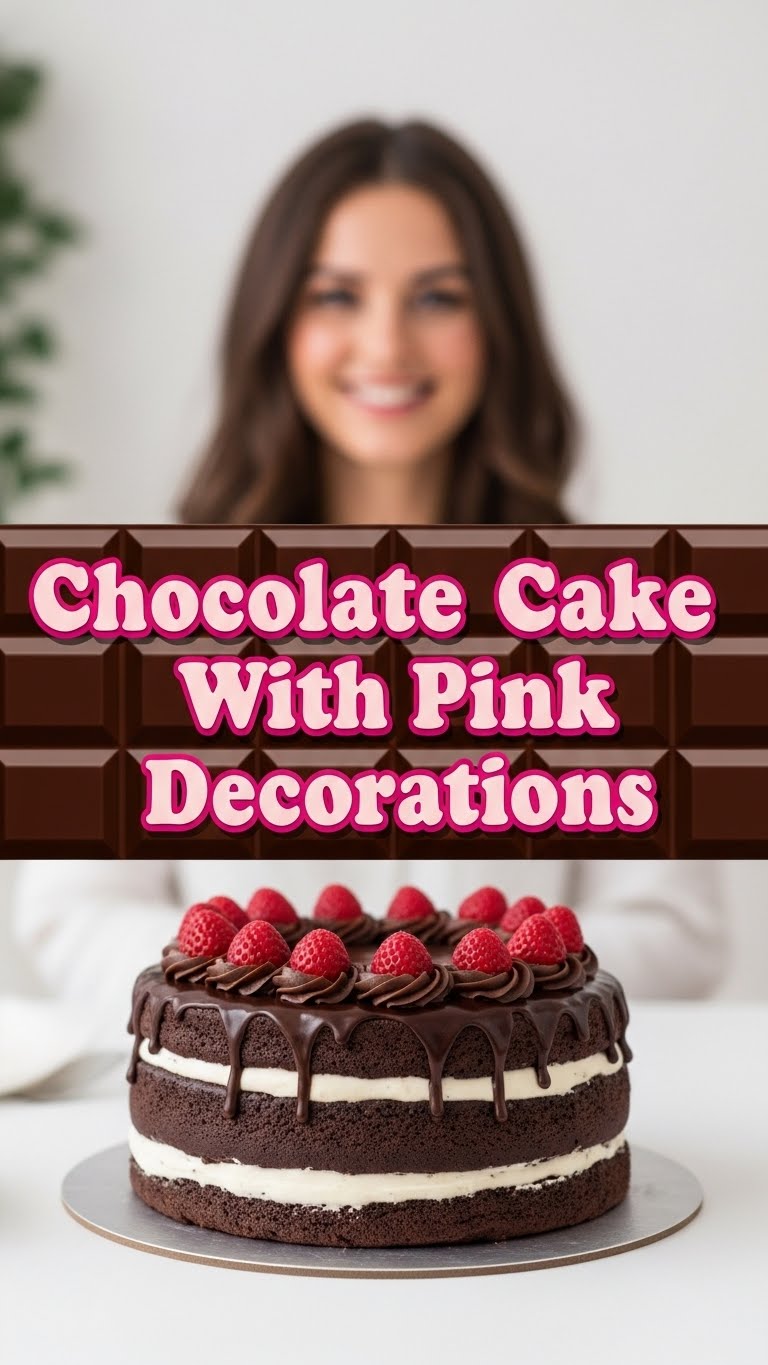
Okay, let’s be real. This isn’t just any chocolate cake. This is ‘I woke up and chose fabulous’ chocolate cake. It’s rich, moist, and basically a hug in cake form. Plus, the pink frosting? Totally Instagrammable. Seriously, it’s so straightforward, even my cat could probably supervise. We’re talking minimal fuss, maximum impact. You’ll look like a baking genius without actually having to be one. Winning!
Ingredients You’ll Need
For the Cake:
- All-purpose flour: The humble base. Don’t skip sifting, it makes a difference!
- Granulated sugar: Sweetness. Essential, obviously.
- Unsweetened cocoa powder: The chocolatey soul of our cake. Go dark for extra oomph.
- Baking soda & baking powder: Our lift-off crew. Gives us that fluffy texture.
- Salt: Don’t underestimate this! Balances all the sweetness.
- Eggs: Room temp, please. They mix better, trust me.
- Milk: Whole milk for richness, but any kind works if you’re feeling rebellious.
- Vegetable oil: Keeps it super moist. No dry cakes allowed!
- Vanilla extract: A little dash of magic. Don’t cheap out on this.
- Hot water or coffee: This is the secret weapon for deep chocolate flavor. Coffee enhances chocolate, FYI!
For the Pink Buttercream:
- Unsalted butter: Room temperature is non-negotiable for smooth frosting.
- Powdered sugar: A lot of it. Sift it unless you like lumpy frosting (you don’t).
- Milk or cream: Just a splash to get that perfect consistency.
- Vanilla extract: More magic!
- Pink food coloring: Gel is best for vibrant color without adding too much liquid.
Step-by-Step Instructions
- Get Ready, Get Set: Preheat your oven to 350°F (175°C). Grease and flour two 8-inch round cake pans. Or, line with parchment paper circles if you’re fancy.
- Dry Mix Fun: In a large bowl, whisk together the flour, sugar, cocoa powder, baking soda, baking powder, and salt. Make sure there are no lumps.
- Wet Mix Wonders: In another medium bowl, whisk the eggs, milk, vegetable oil, and vanilla extract until well combined.
- Combine Forces: Pour the wet ingredients into the dry ingredients. Mix on low speed (or by hand) until just combined. Don’t overmix, that’s how you get tough cake!
- The Hot Stuff: Carefully stir in the hot water or coffee. The batter will be thin, and that’s totally normal.
- Bake It Up: Divide the batter evenly between your prepared cake pans. Bake for 30-35 minutes, or until a toothpick inserted into the center comes out clean.
- Cool Down: Let the cakes cool in the pans for about 10 minutes before inverting them onto a wire rack to cool completely. Patience is a virtue here! Don’t frost warm cakes unless you want a melted mess.
- Buttercream Time: While the cakes cool, beat the softened butter in a large bowl until light and fluffy.
- Sugar Rush: Gradually add the sifted powdered sugar, alternating with splashes of milk/cream, until smooth and creamy. Add the vanilla.
- Pretty in Pink: Now for the fun part! Add pink food coloring, a tiny bit at a time, until you reach your desired shade of fabulous. Mix well.
- Assemble Your Masterpiece: Once the cakes are completely cool, level them if needed. Place one layer on your serving plate, spread a generous layer of pink buttercream, then top with the second cake layer. Frost the top and sides. Decorate as wildly as your heart desires!
Common Mistakes to Avoid
- Not preheating the oven: Rookie move! Your cakes won’t rise properly. Always preheat.
- Overmixing the batter: You want tender cake, not rubbery cake. Mix until just combined.
- Not sifting powdered sugar: Unless you’re a fan of lumpy frosting (spoiler: you’re not), sift it. Seriously.
- Frosting a warm cake: This isn’t just a mistake, it’s a tragedy. Your buttercream will melt into a sad, pink puddle. Let those cakes chill out completely.
- Forgetting the salt: A tiny bit of salt enhances the chocolate flavor. It’s not just for savory dishes!
Alternatives & Substitutions
Coffee vs. Hot Water: IMO, hot coffee makes the chocolate flavor sing! But if you’re not a coffee person, hot water is perfectly fine.
Dairy-Free? Swap regular milk for almond or oat milk, and use a good quality dairy-free butter substitute for the frosting. It might taste slightly different, but still delish.
No Cocoa Powder? Well, then it’s not a chocolate cake, is it? Just kidding! But seriously, this is a chocolate cake recipe. Stick with the cocoa!
Pink Food Coloring: Don’t want pink? Use any color you like! Or leave it white for a classic look. Rainbow sprinkles are always an option too.
FAQ (Frequently Asked Questions)
- “Can I use semi-sweet chocolate chips instead of cocoa powder?” No, hun, that’s a whole different beast. Cocoa powder is what gives us that rich, deep chocolate base. Chips are for texture or melting into ganache.
- “My cake turned out dry. What did I do wrong?” Did you overbake it? Or maybe overmix the batter? Baking too long is the most common culprit for dry cake. Use that toothpick test!
- “Help! My buttercream is too runny/too stiff!” Too runny? Add more sifted powdered sugar, a tablespoon at a time. Too stiff? Add a tiny splash of milk or cream. Adjust slowly, it’s easier to add than to take away!
- “Do I really need room temperature ingredients?” Yes! Especially for the eggs and butter. They emulsify better and create a smoother, more uniform batter and frosting. Cold ingredients are clumpy.
- “How long does this cake last?” Covered tightly at room temperature, it’s good for 2-3 days. In the fridge, maybe 4-5 days. But honestly, it probably won’t last that long. It’s too tasty!
Final Thoughts
See? I told you it wasn’t scary! You just created a masterpiece, a glorious chocolate cake adorned with the prettiest pink frosting. Go on, pat yourself on the back. You deserve it. Now go impress someone—or yourself—with your new culinary skills. Maybe share a slice, or don’t. No judgment here. You’ve earned this cake, go enjoy every single delicious bite!


