So, you’ve got that chocolate craving hitting harder than your alarm on a Monday, right? And you want something epic, but also… not a full-day project that requires a culinary degree? Friend, I got you. We’re diving headfirst into a chocolate cake with mousse filling that looks like it took hours, but secretly, it’s our little delicious secret how easy it actually is. Get ready to impress yourself (and maybe, just maybe, share a slice).
Why This Recipe is Awesome
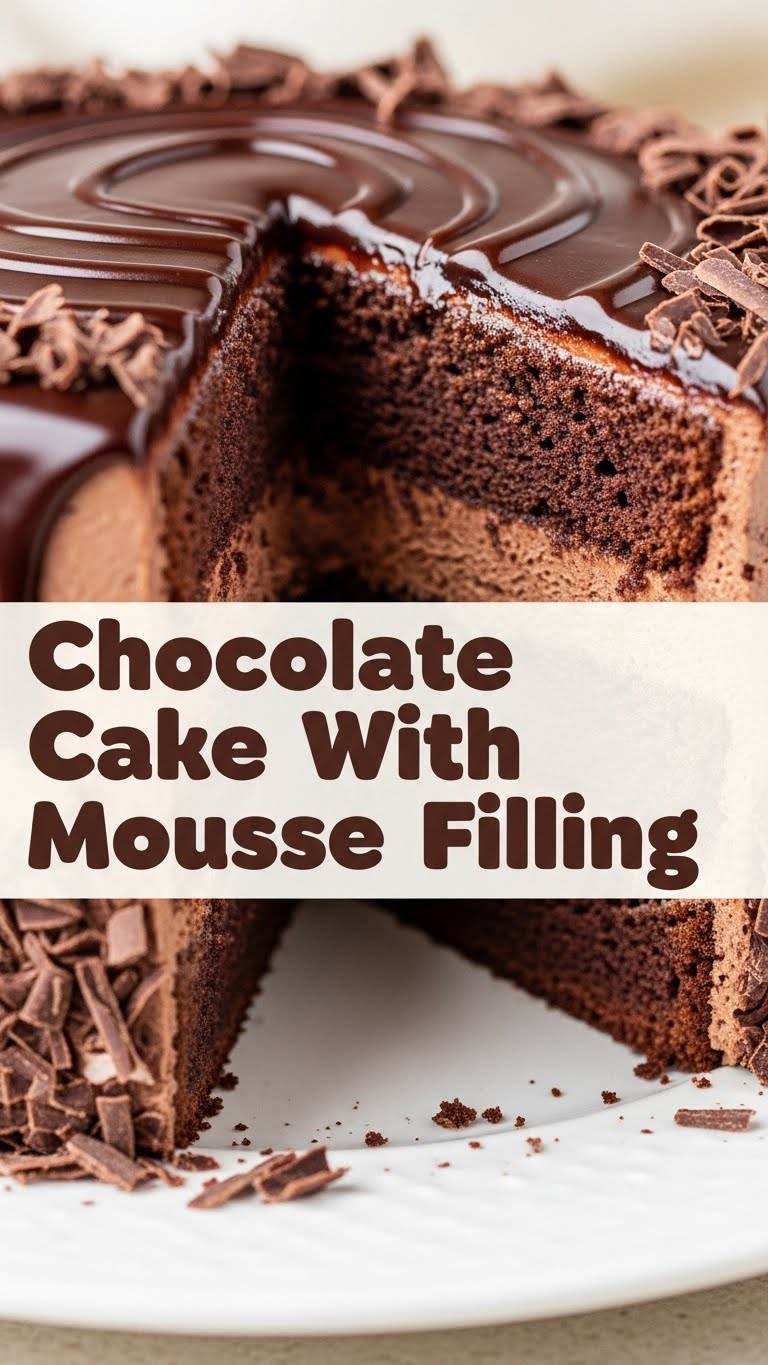
Because it’s not just a chocolate cake; it’s a chocolate cake with a *mousse* filling. We’re talking layers of pure, unadulterated bliss. It’s rich, it’s fluffy, it’s chocolatey beyond belief, and it makes every other chocolate cake feel a bit… basic. Plus, here’s the kicker: **it’s practically idiot-proof.** Seriously, if I can do it without setting off the smoke alarm (which happens more often than I’d like to admit), you’re golden. This cake is your new best friend for when you want to look like a baking genius without, you know, being one. IMO, that’s a win-win.
Ingredients You’ll Need
Let’s gather our edible weapons of mass chocolatey destruction. Nothing too fancy, promise!
For the Cake:
- 1 ½ cups All-Purpose Flour: The unsung hero of all baking. Don’t try to substitute with almond flour unless you want a science experiment.
- 1 ½ cups Granulated Sugar: Sweet stuff. Don’t skimp, unless you’re into bitter disappointment.
- ¾ cup Unsweetened Cocoa Powder: The darker, the better. Go for the good stuff here, your taste buds will thank you. This isn’t where we cheap out, people!
- 1 ½ tsp Baking Soda: The lift-off agent.
- 1 tsp Baking Powder: The other lift-off agent. They’re a dynamic duo.
- 1 tsp Salt: Just a pinch, to make everything pop. Don’t skip it, it balances the sweetness!
- 2 Large Eggs: Room temp, please! It makes a difference, trust me. Cold eggs are moody.
- ¾ cup Milk: Whole milk if you’re feeling decadent, but any milk works.
- ½ cup Vegetable Oil: For moistness. Don’t be scared of a little fat, it keeps things from drying out.
- 1 ½ tsp Vanilla Extract: Pure, not imitation. Unless you like sad vanilla.
- ¾ cup Boiling Water: Sounds weird, works magic. Trust the process.
For the Chocolate Mousse Filling:
- 2 cups Heavy Cream: The star of the mousse show. **Keep it super cold** until you’re ready to whip!
- ½ cup Powdered Sugar: Because nobody wants gritty mousse. Sifting is your friend here.
- ¼ cup Unsweetened Cocoa Powder: More chocolate, baby! Sift this too.
- 1 tsp Vanilla Extract: Again, pure!
- (Optional) Chocolate Shavings or Sprinkles: For that “I tried” aesthetic.
Step-by-Step Instructions
Alright, apron on! Let’s get this deliciousness going.
Making the Cake:
- **Preheat & Prep:** Fire up your oven to 350°F (175°C). Grease and flour two 8-inch round cake pans. Or line with parchment paper circles. You do you, just make sure they’re ready to go.
- **Dry Mix:** In a large bowl, whisk together the flour, granulated sugar, cocoa powder, baking soda, baking powder, and salt. Think of it as a pre-cake dance party for your dry ingredients.
- **Wet Mix:** In a separate medium bowl, whisk together the eggs, milk, vegetable oil, and vanilla extract until well combined.
- **Combine:** Pour the wet ingredients into the dry ingredients. Mix with a spatula or electric mixer on low speed until *just* combined. **Do not overmix!** Overmixing is how you get tough, sad cake. We want fluffy, happy cake.
- **Boiling Water Magic:** Carefully stir in the ¾ cup of boiling water. The batter will be quite thin. Don’t panic, this is exactly what we want! It’s the secret to a super moist cake.
- **Bake It Up:** Divide the thin batter evenly between your two prepared cake pans. Bake for 30-35 minutes, or until a wooden skewer or toothpick inserted into the center comes out clean.
- **Cool Down:** Let the cakes cool in their pans for about 10-15 minutes. Then, gently invert them onto a wire rack to cool completely. **Seriously, completely.** Warm cake + mousse = a very messy situation.
Whipping Up the Mousse Filling:
- **Chill Out:** Make sure your heavy cream is super cold, and if you have time, chill your mixing bowl and whisk attachment for 10-15 minutes beforehand. This helps the cream whip faster and fluffier.
- **Whip It Real Good:** Pour the cold heavy cream into your chilled bowl. Start whipping on low speed, then gradually increase to high.
- **Add Goodies:** Once soft peaks start to form (meaning the cream holds its shape slightly when you lift the whisk), sift in the powdered sugar and cocoa powder. Add the vanilla extract.
- **Stiff Peaks:** Continue whipping until stiff peaks form. This means the cream will hold its shape firmly when you lift the whisk. **Be careful not to over-whip!** Stop as soon as it looks firm, otherwise, you’ll end up with butter. (Which is great, just not for mousse).
Assembling Your Masterpiece:
- **Level Up (Optional):** If your cake layers have a dome on top, gently level them with a long serrated knife. Don’t worry if it’s not perfect, the mousse hides all imperfections!
- **First Layer:** Place one cooled cake layer on your serving plate or cake stand.
- **Mousse Mountain:** Pile about half of your glorious chocolate mousse filling onto the first cake layer. Spread it out evenly with an offset spatula or the back of a spoon, almost to the edges.
- **Second Layer:** Carefully place the second cake layer on top.
- **Finishing Touch:** Spread the remaining mousse on top of the second layer. If you’re feeling fancy, sprinkle with chocolate shavings or sprinkles. Or just admire its simple, chocolatey glory.
Common Mistakes to Avoid
Baking is fun, but a few slips can turn it into a sad story. Here’s how to dodge those bullets:
- **Warm Cake & Mousse:** We covered this, but it bears repeating. It’s like trying to build a sandcastle with soup. Don’t put mousse on a warm cake. Ever.
- **Overmixing the Batter:** Tough, chewy cake. No one wants that. Mix until the ingredients are just combined, then stop!
- **Over-Whipping the Cream:** Congratulations, you’ve made butter! It happens to the best of us. Keep a close eye on your cream; stop whipping as soon as you see stiff peaks.
- **Not Preheating the Oven:** The oven needs to be at the correct temperature *before* your cakes go in for even baking. **Preheat your oven, people!** It’s not a suggestion, it’s a command.
- **Opening the Oven Door Constantly:** Patience, grasshopper. Every time you peek, you let out heat, which can mess with your cake’s rise and baking time.
Alternatives & Substitutions
Feeling a bit rebellious? Here are some tweaks for ya:
- **Dairy-Free Dream:** Use your favorite non-dairy milk (almond, soy, oat) for the cake. For the mousse, a super-chilled can of full-fat coconut cream (just the thick part) can whip up nicely, though the texture will be slightly different.
- **Gluten-Free Goodness:** Swap the all-purpose flour for a good 1:1 gluten-free baking blend. Super easy substitution!
- **Flavor Boosts:** Add 1-2 teaspoons of instant espresso powder to the cake batter to deepen the chocolate flavor (it won’t taste like coffee, just more chocolatey!). Or, for an adult twist, add a splash of Kahlúa or rum to the mousse. Ooh la la!
- **No Mousse, No Problem (but why?):** If you’re feeling truly lazy, a simple chocolate buttercream or even a store-bought chocolate frosting could work. But FYI, the mousse is where the magic happens. Don’t deny yourself!
FAQ (Frequently Asked Questions)
- **Can I make this ahead of time?** **Absolutely!** The cake layers can be baked a day or two in advance. Once completely cooled, wrap them tightly in plastic wrap and store at room temp. The mousse is best made fresh just before assembly, but it can be made a few hours ahead and chilled.
- **Why the boiling water in the cake batter?** It helps to bloom the cocoa powder, which intensifies the chocolate flavor, and also contributes to an incredibly moist crumb. It’s truly a game-changer!
- **My mousse isn’t getting stiff! What went wrong?** Is your cream *super cold*? Was your bowl and whisk *chilled*? These are critical! If it’s still not firming up, pop the bowl into the freezer for 10-15 minutes, then try whipping again. Sometimes it just needs a little extra chill time.
- **Can I use margarine instead of butter?** Well, technically yes, you *could*. But why hurt your soul like that? Butter generally gives a superior flavor and texture in baking. Treat yo’ self!
- **How long does this cake last?** Stored in an airtight container in the fridge, it’s usually good for 3-4 days. But let’s be real, it rarely lasts that long!
Final Thoughts
So there you have it! A chocolate cake with mousse filling that’s fancy enough for a special occasion but easy enough for a Tuesday night “I need chocolate NOW” emergency. It’s rich, it’s decadent, and it totally screams “I know what I’m doing in the kitchen.”
Now go forth, bake, and conquer your cravings! And maybe, just maybe, share a slice or two. (Or don’t. I won’t tell.) You’ve earned this chocolatey masterpiece!


