So you’re craving something tasty but too lazy to spend forever in the kitchen, huh? Same. But what if I told you there’s a chocolate cake so good, so ridiculously easy, it practically bakes itself *and* makes you feel like a million bucks because, well, it’s got gold? Yeah, I thought that’d get your attention. Forget your diet, grab your apron, and let’s make some magic!
Why This Recipe is Awesome
Okay, confession time: I’m not exactly a Michelin-star chef, more like a ‘can-I-order-delivery-again’ kind of person. But this recipe? It’s practically idiot-proof. Seriously, if I can pull this off without setting the kitchen on fire (mostly), you totally can too. It’s rich, it’s decadent, and that little sprinkle of gold makes it fancy enough for a special occasion, but easy enough for a Tuesday night ‘because I deserve it’ vibe. Plus, instant bragging rights. Just saying.
Ingredients You’ll Need
- All-purpose flour: The backbone of all things cakey. Don’t skip it, unless you want a chocolate puddle.
- Granulated sugar: Because life’s too short for unsweetened sadness.
- Unsweetened cocoa powder: The deeper the chocolate, the better the soul. Go for good quality here, trust me.
- Baking soda & Baking powder: Our dynamic duo for lift. Don’t mix them up with baking salt. (Just kidding, that’s not a thing.)
- Salt: Just a pinch, to make all the other flavors sing.
- Eggs: Room temp, please! They mix better. No frozen surprises.
- Milk: Whole milk works best for richness, but whatever you’ve got chilling in the fridge is probably fine.
- Vegetable oil: Keeps it super moist. Don’t judge, it works wonders.
- Vanilla extract: A little splash of magic. Don’t use the imitation stuff; your cake deserves better.
- Boiling water (or hot coffee): This is our secret weapon for deep, dark chocolatey goodness.
For the frosting:
- Unsalted butter: Softened, but not melted. That’s a crucial difference, folks.
- Powdered sugar (confectioners’ sugar): The fine stuff. Sift it if you’re feeling fancy (or hate lumps).
- Unsweetened cocoa powder: Again, good quality for maximum impact.
- Milk or cream: To get that perfect spreadable consistency.
- Vanilla extract: More magic!
For the gold (the fun part!):
- Edible gold leaf or edible gold dust: The pièce de résistance! Look for it online or at fancy baking stores. Don’t use your grandma’s gold necklace, that’s not edible, FYI.
Step-by-Step Instructions
- Get Prepped: Preheat your oven to 350°F (175°C). Grease and flour two 8-inch round cake pans. Or line them with parchment paper. Whatever makes you happy.
- Dry Mix Fun: In a large bowl, whisk together the flour, sugar, cocoa powder, baking soda, baking powder, and salt. Make sure it’s all nicely combined, no lumpy bits trying to hide.
- Wet Mix Magic: In another bowl, lightly beat the eggs, then stir in the milk, oil, and vanilla extract. This is where the moisture lives!
- Combine Forces: Pour the wet ingredients into the dry ingredients. Mix on low speed (or by hand) until just combined. Don’t overmix, or your cake will be tough! Nobody wants a tough cake.
- The Hot Secret: Carefully, gradually, pour in the boiling water (or hot coffee) and mix until the batter is smooth. It will be thin – don’t panic! This is normal and gives us that super moist, decadent crumb.
- Into the Oven: Divide the batter evenly between your prepared cake pans. Bake for 30-35 minutes, or until a wooden skewer inserted into the center comes out clean.
- Chill Out: Let the cakes cool in the pans for about 10-15 minutes before inverting them onto a wire rack to cool completely. Patience is a virtue here. Don’t rush it, or your cakes will crumble and break your heart.
- Frosting Time (The Best Part): While the cakes cool, beat the softened butter until creamy. Gradually add the powdered sugar, cocoa powder, milk/cream, and vanilla. Beat until light and fluffy. If it’s too thick, add a tiny bit more milk; too thin, add more powdered sugar.
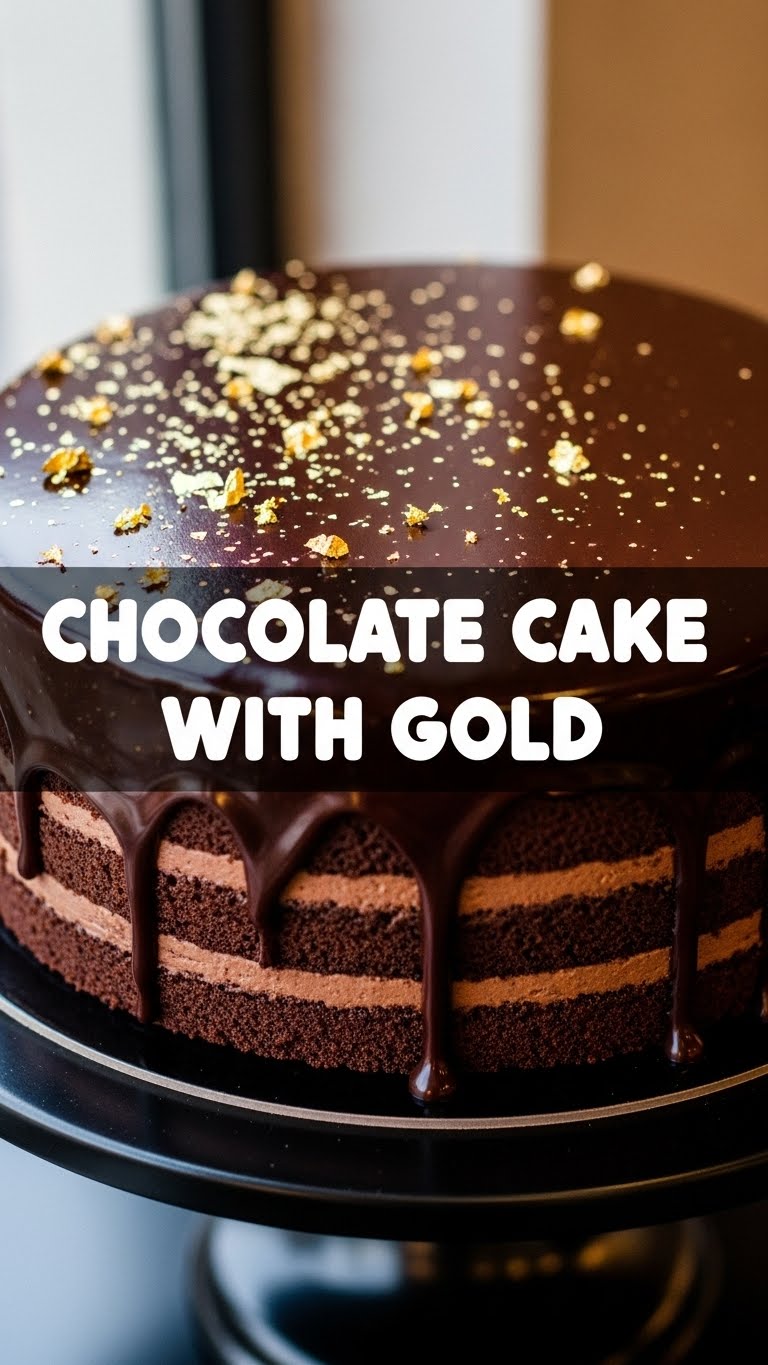
- Assemble and Garnish: Once the cakes are completely cool (seriously, COMPLETELY!), level them if needed, then frost. For the gold, gently apply edible gold leaf with a dry, soft brush or sprinkle edible gold dust. You don’t need a lot to make a statement!
- Serve and Shine: Slice it up and bask in the glory of your golden chocolate masterpiece. You made this!
Common Mistakes to Avoid
- Not preheating the oven: Rookie mistake! Your cake won’t rise properly, and nobody wants a sad, flat cake. It needs that immediate heat.
- Overmixing the batter: This is a biggie. It develops the gluten too much, making your cake tough and chewy instead of light and tender. Mix until just combined, then stop. Seriously, step away from the mixer!
- Not letting the cakes cool completely before frosting: Oh, the horror! Warm cake + frosting = melted, sliding mess. Trust me, it’s not a pretty sight, and your gold will just slip right off.
- Using cold ingredients (especially eggs and milk): Room temperature ingredients emulsify better, leading to a smoother, more uniform batter and a better-textured cake. Plan ahead, okay?
- Skipping the good quality cocoa: Seriously, it makes a difference. Cheap cocoa can lead to a dull, less flavorful cake. Don’t be that person. Invest a little!
Alternatives & Substitutions
- Coffee instead of water: If you want an even deeper, more complex chocolate flavor, use hot coffee in place of the boiling water. It doesn’t make it taste like coffee, just enhances the chocolate. IMO, it’s a game-changer.
- Sour cream or buttermilk: Want an even more tender, moist crumb? Swap out some of the milk for sour cream or buttermilk. Reduces sweetness a tad but adds amazing texture.
- Chocolate chips in the batter: Feeling extra? Fold in a cup of chocolate chips (semi-sweet or dark) into the batter before baking. Because more chocolate is always a good idea.
- Different frosting: Not a fan of chocolate buttercream? You could do a cream cheese frosting, a simple vanilla buttercream, or even a ganache. But for this cake, chocolate is the classic choice that truly shines.
- No gold? No problem! If edible gold feels a bit much (or you can’t find it), fancy sprinkles, chocolate shavings, or even a dusting of cocoa powder look fantastic too. But the gold does add that special “oomph.”
FAQ (Frequently Asked Questions)
- “Can I use margarine instead of butter for the frosting?” Well, technically yes, but why hurt your soul like that? Butter just tastes better and gives a richer, smoother frosting. Margarine can be a bit greasy, and you deserve better.
- “My cake cracked on top! What did I do wrong?” Don’t sweat it! Cakes crack sometimes. It could be that your oven temperature was a tad too high, or you overfilled the pans. No biggie, the frosting will cover a multitude of sins, literally!
- “How long does this cake last?” Stored properly in an airtight container at room temperature, it’s usually good for 3-4 days. In the fridge, maybe a day or two longer, but it’s best served at room temp. If it even lasts that long!
- “Can I make this as cupcakes?” Absolutely! Just fill cupcake liners about two-thirds full and bake for 20-25 minutes. Keep an eye on them, as baking times vary. Gold dust on cupcakes? Yes, please!
- “Is edible gold actually safe to eat?” Yes, edible gold leaf or dust is totally safe! It’s flavorless and designed for consumption. Just make sure you’re buying *edible* gold from a reputable source, not just any old craft glitter you found in your kid’s art box.
Final Thoughts
See? Told you it was easy! Now you’ve got yourself a seriously impressive, decadent chocolate cake with a touch of bling. Go ahead, take a picture, post it everywhere, and bask in the compliments. You’ve earned ’em, you baking rockstar! Now go impress someone—or yourself—with your new culinary skills. Maybe even save a slice for me, if you’re feeling generous. Happy baking!


