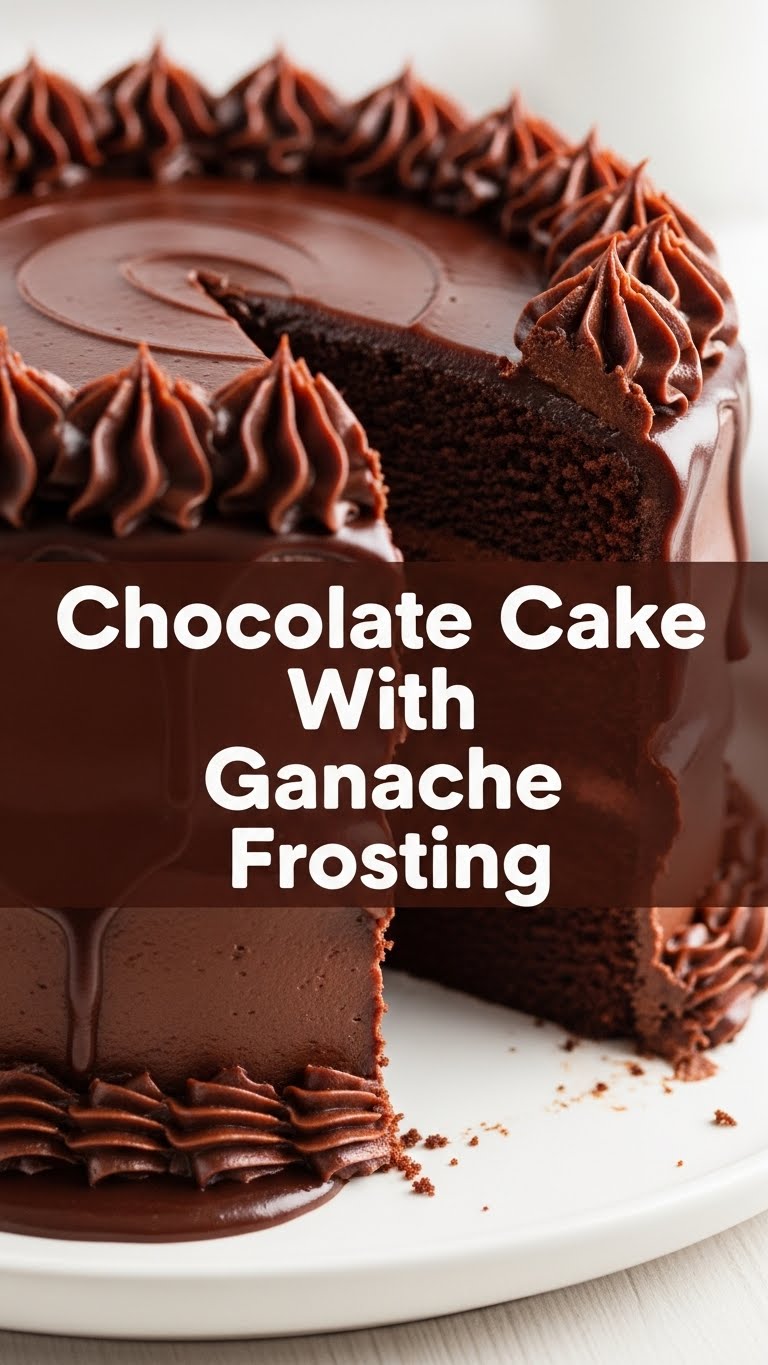
Ever had one of those days where your brain screams ‘CHOCOLATE!’ but your energy levels whisper ‘just order pizza’? Yeah, me too. But what if I told you there’s a way to get that deep, dark, decadent chocolate cake fix *without* feeling like you just ran a marathon in your kitchen? Nope, not a trick! We’re diving into a chocolate cake with ganache frosting that’s so easy, you’ll wonder why you ever paid good money for one. Prepare to have your mind (and taste buds) blown!
Why This Recipe is Awesome
Okay, so why this particular recipe out of all the chocolate cakes in the universe? First off, it’s ridiculously moist. Like, “did you put a secret ingredient in this?” moist. Secondly, the ganache isn’t just a frosting; it’s a glossy, rich, chocolatey blanket of pure joy. And the best part? It’s practically fail-proof. Seriously, if I, a person who once set off the smoke detector making toast, can pull this off, so can you. It’s got minimal fuss, maximum flavor. Your friends will think you’re a baking wizard, and you can just smirk and nod.
Ingredients You’ll Need
For the Cake:
- 1 ½ cups all-purpose flour (the basic stuff, no fancy flours needed)
- 1 ½ cups granulated sugar (sweetness is key!)
- ¾ cup unsweetened cocoa powder (go dark, go delicious)
- 1 ½ teaspoons baking soda (our little lifting agent)
- 1 teaspoon salt (enhances all that chocolatey goodness)
- ¾ cup buttermilk (the secret to moisture, shhh!)
- ½ cup vegetable oil (or any neutral oil, don’t overthink it)
- 2 large eggs (straight from the fridge is fine, we’re not being picky)
- 1 teaspoon vanilla extract (the unsung hero of all desserts)
- ¾ cup hot water or hot coffee (coffee makes chocolate taste *more* chocolatey, trust me)
For the Ganache Frosting:
- 1 cup heavy cream (the full-fat good stuff, don’t skimp!)
- 8 ounces good quality semi-sweet or dark chocolate, chopped (chips work too, but chopped melts better)
- 1 tablespoon unsalted butter (for extra sheen and silkiness)
- A pinch of salt (balances the sweetness, you’ll thank me later)
Step-by-Step Instructions
- Get Prepped: Preheat your oven to 350°F (175°C). Grease and flour a 9×13 inch baking pan or two 8-inch round cake pans. Don’t skip this, unless you enjoy wrestling a stuck cake later.
- Dry Mix Fun: In a large bowl, whisk together the flour, sugar, cocoa powder, baking soda, and salt. Make sure there are no lumps—we’re aiming for smooth sailing here.
- Wet Mix Magic: In another bowl, combine the buttermilk, oil, eggs, and vanilla extract. Give it a good whisk until everything is well blended.
- Combine Forces: Pour the wet ingredients into the dry ingredients. Mix on low speed (or by hand) until just combined. Don’t overmix, or your cake will be tough, and nobody wants a tough cake.
- Hot Stuff: Slowly add the hot water or coffee to the batter, mixing until just smooth. The batter will be thin, and that’s totally okay. It’s supposed to be!
- Bake It Up: Pour the batter into your prepared pan(s). Bake for 30-35 minutes for a 9×13 pan, or 25-30 minutes for round pans, or until a wooden skewer inserted into the center comes out clean.
- Cool Down: Let the cake cool in the pan for about 10-15 minutes before inverting it onto a wire rack to cool completely. This is crucial! Don’t try to frost a warm cake unless you want a melted mess.
- Ganache Time! While the cake cools, chop your chocolate and place it in a heatproof bowl.
- Cream Heat: Heat the heavy cream in a small saucepan over medium heat until it just simmers (tiny bubbles around the edges). Don’t boil it!
- Pour & Melt: Pour the hot cream over the chopped chocolate. Let it sit for 5 minutes without stirring. This gives the chocolate time to really get melty.
- Whisk Away: Add the butter and a pinch of salt. Whisk gently from the center outwards until smooth and glossy. If it looks a little separated at first, keep whisking; it will come together.
- Frosting Finish: Let the ganache sit at room temperature for 30-60 minutes, stirring occasionally, until it’s spreadable but still pourable. It should be thick enough to cling to a spoon. Pour over your *fully cooled* cake and spread it out. Slice, serve, and bask in the glory!
Common Mistakes to Avoid
- Not Greasing Your Pan Properly: You think you can just “eyeball it,” huh? Nope. Grease, flour, or use parchment paper. Otherwise, say goodbye to a clean release and hello to cake shrapnel.
- Overmixing the Batter: This isn’t a workout for your biceps; it’s cake. Overmixing develops gluten, leading to a tough, dry cake. Mix until *just* combined. Your future self will thank you.
- Frosting a Warm Cake: This is like trying to ice skate on soup. The ganache will melt, slide off, and you’ll end up with a chocolate puddle instead of a masterpiece. Patience, young padawan, patience.
- Using Low-Quality Chocolate for Ganache: You’re making a *chocolate* cake. The ganache is half the show! Don’t use that mystery chocolate bar you found in the back of the pantry. Good chocolate makes a huge difference here.
Alternatives & Substitutions
- Buttermilk Blues? No buttermilk? No problem! Add 1 tablespoon of white vinegar or lemon juice to a liquid measuring cup, then fill the rest with regular milk until you reach ¾ cup. Let it sit for 5 minutes, and voila! DIY buttermilk.
- No Coffee? Hot water works perfectly fine. The coffee just deepens the chocolate flavor without making it taste like coffee, in my opinion. But if you’re not a coffee person, don’t fret.
- Different Chocolate for Ganache: Feel free to use milk chocolate if you prefer a sweeter, milder ganache. Just be aware it might be a bit softer. Or go super dark if you’re a bittersweet fan!
- Make it a Layer Cake: This recipe easily makes two 8-inch round cakes. Just split the batter and adjust baking time as mentioned. Double the ganache if you want a really thick layer between and on top!
FAQ (Frequently Asked Questions)
- “Can I use regular milk instead of buttermilk in the cake?” Well, technically yes, but why deprive yourself of that extra moisture and tender crumb? If you don’t have buttermilk, use the DIY trick mentioned above. It really makes a difference.
- “My ganache looks oily/separated! What did I do wrong?” Don’t panic! It probably means the fat and liquid separated. Try whisking in a teaspoon of hot water or a tiny bit more warm cream, very slowly, until it comes back together. A little patience often fixes it.
- “How long does this cake last?” If it even *lasts* that long, wrapped at room temperature, it’s usually good for 3-4 days. In the fridge, maybe a week, but the texture might change a little. It’s usually devoured long before then, though.
- “Can I freeze the cake?” Absolutely! Wrap cooled, unfrosted cake layers tightly in plastic wrap and then foil. It’ll keep for up to 2-3 months. Thaw in the fridge before frosting.
- “What kind of cocoa powder should I use?” Natural unsweetened cocoa powder is great for this recipe. Dutch-processed works too, but since we’re using baking soda (which reacts with the acidity in natural cocoa), natural is often preferred for optimal rise. Either way, just make sure it’s unsweetened!
- “Is the hot water/coffee really necessary?” Yes! It’s not just for liquid; it “blooms” the cocoa powder, bringing out a richer, deeper chocolate flavor. Don’t skip this step for maximum deliciousness.
Final Thoughts
See? That wasn’t so scary, was it? You just whipped up a show-stopping chocolate cake with ganache frosting that’s probably better than anything you can buy. Now go impress someone—or yourself—with your new culinary skills. You’ve earned it! Seriously, grab a slice, put your feet up, and pat yourself on the back. You’re a baking rockstar. And if you have any leftovers (unlikely, I know), feel free to send them my way. Just kidding… mostly.

