So, you’ve got that irresistible craving, the one that whispers “chocolate” into your soul, but you’re also eyeing your couch with serious commitment? I get it. We all want to whip up something that looks like it took hours, but, like, without actually *spending* hours. And ideally, without setting off the smoke alarm. My kind of cooking, right?
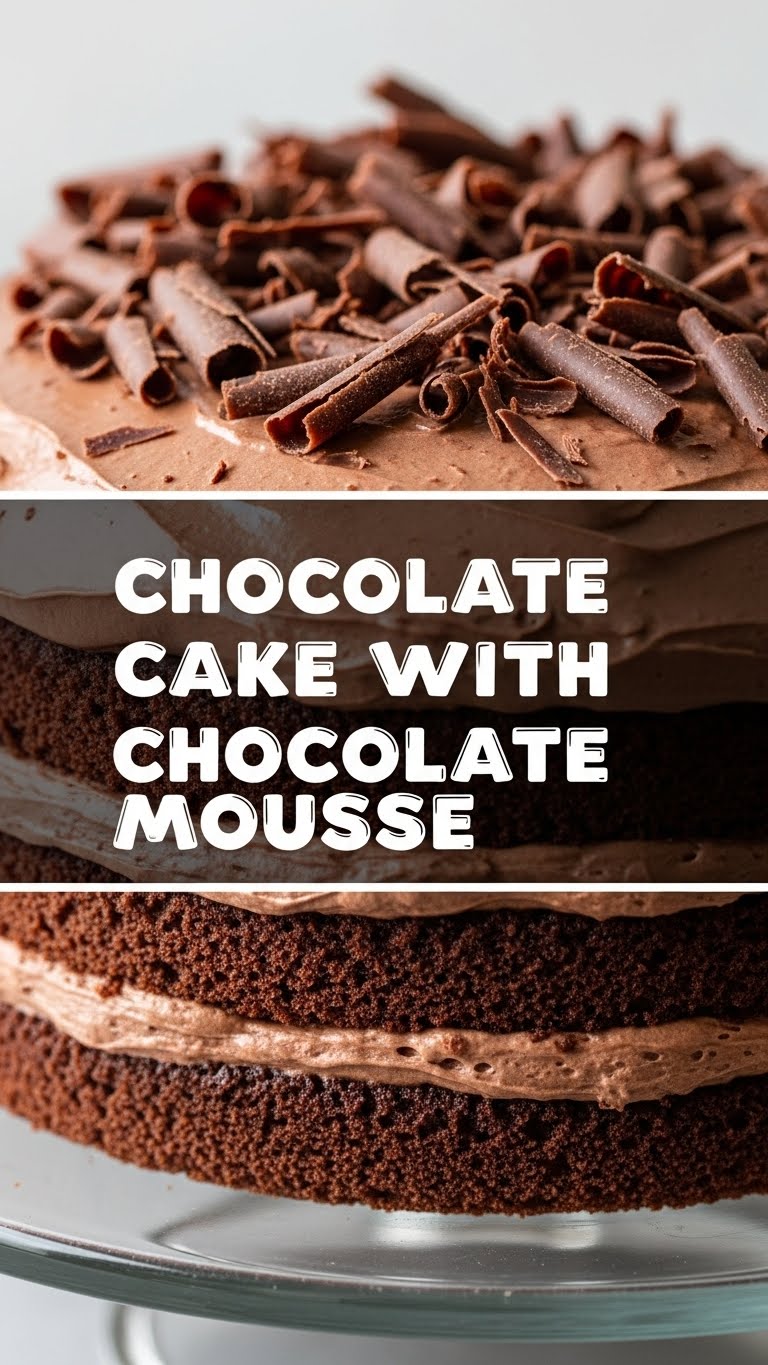
Well, buckle up, buttercup, because today we’re tackling a chocolate cake with chocolate mousse that’s so ridiculously delicious, it feels illegal. But shhh, I won’t tell if you don’t.
Why This Recipe is Awesome
Okay, let’s be real. This isn’t just *a* chocolate cake. This is *the* chocolate cake. It’s got that perfect balance of deep, dark chocolatey goodness in the cake itself, paired with a cloud-like, decadent chocolate mousse that just melts in your mouth. And the best part? It’s pretty much **idiot-proof**. Seriously, if I can make this without a major kitchen catastrophe (which, let’s be honest, is rare for me), you absolutely can too.
It’s fancy enough to impress your in-laws (if that’s your thing), but chill enough to just devour on a Tuesday evening while binging your favorite show. Plus, the steps are straightforward, and there’s nothing too wild or intimidating. We’re talking maximum flavor, minimum fuss. You’re welcome.
Ingredients You’ll Need
Get ready to stock up! We’re doing two delicious layers here, so we’ll separate the lists for clarity. Don’t worry, most of this stuff is probably already lurking in your pantry.
For the Chocolate Cake (your trusty base):
- 1 ½ cups (190g) All-Purpose Flour: The backbone of our cakey dreams.
- 1 ½ cups (300g) Granulated Sugar: Sweetness, baby!
- ¾ cup (65g) Unsweetened Cocoa Powder: Go for a good quality one here, it makes a difference.
- 1 ½ teaspoons Baking Soda: Our fluffy maker.
- 1 teaspoon Salt: Don’t skip it! It brings out all the chocolatey goodness.
- ¾ cup (180ml) Buttermilk: Or make your own! (See FAQ if you’re out).
- ¾ cup (180ml) Vegetable Oil: Keeps things moist and lovely.
- 1 ½ teaspoons Vanilla Extract: The OG flavor enhancer.
- 2 Large Eggs: Room temp is best, FYI.
- ¾ cup (180ml) Hot Water (or hot coffee): This is the secret to a super moist cake. Seriously, try the coffee!
For the Chocolate Mousse (the cloud of pure joy):
- 8 ounces (225g) Good Quality Dark Chocolate: Around 60-70% cacao is perfect. Chop it up!
- 4 Large Eggs, separated: Yolks and whites, playing different roles.
- ¼ cup (50g) Granulated Sugar: For a touch of sweetness.
- ¼ cup (60ml) Water: Just a little something to get things going.
- 1 ½ cups (360ml) Heavy Cream: Whipped to soft peaks, because decadence.
- 1 teaspoon Vanilla Extract: Because everything’s better with vanilla.
- Pinch of Salt: Again, balances everything out.
Step-by-Step Instructions
Alright, let’s get baking! Don’t fret, we’ll take it one step at a time.
Part 1: The Glorious Chocolate Cake
- **Preheat Power:** Get your oven to 350°F (175°C) and grease and flour a 9-inch round cake pan. You can also line the bottom with parchment paper for extra insurance.
- **Dry Mix Magic:** In a large bowl, whisk together the flour, sugar, cocoa powder, baking soda, and salt. Make sure there are no lumps—we’re aiming for smooth sailing.
- **Wet Mix Wonders:** In a separate medium bowl, whisk the buttermilk, oil, vanilla, and eggs until they’re well combined.
- **Combine & Conquer:** Pour the wet ingredients into the dry ingredients and mix on low speed (or by hand) until just combined. Don’t overmix! A few lumps are okay.
- **Hot Stuff:** Slowly add the hot water (or coffee!) to the batter, mixing until just smooth. The batter will be thin, and that’s totally normal.
- **Bake It Up:** Pour the thin batter into your prepared cake pan. Bake for 30-35 minutes, or until a wooden skewer inserted into the center comes out with moist crumbs, but not wet batter.
- **Cool Down:** Let the cake cool in the pan for about 10-15 minutes before inverting it onto a wire rack to cool completely. **This is crucial!** Don’t try to mousse a warm cake.
Part 2: The Dreamy Chocolate Mousse
- **Melt & Mix:** Melt the chopped dark chocolate in a heatproof bowl set over a saucepan of simmering water (a double boiler, fancy pants!) or in the microwave in 30-second bursts, stirring until smooth. Let it cool slightly.
- **Yolk Power:** In a stand mixer or a large bowl with an electric hand mixer, beat the egg yolks with ½ of the sugar until pale and fluffy.
- **Syrup Swirl:** In a small saucepan, combine the water and the remaining sugar. Bring to a boil over medium heat, stirring until the sugar dissolves. Let it boil for about 1-2 minutes until it forms a thin syrup.
- **Temper Time:** With your mixer running on medium-low, slowly drizzle the hot syrup into the egg yolk mixture. Continue beating until the mixture is thick, pale, and has cooled to room temperature. This is called a *pâte à bombe* (fancy, right?).
- **Fold It In:** Gently fold the slightly cooled melted chocolate into the egg yolk mixture until just combined.
- **Creamy Clouds:** In a separate clean bowl, whip the heavy cream with vanilla extract and a pinch of salt until soft peaks form.
- **The Grand Finale (Mousse Edition):** Gently fold the whipped cream into the chocolate-yolk mixture in two additions. Be gentle! We want to keep all that beautiful air.
Part 3: The Assembly (the satisfying part!)
- **Level Up:** If your cake has a dome, carefully level it with a serrated knife so it’s flat.
- **Mousse Mountain:** Place your cooled cake on a serving plate. Spoon the chocolate mousse on top of the cake, spreading it evenly to the edges. You can make it as rustic or as polished as you like!
- **Chill Out:** Pop the whole masterpiece into the fridge for at least 2-4 hours (or overnight!) to allow the mousse to set. **Patience is a virtue here!**
- **Serve & Devour:** Once set, slice it up and prepare for compliments. Garnish with some chocolate shavings or fresh berries if you’re feeling extra.
Common Mistakes to Avoid
We’ve all been there. Learn from my past (numerous) mistakes, friend.
- **Overmixing the Cake Batter:** Rookie mistake! This develops too much gluten, giving you a tough, chewy cake instead of a tender one. Mix until just combined, a few lumps are fine.
- **Not Preheating the Oven:** Your oven needs to be at the correct temperature *before* the cake goes in. Otherwise, the leavening agents won’t activate properly, and your cake won’t rise right.
- **Opening the Oven Door Too Early:** Resist the urge! Opening the door lets cold air in, which can make your cake sink. Wait until at least ¾ of the way through baking time.
- **Not Letting the Cake Cool Completely:** I know, I know, the wait is excruciating. But if you try to put mousse on a warm cake, that mousse will melt into a sad, chocolatey puddle. Don’t do it!
- **Being Aggressive with the Mousse:** When folding in the whipped cream, be gentle. We’re trying to keep the mousse light and airy, not deflate it with vigorous stirring.
Alternatives & Substitutions
Feeling a little rebellious, or just missing an ingredient? No stress, I got you!
- **No Buttermilk? No Problem!** Mix ¾ cup regular milk with 1 tablespoon of white vinegar or lemon juice. Let it sit for 5-10 minutes until it looks slightly curdled. Voila! Instant buttermilk.
- **Coffee vs. Water:** Honestly, hot coffee in the cake batter **enhances the chocolate flavor** like nobody’s business without making it taste like coffee. Highly recommend giving it a shot!
- **Dark Chocolate Drama:** If you’re not a fan of super dark chocolate, you can use semi-sweet chocolate for the mousse. Just adjust the sugar slightly if you like things sweeter.
- **Liqueur It Up:** Want to make the mousse extra fancy? Add a splash (like 1-2 tablespoons) of espresso liqueur, Grand Marnier, or even rum to the melted chocolate before folding it into the egg yolk mixture. Makes it feel super grown-up.
- **Gluten-Free Cake:** You can totally use a 1:1 gluten-free all-purpose flour blend for the cake. The texture might be slightly different, but it’ll still be delicious!
FAQ (Frequently Asked Questions)
Got questions? I’ve got (casual) answers!
“Can I make this cake ahead of time?”
Oh, absolutely! The cake itself can be baked a day in advance. Just wrap it tightly in plastic wrap once completely cooled and store it at room temperature. The assembled cake with mousse is even better made a day ahead, allowing all those flavors to meld beautifully. Just keep it chilled!
“What if I don’t have a 9-inch round pan?”
No sweat! An 8-inch round pan will work, but you’ll likely need to increase the baking time a bit (keep an eye on it!). You could also make cupcakes, but then how would you layer the mousse? Food for thought.
“My mousse isn’t setting, what went wrong?”
Hmm, usually this means the chocolate wasn’t cooled enough before mixing, or the whipped cream was over-folded and lost its air. Make sure your chocolate isn’t hot when you combine it, and be gentle with the cream. Also, did you chill it long enough? Patience, my friend!
“Can I use milk chocolate for the mousse instead?”
Technically, yes, but why dilute that rich chocolate flavor? Milk chocolate has more sugar and less cacao, so your mousse will be much sweeter and less intense. If you *really* love milk chocolate, go for it, but just be aware of the flavor difference. IMO, dark chocolate is the way to go here.
“How long does this cake last?”
In your fridge, tightly covered, it should last a good 3-4 days. But let’s be honest, will it even last 24 hours? Unlikely in my house!
“Is this recipe hard for a beginner?”
Nah! While it has a few steps, each step is pretty simple. The key is to read through the whole recipe first, measure accurately, and don’t rush the cooling or setting times. You got this!
Final Thoughts
And there you have it, folks! A show-stopping chocolate cake with chocolate mousse that tastes like a dream, but won’t make you want to throw your kitchen mixer out the window. This recipe is all about indulging your inner chocolate fiend without breaking a sweat (or your sanity). So go ahead, bake this beauty. Share it, don’t share it, I’m not here to judge. Just make sure you enjoy every single ridiculously delicious bite.
Now go impress someone—or yourself—with your new culinary skills. You’ve earned it!


