So you’re craving something sinfully delicious but also kind of want to impress everyone without actually *trying* too hard, huh? Same. Trust me, I get it. We want that “chef-level” dessert without, you know, the actual chef-level effort or the ensuing kitchen disaster. Good news, my friend: I’ve got your back with a recipe so good, so easy, it should probably be illegal.
Why This Recipe is Awesome
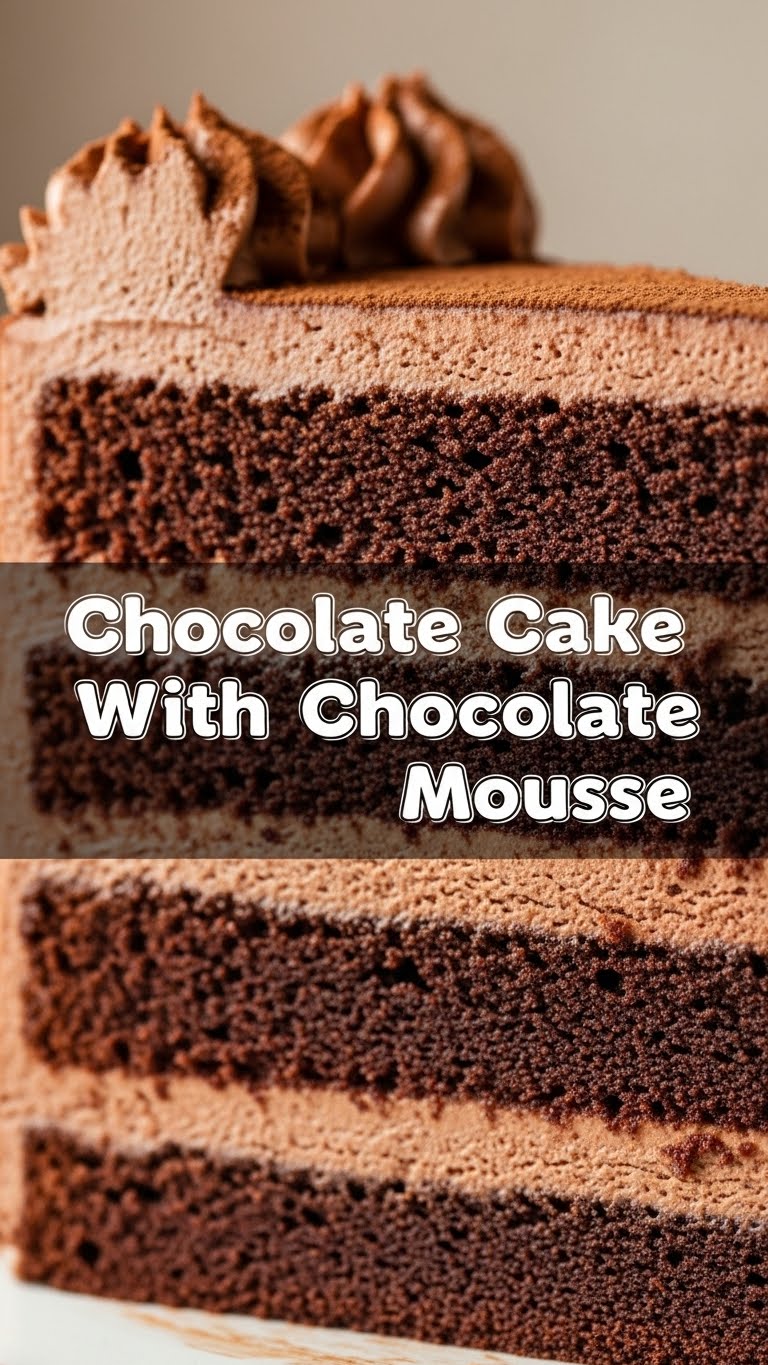
Okay, let’s be real. Most chocolate cakes are either dry cardboard or so dense they could be used as a doorstop. And don’t even get me started on fussy mousses that deflate if you look at them wrong. This, my culinary comrade, is different. This chocolate cake is moist, tender, and oh-so-chocolatey. And the chocolate mousse? It’s ridiculously light, airy, and manages to be decadent without feeling like a brick in your stomach. It’s practically idiot-proof. Seriously, even *I* didn’t mess it up, and my track record in the kitchen involves more smoke alarms than Michelin stars. Plus, it looks like you spent hours slaving away, when in reality, you were probably binging something on Netflix. Winning!
Ingredients You’ll Need
Get ready to raid your pantry. No obscure, ancient herbs required here, just the good stuff.
For the Chocolate Cake:
- All-purpose flour: About 1 ½ cups. The backbone of our cakey dreams.
- Granulated sugar: 1 ½ cups. Sweetness!
- Unsweetened cocoa powder: ¾ cup. Don’t skimp on the good quality stuff, it makes a difference.
- Baking soda: 1 ½ teaspoons. Our little lifter-upper.
- Baking powder: 1 ½ teaspoons. More lift! We want fluffy, not flat.
- Salt: 1 teaspoon. Because salt makes everything taste better, even chocolate.
- Eggs: 2 large. Room temp if you can remember, but honestly, I rarely do.
- Milk: 1 cup. Any kind you prefer, but whole milk works wonders.
- Vegetable oil: ½ cup. Keeps things moist and lovely.
- Vanilla extract: 2 teaspoons. Essential for depth of flavor.
- Boiling water: 1 cup. The secret ingredient for super moist cake!
For the Chocolate Mousse:
- Good quality semi-sweet or dark chocolate: 8 ounces, chopped. Go for something you’d actually eat on its own.
- Heavy cream: 2 cups, chilled. We’re whipping this into oblivion.
- Confectioners’ sugar (powdered sugar): ¼ cup (or to taste). For that subtle sweetness.
- Vanilla extract: 1 teaspoon. Because vanilla and chocolate are besties.
Step-by-Step Instructions
Let’s get this party started! Seriously, it’s easier than assembling IKEA furniture (and way more delicious).
Part 1: The Glorious Chocolate Cake
- Preheat & Prep: First things first, get your oven to 350°F (175°C). Grease and flour two 8-inch round cake pans. Or, you know, line with parchment paper for less drama.
- Dry Mix Magic: In a big bowl, whisk together the flour, sugar, cocoa powder, baking soda, baking powder, and salt. Make sure there are no lumpy bits. Nobody likes a lumpy cake.
- Wet Mix Whirlwind: In another bowl, combine the eggs, milk, vegetable oil, and vanilla extract. Whisk ’em good.
- Combine Forces: Pour the wet ingredients into the dry ingredients. Mix on low speed with an electric mixer (or by hand, if you’re feeling ambitious) until just combined. Don’t overmix, or your cake will get tough – and we’re aiming for tender, right?
- The Boiling Water Boost: Carefully, and I mean *carefully*, pour in the boiling water. The batter will be thin, and that’s totally okay. Mix until just combined. This is the secret to a super moist cake, FYI.
- Bake Time Bliss: Divide the batter evenly between your prepared pans. Bake for 30-35 minutes, or until a toothpick inserted into the center comes out clean.
- Cool Down: Let the cakes cool in their pans for about 10-15 minutes, then carefully invert them onto a wire rack to cool completely. Patience, young Padawan.
Part 2: The Dreamy Chocolate Mousse
- Melt the Chocolate: Chop your chocolate and place it in a heatproof bowl. You can melt it gently over a double boiler or in the microwave in 30-second intervals, stirring after each, until smooth. Let it cool slightly but not re-solidify.
- Whip It Good: In a large, chilled bowl (seriously, a cold bowl helps), whip the heavy cream, confectioners’ sugar, and vanilla extract with an electric mixer on high speed until stiff peaks form. Don’t over-whip, or you’ll get butter (unless you want butter, then by all means!).
- Fold It In: Gently fold about a third of the whipped cream into the slightly cooled melted chocolate to lighten it up. Then, add the chocolate mixture back into the remaining whipped cream and fold until just combined. Be gentle! We want airy mousse, not flat goo.
Part 3: The Grand Assembly
- Level Up (Optional): If your cake layers have domed tops, use a serrated knife to carefully level them. This makes for a prettier, more stable cake.
- Layer 1: Place one cooled cake layer on your serving plate. Spread about half of the chocolate mousse over the top, almost to the edges.
- Layer 2: Gently place the second cake layer on top. Spread the remaining mousse over this layer. You can make it smooth, or create fancy swirls – get creative!
- Chill Out: Pop your masterpiece in the fridge for at least 2 hours to allow the mousse to set. This is crucial! Resist the urge to dive in immediately.
- Devour: Slice, serve, and accept all the compliments. You’ve earned ’em!
Common Mistakes to Avoid
Listen, we’ve all been there. Learn from my past kitchen mishaps (so you don’t have to!).
- Thinking you don’t need to preheat the oven: Rookie mistake, my friend. A cold oven equals unevenly baked, dense cake. Don’t do it.
- Overmixing the cake batter: Seriously, mix until *just* combined. Overmixing develops the gluten, making your cake tough and chewy instead of light and tender.
- Not letting the chocolate cool before folding into the mousse: If your melted chocolate is too hot, it will melt your beautifully whipped cream, resulting in a runny, sad mousse. Big no-no!
- Impatience with chilling: I know it’s hard, but don’t skip the fridge time. The mousse needs to set properly to hold its shape. A wobbly cake is a sad cake.
- Using low-quality chocolate: The mousse is all about that chocolate flavor. If you use cheap chocolate, it will taste… well, cheap. Your tastebuds deserve better.
Alternatives & Substitutions
Feeling a little rebellious? Here are some tweaks you can make:
- Chocolate Type: For the mousse, feel free to use milk chocolate for a sweeter, milder flavor, or a higher percentage dark chocolate (70%+) if you’re a true dark chocolate aficionado. I’m personally a semi-sweet kind of person, a happy medium, IMO.
- Dairy-Free? You can definitely use plant-based milk (almond, soy, oat) for the cake. For the mousse, some brands of full-fat coconut cream (chilled, only the thick part) can be whipped into a fantastic dairy-free alternative to heavy cream. Just make sure your chocolate is also dairy-free.
- Flavor Boost: Add a splash of espresso powder (1-2 tsp) to the cake batter to deepen the chocolate flavor without making it taste like coffee. Or a dash of orange zest for a chocolate-orange vibe. Oh, or a tiny bit of almond extract in the mousse!
- Mini Cakes: Turn these into cupcakes or mini cakes! Just adjust baking time accordingly. Cupcakes usually take about 18-22 minutes.
FAQ (Frequently Asked Questions)
- Can I make this cake ahead of time? Absolutely! The cake layers can be baked a day or two in advance, wrapped tightly, and stored at room temperature. The assembled cake can be made a day ahead and stored in the fridge. The flavors actually meld beautifully overnight!
- My cake is dry! What went wrong? Did you overbake it? Or maybe overmix the batter? Overbaking is the usual culprit. Always check with a toothpick and pull it out as soon as it comes clean.
- Can I use margarine instead of butter? Well, technically yes for the cake, but why hurt your soul like that? Butter generally gives a superior flavor and texture. For the mousse, there’s no butter involved anyway, so you’re safe there!
- How long does this cake last? Stored in an airtight container in the fridge, it’s usually good for 3-4 days. But let’s be honest, it rarely lasts that long in my house.
- Can I freeze the cake? Yes! You can freeze the unfrosted cake layers (wrapped really well) for up to a month. Thaw them in the fridge before frosting. I wouldn’t recommend freezing the assembled cake with the mousse, as the texture of the mousse can change upon thawing.
- What if my mousse isn’t setting? Chances are your heavy cream wasn’t cold enough, or you didn’t whip it to stiff peaks. Or perhaps your melted chocolate was too warm when you folded it in. Pop it back in the fridge for a while, sometimes it just needs more chill time.
Final Thoughts
So there you have it, a showstopper chocolate cake with chocolate mousse that’s deceptively easy. You now possess the power to make mouths water, eyes widen, and perhaps even earn yourself a few “OMG, you made this?!” compliments. Go forth, bake, and conquer that chocolate craving! Now go impress someone—or yourself—with your new culinary skills. You’ve earned it!


