Alright, listen up, buttercup! Got that undeniable chocolate craving hitting harder than a Monday morning alarm? And you’re thinking, “Ugh, a *cake*? That sounds like effort.” Well, my friend, you’ve come to the right place. Because today, we’re making a chocolate cake so ridiculously easy and delicious, you’ll wonder why you ever bought one from a store.
Why This Recipe is Awesome (aka, Your New Best Friend)
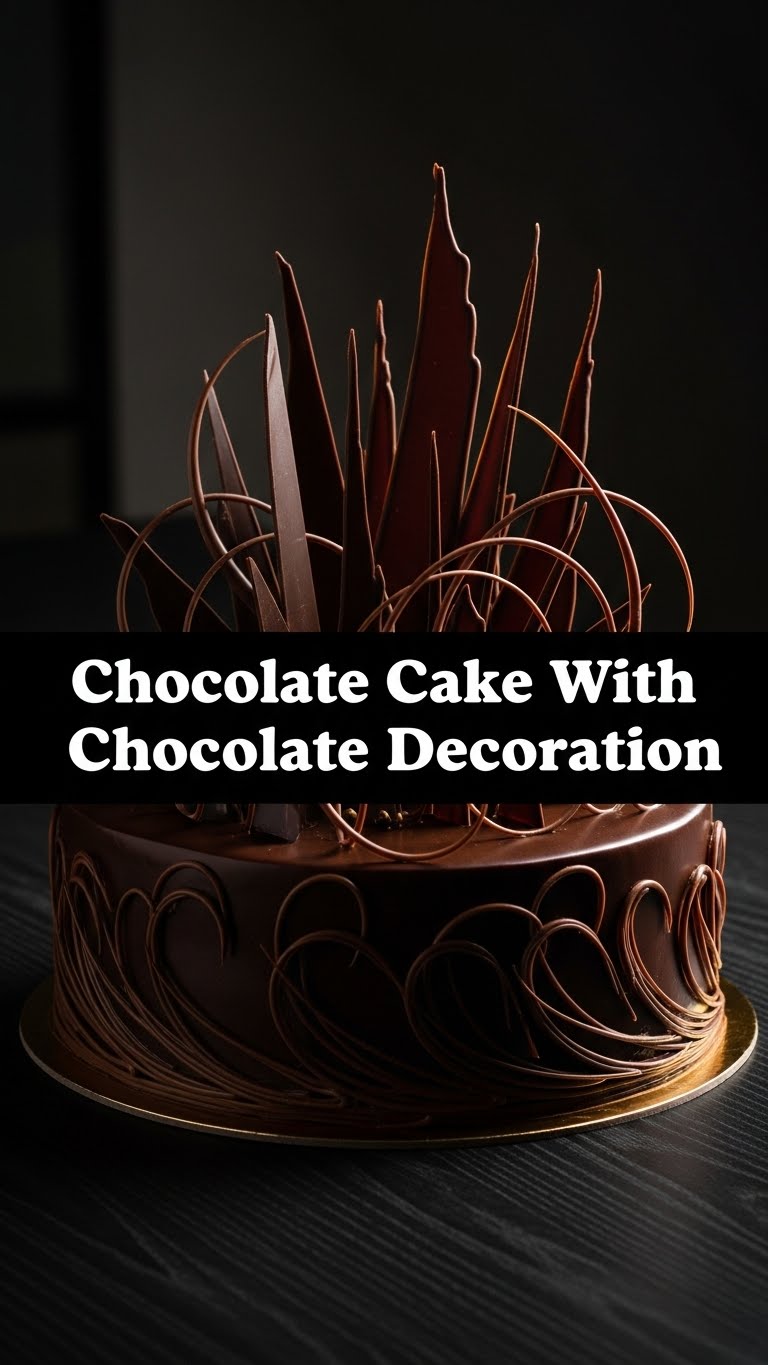
Let’s be real, life’s too short for complicated recipes unless you’re, like, a Michelin star chef. And even then, who needs the stress? This chocolate cake recipe? It’s practically foolproof. Seriously, I’ve seen squirrels bake more complicated things. It’s quick, it’s moist, it’s got that deep, dark chocolate flavor we all dream about, and **it doesn’t require a culinary degree** to pull off. Plus, the chocolate decoration is so simple, you’ll feel like a fancy pastry artist without actually having to *be* one. Winning!
Ingredients You’ll Need (Raid Your Pantry, Chef!)
- **All-Purpose Flour:** About 1 ½ cups. The backbone of our cakey dreams.
- **Granulated Sugar:** 1 ½ cups. Because sweetness makes the world go ’round, right?
- **Unsweetened Cocoa Powder:** ¾ cup. And don’t skimp! This is where the magic happens.
- **Baking Soda:** 1 ½ teaspoons. Our little rising star.
- **Baking Powder:** 1 teaspoon. Because two leavening agents are better than one, IMO.
- **Salt:** 1 teaspoon. Balances all that lovely sweetness. Don’t skip it!
- **Milk:** 1 cup. Any kind works, but whole milk gives it that extra lusciousness.
- **Vegetable Oil:** ½ cup. For ultimate moistness. Trust me on this.
- **Large Eggs:** 2, at room temperature. Give them a quick warm bath if you forget.
- **Vanilla Extract:** 2 teaspoons. The unsung hero, making everything taste better.
- **Boiling Water:** 1 cup. Sounds weird, but it makes the cake super moist and fudgy. Secret weapon!
- **For the Chocolate Decoration (Frosting):**
- **Unsalted Butter:** ½ cup (1 stick), softened. Don’t melt it completely, just soft enough to smoosh.
- **Powdered Sugar:** 3 cups. Sift it if you’re feeling fancy, or just brave the lumps.
- **Unsweetened Cocoa Powder:** ½ cup. More chocolate, because why not?
- **Milk:** ¼ cup (or more, to adjust consistency).
- **Vanilla Extract:** 1 teaspoon.
- **Pinch of Salt:** Just to cut the sweetness a bit.
Step-by-Step Instructions (Let’s Get This Party Started!)
- **Preheat & Prep:** First things first, preheat your oven to **350°F (175°C)**. Grab a 9×13 inch baking pan (or two 8 or 9-inch round pans if you’re feeling layered) and grease/flour it like you’re preparing for royalty. Line with parchment paper if you’re paranoid about sticking—which is smart, btw.
- **Dry Mix Magic:** In a large bowl, whisk together the flour, sugar, cocoa powder, baking soda, baking powder, and salt. Make sure there are no lumpy surprises hiding.
- **Wet Mix Wonders:** In a separate medium bowl, whisk together the milk, oil, eggs, and vanilla extract. Whisk until it’s all nicely combined and smelling divine.
- **Combine Forces:** Pour the wet ingredients into the dry ingredients. Mix with a spatula or electric mixer on low speed until *just* combined. Do not overmix! **Overmixing is the enemy of a tender cake.**
- **The Hot Secret:** Carefully stir in the boiling water. The batter will be thin, and that’s exactly what we want. Don’t panic!
- **Bake Time:** Pour the glorious batter into your prepared pan(s). Bake for 30-35 minutes for a 9×13, or 30-35 minutes for round pans. How do you know it’s done? A toothpick inserted into the center should come out clean.
- **Cool Down:** Let your cake cool in the pan for about 10-15 minutes before transferring it to a wire rack to cool completely. Seriously, **do not try to frost a warm cake** unless you enjoy chocolate soup.
- **Frosting Frenzy (while cake cools):** In a large bowl, beat the softened butter until creamy. Gradually add the powdered sugar and cocoa powder, alternating with milk and vanilla. Add a pinch of salt. Beat until light, fluffy, and spreadable. Add more milk, a tiny bit at a time, if it’s too thick.
- **Decorate & Devour:** Once the cake is completely cool, spread that amazing chocolate frosting all over it. Feel free to get creative with sprinkles, chocolate shavings, or just dig in with a spoon. You earned this!
Common Mistakes to Avoid (Rookie Errors, Begone!)
- **Not Preheating the Oven:** Seriously, this isn’t a suggestion, it’s a command. An un-preheated oven means uneven baking and a sad, dense cake. Don’t do it.
- **Overmixing the Batter:** We talked about this! Once the dry and wet ingredients are *just* combined, stop. Excessive mixing develops gluten, leading to a tough, chewy cake. And nobody wants that.
- **Substituting Ingredients Willy-Nilly:** While I encourage experimentation later, for your first go, stick to the recipe, especially with the flour and leavening agents. Baking is chemistry, folks!
- **Frosting a Warm Cake:** I warned you! Unless you’re going for a lava cake vibe (which is a whole other recipe), let that cake chill out completely. Patience, young padawan.
- **Not Greasing the Pan Properly:** There’s nothing worse than a beautiful cake stuck firmly to the bottom of the pan. Use parchment paper if you want a foolproof release. **Seriously, parchment paper is your friend.**
Alternatives & Substitutions (Get Creative, You Rebel!)
Okay, so now that you’ve mastered the OG recipe, let’s talk about bending the rules a little, shall we?
- **Milk:** Any milk works! Dairy-free? Almond, soy, or oat milk are totally fine.
- **Oil:** Vegetable oil gives the most neutral flavor, but canola or even a light olive oil (if you’re feeling adventurous) can work. Avoid strong-flavored oils.
- **Coffee in the Batter:** Want to really amp up the chocolate flavor? Swap out the boiling water for hot brewed coffee. Trust me, it doesn’t make it taste like coffee, it just deepens the chocolate notes. **It’s a game-changer.**
- **Frosting Variations:** Not a fan of chocolate frosting (gasp!)? A simple vanilla buttercream or even a cream cheese frosting would be divine. Want to be extra? Add a swirl of raspberry jam between cake layers before frosting.
- **Chocolate Decoration:** Go wild! Sprinkles, mini chocolate chips, chocolate shavings, fresh berries, or a drizzle of caramel sauce. Your cake, your rules!
FAQ (Because You Know You Have Questions)
- Can I use self-rising flour?
- Whoa there, hold your horses! Self-rising flour already has leavening agents. If you use it, omit the baking soda and baking powder. But honestly, for consistency, stick to all-purpose for your first run.
- My cake turned out dry, what happened?
- A common tragedy! You likely overbaked it (keep an eye on that toothpick test!) or overmixed the batter. Or maybe your oven temperature isn’t accurate. Consider an oven thermometer if this happens often.
- Can I make this into cupcakes?
- Absolutely! Fill cupcake liners about two-thirds full and bake for 18-22 minutes. Keep an eye on them, as they bake faster!
- Do I *really* need boiling water?
- Well, “need” is a strong word, but for that incredibly moist, fudgy texture? Yes, please! It blooms the cocoa powder and gives it an amazing richness. Don’t skip this step for maximum deliciousness.
- How long does this cake last?
- If you manage not to eat it all in one sitting (impressive!), it’ll last covered at room temperature for 3-4 days, or in the fridge for up to a week. It also freezes well, unfrosted, for up to 3 months.
- Can I make this ahead of time?
- You bet! Bake the cake layers, let them cool completely, wrap them tightly in plastic wrap, and store at room temp overnight, or freeze for longer. Then just whip up the frosting when you’re ready to assemble.
- Is this recipe good for beginners?
- Are you kidding? It’s practically *designed* for beginners! If you can mix things in bowls, you can make this cake. Go forth and conquer!
Final Thoughts (Go Forth and Bake!)
See? That wasn’t so scary, was it? You just whipped up a show-stopping (and ridiculously tasty) chocolate cake. Go ahead, bask in the glory. Cut yourself a generous slice, pour a tall glass of milk (or wine, no judgment here), and enjoy every single crumb. Now go impress someone—or yourself—with your new culinary skills. You’ve earned it! And maybe, just maybe, share a piece. Or don’t. Your call, superstar.


