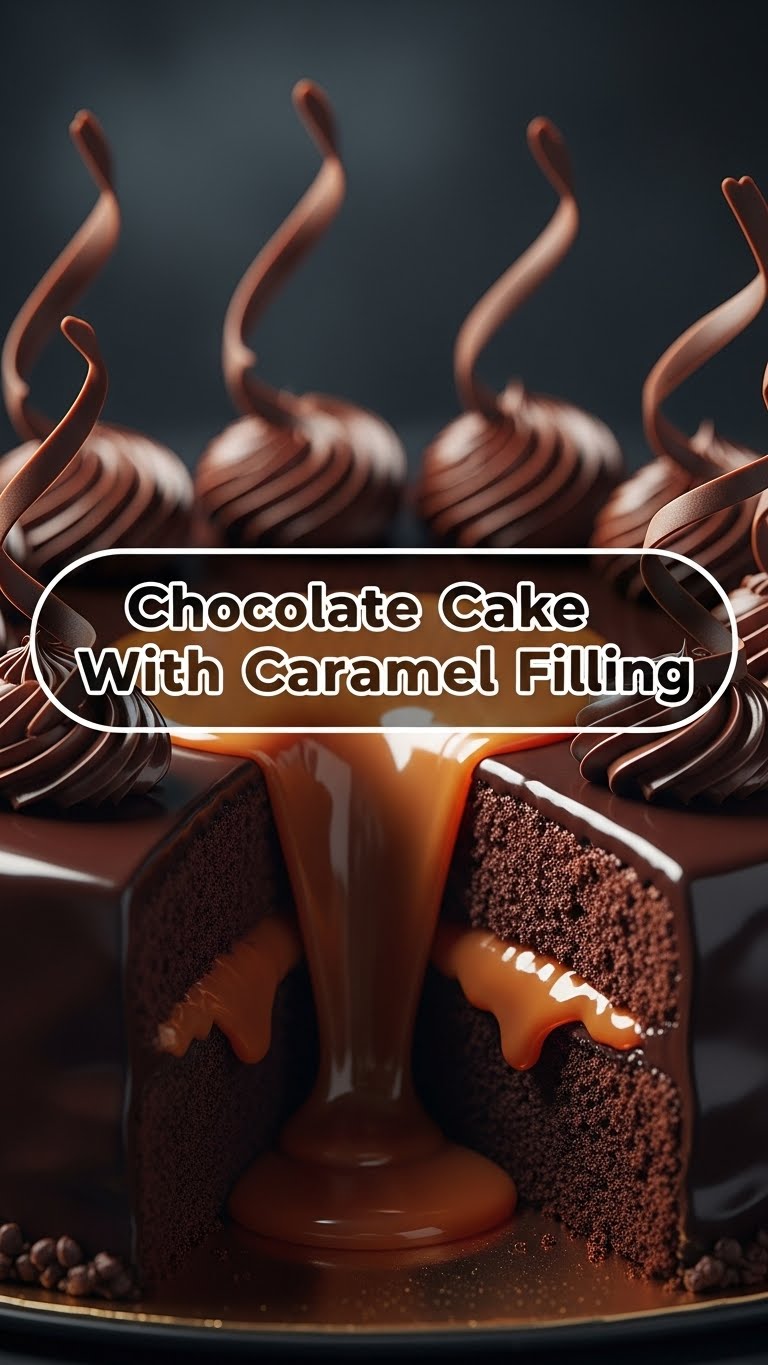
So, you’re craving something sinfully delicious but also kind of want to impress someone (even if that someone is just your future self after a long day)? And you’d prefer not to spend an entire afternoon chained to the kitchen? You and me both, pal. That’s why we’re diving headfirst into this glorious, utterly decadent Chocolate Cake with Caramel Filling recipe. It’s the kind of cake that makes people gasp a little, then immediately ask for the recipe. You’re welcome in advance.
Why This Recipe is Awesome
Okay, let’s be real. There are a million chocolate cake recipes out there. But this one? This one is special. Why, you ask? Because it’s practically idiot-proof. Seriously, even if your culinary adventures usually end with a smoke detector serenade, you’ve got this. The chocolate cake itself is ridiculously moist—we’re talking melt-in-your-mouth, I-can’t-believe-this-isn’t-from-a-fancy-bakery moist. And the caramel filling? Oh, sweet baby Jesus, the caramel. It’s smooth, buttery, a little bit salty, and it hugs that chocolate cake like it’s been waiting its whole life for this moment. Plus, it looks super fancy, but shhh, don’t tell anyone how easy it actually was. That’s our little secret.
Ingredients You’ll Need
Get ready to gather your deliciousness. Don’t skimp on the good stuff, you deserve it!
For the Chocolate Cake:
- 2 cups (240g) All-Purpose Flour: The basic building block. Don’t worry, we’re making a cake, not a soufflé.
- 2 cups (400g) Granulated Sugar: Because life is short, and we like sweet things.
- ¾ cup (75g) Unsweetened Cocoa Powder: The darker, the better for that deep chocolatey goodness. None of that weird light brown stuff, okay?
- 2 teaspoons Baking Soda: Our rising star.
- 1 teaspoon Baking Powder: Baking soda’s trusty sidekick.
- 1 teaspoon Salt: Don’t skip this! It enhances all the flavors and makes things less “flat.”
- 1 cup (240ml) Milk: Whole milk is best, but whatever you have on hand will work.
- ½ cup (120ml) Vegetable Oil: Or canola, or melted coconut oil. Something neutral. This is key for moisture!
- 2 Large Eggs: Room temperature, if you’re feeling fancy.
- 2 teaspoons Vanilla Extract: The real stuff, please. Not the imitation kind. Your taste buds will thank you.
- 1 cup (240ml) Hot Water or Hot Coffee: **This is crucial!** It “blooms” the cocoa for intense flavor and makes the cake super moist. Don’t worry, it won’t taste like coffee, just chocolate++.
For the Caramel Filling:
- 1 cup (200g) Granulated Sugar: For that perfect golden base.
- ¼ cup (60ml) Water: Just enough to get things started.
- ½ cup (120ml) Heavy Cream: Warmed slightly, this is what makes it creamy.
- 4 tablespoons (56g) Unsalted Butter: Cut into pieces, for richness.
- ½ teaspoon Sea Salt: A little crunch, a lot of flavor contrast. Don’t be shy!
- 1 teaspoon Vanilla Extract: Because vanilla makes everything better.
Optional (but highly recommended) Chocolate Ganache Frosting:
- 1 cup (240ml) Heavy Cream: The good stuff.
- 8 oz (225g) Good Quality Dark Chocolate: Chopped or chips. The better the chocolate, the better the ganache, FYI.
- 2 tablespoons (28g) Unsalted Butter: For shine and extra silkiness.
Step-by-Step Instructions
Alright, apron on, game face on. Let’s do this!
Part 1: The Glorious Chocolate Cake
- Preheat & Prep: Preheat your oven to 350°F (175°C). Grease and flour two 8-inch round cake pans. Or line with parchment paper circles. This prevents sticking, trust me.
- Whisk Dry: In a large bowl, whisk together the flour, sugar, cocoa powder, baking soda, baking powder, and salt. Make sure there are no lumps.
- Combine Wet: In a separate medium bowl, whisk together the milk, oil, eggs, and vanilla extract until well combined.
- Mix it Up: Pour the wet ingredients into the dry ingredients. Mix on low speed with an electric mixer (or by hand with a whisk) until just combined. **Do not overmix!**
- Add Hot Liquid: Slowly pour in the hot water (or coffee) and mix until the batter is smooth. It will be thin, and that’s exactly what we want.
- Bake, Baby, Bake: Divide the batter evenly between your prepared cake pans. Bake for 30-35 minutes, or until a toothpick inserted into the center comes out clean.
- Cool Down: Let the cakes cool in the pans for 10-15 minutes before inverting them onto a wire rack to cool completely. **Resist the urge to frost a warm cake!** It will melt, and you’ll cry.
Part 2: The Dreamy Caramel Filling
- Sugar & Water: In a medium heavy-bottomed saucepan, combine the granulated sugar and water. Stir gently to moisten all the sugar.
- Boil & Don’t Stir: Cook over medium-high heat without stirring until the sugar dissolves and the mixture boils. Continue cooking, swirling the pan occasionally, until the caramel turns a deep amber color. This takes patience, usually 8-10 minutes. **Don’t walk away!** It can go from perfect to burnt in seconds.
- Cream Time: Carefully and slowly pour in the warmed heavy cream while whisking constantly. The mixture will bubble up violently, so be careful! Keep whisking until smooth.
- Butter & Salt: Remove from heat. Add the butter pieces and sea salt. Whisk until the butter is fully melted and incorporated.
- Vanilla Finish: Stir in the vanilla extract. Pour the caramel into a heatproof jar or bowl and let it cool completely. It will thicken as it cools.
Part 3: Optional (But Amazing) Ganache Frosting
- Heat Cream: In a small saucepan, heat the heavy cream over medium heat until it just begins to simmer.
- Melt Chocolate: Place the chopped chocolate in a heatproof bowl. Pour the hot cream over the chocolate. Let it sit for 5 minutes without stirring.
- Whisk & Butter: Whisk gently from the center outwards until smooth and shiny. Stir in the butter until melted. Let it cool at room temperature until it thickens to a spreadable consistency. This might take an hour or two.
Part 4: Assembly (The Fun Part!)
- Level Up: Once the cakes are completely cool, use a serrated knife to level the tops if necessary.
- Caramel Layer: Place one cake layer on your serving plate. Spread a generous amount of cooled caramel filling over the top.
- Stack & Frost: Place the second cake layer on top. Now, get your ganache frosting (or any frosting you prefer!) and frost the top and sides of the cake.
- Drip & Decorate: For an extra fancy look, if you have extra caramel, you can drizzle it decoratively over the top, letting it drip down the sides.
- Serve & Devour: Slice, serve, and accept all the compliments. You earned ’em!
Common Mistakes to Avoid
- Not greasing your pans enough: Rookie mistake! Your beautiful cake will be glued to the pan. Use parchment paper if you’re feeling extra cautious.
- Overmixing the batter: Seriously, stop it. As soon as you can’t see dry streaks, put the mixer down. Overmixing develops gluten, which leads to a tough, dry cake. Nobody wants that.
- Opening the oven door constantly: Patience, grasshopper. Every time you open that door, you drop the oven temperature, which can make your cake sink. Peek through the window!
- Cutting a warm cake: I know, I know. It smells amazing. But cutting a warm cake means it’ll be crumbly and hard to handle. **Let it cool completely!**
- Burning the caramel: This is the trickiest part, but totally doable. Don’t walk away. Once it hits that deep amber, pull it off the heat immediately. A burnt smell means it’s garbage, sadly.
Alternatives & Substitutions
Listen, sometimes you don’t have everything on hand, or you just want to shake things up. No judgment here!
- Milk: If you’re feeling adventurous, replace the milk with buttermilk for a slightly tangier, even more tender cake.
- Oil: Melted butter can be used instead of vegetable oil for a richer flavor, but oil typically makes for a moister cake. Your call!
- Hot Water/Coffee: If you absolutely detest coffee (how dare you?), just use hot water. But seriously, the coffee just enhances the chocolate, it doesn’t make it taste like a mocha.
- Caramel: Don’t have the time or patience for homemade caramel? Grab a jar of good quality store-bought caramel sauce. I won’t tell a soul. Just make sure it’s thick enough to hold its shape.
- Frosting: If ganache isn’t your jam, a classic buttercream or even a cream cheese frosting would be divine with this chocolate cake and caramel combo.
FAQ (Frequently Asked Questions)
Got questions? I’ve got answers (and probably some sarcasm).
- Can I use margarine instead of butter? Well, technically yes, but why hurt your soul like that? Butter just tastes better, IMO.
- How long does the caramel last? In the fridge, tightly sealed, it should last about 1-2 weeks. But let’s be real, it won’t last that long.
- My caramel crystallized! What happened? Oh no! This can happen if you stirred the sugar mixture too much before it caramelized, or if there were sugar crystals on the side of the pan. Sometimes, adding a little lemon juice to the sugar/water mixture can help prevent this. Unfortunately, there’s no going back once it’s crystallized; you’ll have to start over.
- Can I make this as cupcakes? Absolutely! Divide the batter into cupcake liners and bake for about 18-22 minutes, or until a toothpick comes out clean. Fill with caramel and frost as desired.
- Do I really need the hot water/coffee? Yes! **Don’t skip this step!** It truly makes a difference in the moisture and intensifies the chocolate flavor. It’s a game-changer.
- Can I make the cake layers ahead of time? For sure! Once completely cooled, wrap each cake layer tightly in plastic wrap and freeze for up to a month. Thaw at room temperature before assembling.
- What if my ganache is too thin/thick? If it’s too thin, let it chill in the fridge for a bit, stirring every 15-20 minutes. If it’s too thick, gently warm it over a double boiler or in the microwave in short bursts, stirring until it’s the right consistency.
Final Thoughts
You did it! You’ve conquered the art of the ridiculously delicious chocolate cake with caramel filling. Go ahead, bask in your culinary glory. Take a picture, post it, humble-brag a little. You’ve earned it! Now go impress someone—or yourself—with your new kitchen wizardry. And seriously, don’t forget to eat a slice (or three). Life’s too short for bad cake, and this one? This one is pure magic. Happy baking, my friend!


